
MacBook Air 13" Early 2014 Logic Board Replacement

Introduction
Go to step 1Use this guide to replace the logic board.
Be sure to apply a new layer of thermal paste before reinstalling your heat sink on the new board.
What you need
Parts

Tools


Show more…
-
Tool used on this step:P5 Pentalobe Screwdriver Retina MacBook Pro and Air$5.99
-
Use a P5 Pentalobe driver to remove ten screws securing the lower case, of the following lengths:
-
Two 9 mm screws
-
Eight 2.6 mm screws
-
-
-
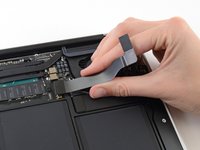
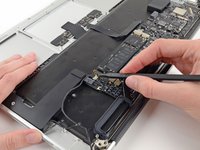
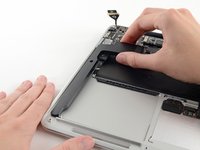
Grab the clear plastic pull tab attached to the battery connector and pull it parallel to the board toward the front edge of the Air.
-
-
-
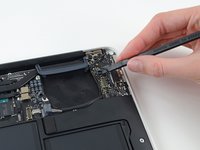
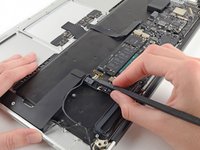
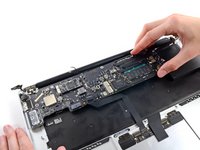
Use the flat end of a spudger to pry the I/O board cable connector up out of its socket on the I/O board.
-
-
-
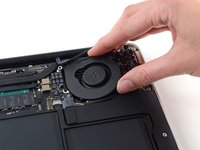
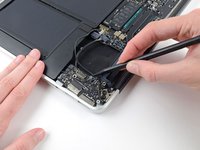
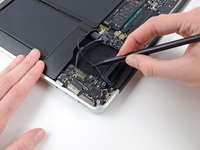
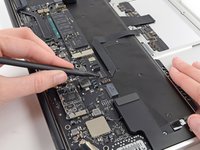
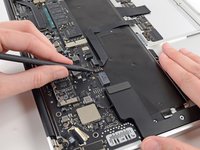
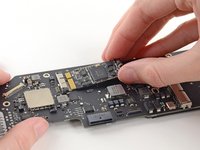
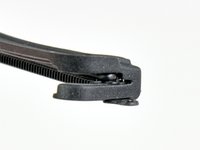
Use the tip of a spudger to carefully flip up the retaining flap on the fan cable ZIF socket.
-
-
-
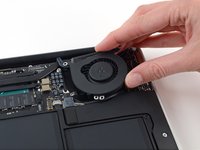
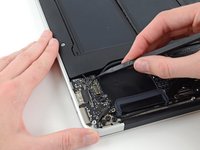
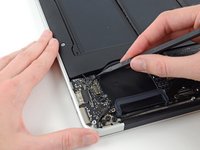
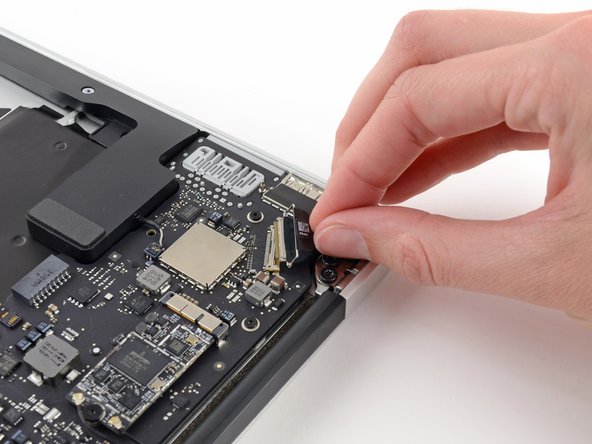
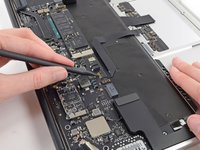
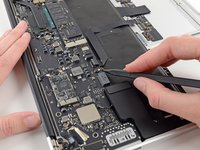
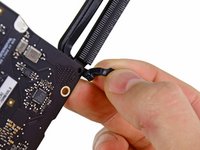
Disconnect the I/O board by pulling its power cable away from its socket on the logic board.
-
-
-
Remove the following five screws securing the battery to the upper case:
-
Three 6.3 mm T5 Torx screws
-
Two 2.4 mm T5 Torx screws
-
-
-
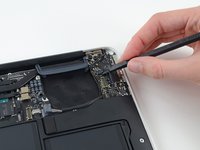
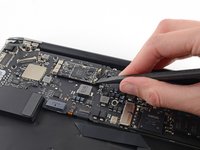
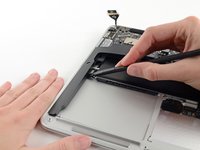
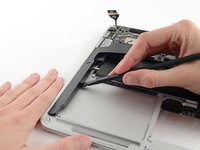
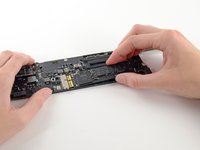
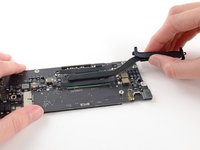
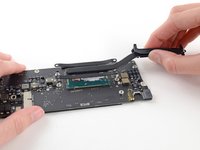
Grab the plastic pull tab secured to the display data cable lock and rotate it towards the top side of the computer.
-
-
-
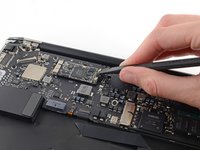
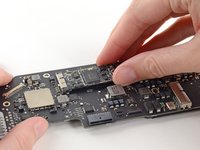
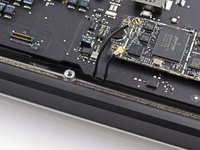
Remove the single 2.85 mm T5 Torx screw securing the SSD to the logic board.
-


To reassemble your device, follow these instructions in reverse order.
To reassemble your device, follow these instructions in reverse order.
Cancel: I did not complete this guide.
62 other people completed this guide.


5 Comments
Easy peasy macbook squeezy.
The guide is very detailed, sometimes overcareful, but its completely ok because the delicate.
I personally skip some last steps because it wasn't necessary, but I recommend those with less experience to stick the guide.
Good luck to further readers.
Am also trying to replace an early 2014 i5 4GB to i7 8GB and need some answers. Will a 2014 i7 be compatible with a 2014 i5?