Introduction
Use this guide to replace the logic board in a Late 2020 MacBook Air (M1).
Note that Touch ID will not function after replacing the logic board. The MacBook’s original Touch ID sensor is uniquely paired to the logic board at the factory—and without Apple’s proprietary calibration process, even a genuine replacement logic board from another MacBook Air won’t work.
If you replace the logic board, you must install a paired Touch ID sensor to retain Touch ID functionality.
What you need
-
Tool used on this step:Magnetic Project Mat$19.95
-
If your MacBook is running Big Sur v11.1 or later, disabling Auto Boot may not work. You can proceed normally, but make sure to disconnect the battery as soon as you're inside.
-
Use a P5 driver to remove the following screws:
-
Two 7.9 mm screws
-
Two 7.3 mm screws
-
Six 2.6 mm screws
-
-
-
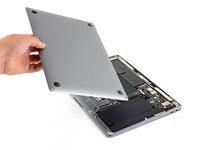
Wedge your fingers between the display and the lower case and pull upward to pop off the lower case.
-
Remove the lower case.
-
Set it in place and press firmly to engage the two hidden clips underneath. You should feel and hear them snap into place.
-
-
-
Use the flat end of a spudger to pry up and unlatch the metal locking arm on the battery connector.
-
Lift straight up on the metal locking arm to pull the battery connector out of its socket on the logic board.
-
If necessary, push the rear, wire side of the connector into place first, then rock the front of the connector into place.
-
-
-
Use a T3 Torx driver to remove the three 1.4 mm screws securing the audio board connector cover.
-
-
-
Use a T3 Torx driver to remove the two 1.4 mm screws securing the USB-C connector cover.
-
-
-
-
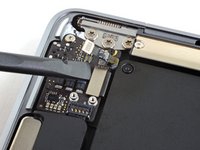
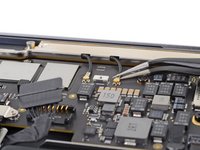
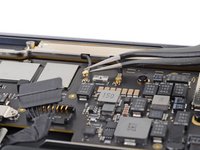
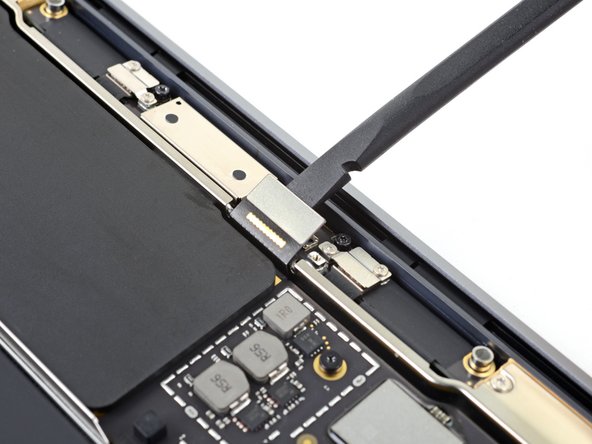
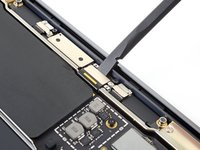
Use a T3 Torx driver to remove the 1.4 mm screw securing the antenna cable cover.
-
-
-
Use a T3 Torx driver to remove the two 1.4 mm screws securing the trackpad cable cover.
-
-
-
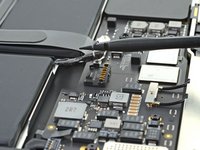
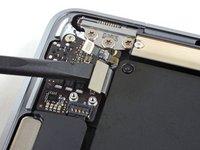
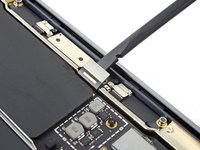
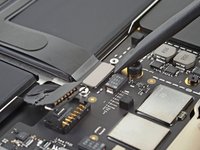
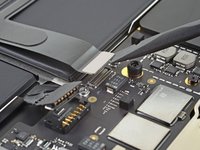
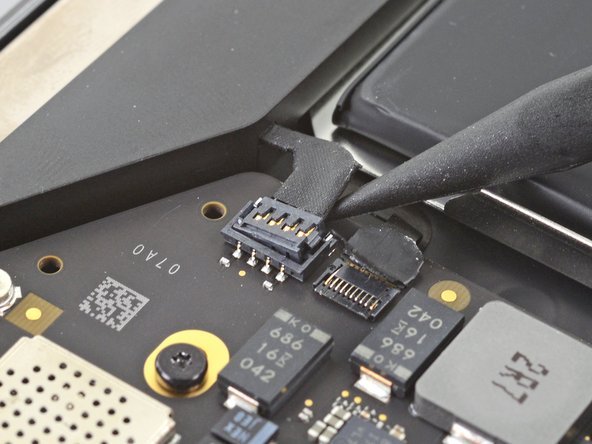
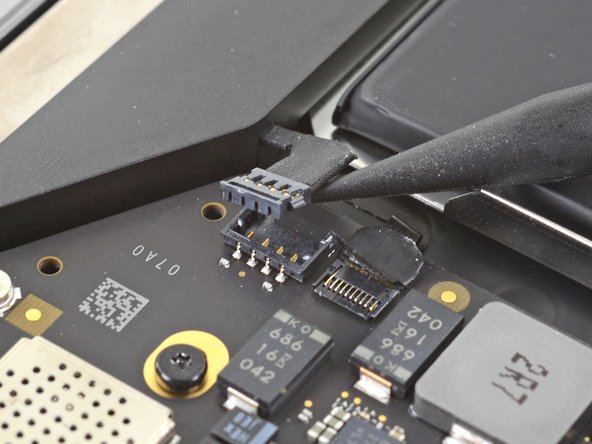
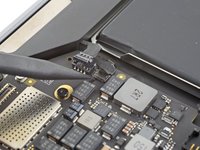
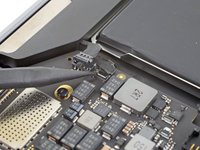
Slide the pointed end of a spudger underneath the left speaker cable and pry straight up to disconnect it from the logic board.
-
-
-
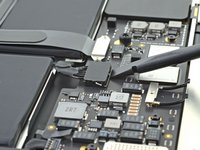
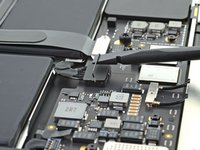
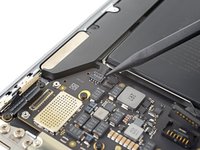
Use a pair of tweezers to peel back any tape covering the microphone cable connector.
-
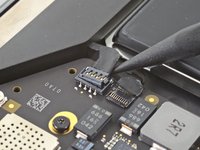
Use the pointed end of a spudger to lift up the small locking flap on the microphone cable's ZIF connector.
-
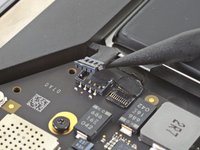
Slide the microphone cable out of its connector.
-
-
-
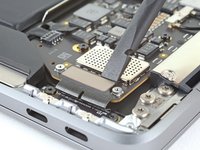
Use a T5 Torx driver to remove the six screws securing the logic board to the upper case:
-
Three 3.5 mm screws
-
One 6.0 mm cushioned screw
-
Two 3.4 mm screws
-
-
-
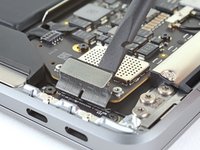
Battery cable
-
Audio board cable
-
USB-C board cable
-
Antenna bar cables
-
Display cable
-
Trackpad cable
-
Left speaker and microphone cables
-


Compare your new replacement part to the original part—you may need to transfer remaining components or remove adhesive backings from the new part before installing.
To reassemble your device, follow the above steps in reverse order.
Once you've completed your repair, your laptop may not power back on until connected to power.
Take your e-waste to an R2 or e-Stewards certified recycler.
Repair didn’t go as planned? Check out our Answers community for troubleshooting help.
Cancel: I did not complete this guide.
35 other people completed this guide.


15 Comments
Thank you
How do we access the data on a board that is not working due to corrosion ? We have been informed that the SSD is integrated in the board so until same is working we cannot access the data.
There used to be a data port on the board that needs a very special piece of equipment to access. You'd need to send it to data recovery, open your wallet very wide, and keep your fingers crossed. It looks like that port no longer exists? Your data is probably gone, but Apple saved you a lot of money on recovery services!
Looking for the WiFi component?
The WiFi card on this laptop is built into the logic board.
Aydan -
alguien sabe si existe un adaptador para este tipo placa logica a sdd para?