MacBook Air 13" Mid 2012 I/O Board Replacement
Introduction
Go to step 1Use this guide to replace your Air's I/O board which houses the MagSafe DC-in port, a USB socket, and the headphone jack.
What you need
-
Tool used on this step:P5 Pentalobe Screwdriver Retina MacBook Pro and Air$5.99
-
Use a P5 Pentalobe driver to remove ten screws securing the lower case, of the following lengths:
-
Two 9 mm screws
-
Eight 2.6 mm screws
-
-
-
Grab the clear plastic pull tab attached to the battery connector and pull it toward the front edge of the Air to disconnect the battery from the logic board.
-
-
-
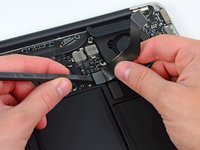
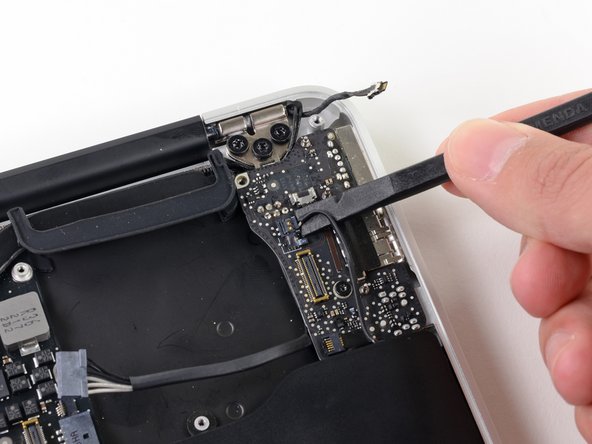
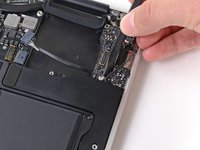
Use the flat end of a spudger to pry the I/O board cable connector upward out of its socket on the I/O board.
-
-
-
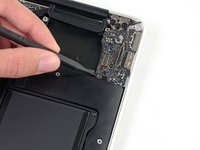
Use the tip of a spudger to carefully flip up the retaining flap on the fan cable ZIF socket.
-
-
-
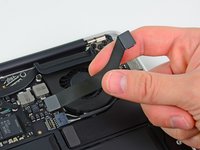
Disconnect the I/O board by pulling the power cable away from its socket on the logic board.
-
To reassemble your device, follow these instructions in reverse order.
To reassemble your device, follow these instructions in reverse order.
Cancel: I did not complete this guide.
43 other people completed this guide.
4 Comments
I bought a used I/O board on ebay for $30. Replacing the i/o board solved my problem with the "fan stack" heat sensor which had been unreadable and causing the computer to run very slowly and the fan to run full speed. It was listed like this:
2012 13" MacBook Air MagSafe II DC audio I/O Power Board A1466
HELP NEEDED PLEASE !
While removing the Board I torn apart the pièce at the end of the cable (linked to side) on the l'est of the lasr image. What is it and Howard Can I remplace it ?


