Introduction
Follow this guide to replace or upgrade the SSD in your Microsoft Surface Laptop 7 (13.8‑inch).
Before starting this repair, read through Microsoft's guide on best practices for SSD removal.
What you need
-
-
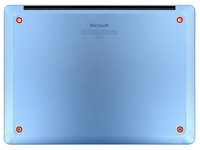
Close your laptop and lay it down so the rubber feet are facing up.
-
-
-
Gently slide one arm of your angled tweezers into the recess near the upper right edge of one of the feet.
-
Use your tweezers to pry up and remove the foot.
-
Repeat the process to remove the remaining feet.
-
-
Tool used on this step:FixMat$36.95
-
Use a Torx Plus 5IP screwdriver to remove the four 4.5 mm‑long screws (with washers) securing the lower case.
-
-
-
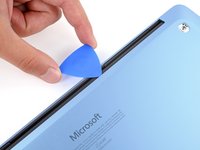
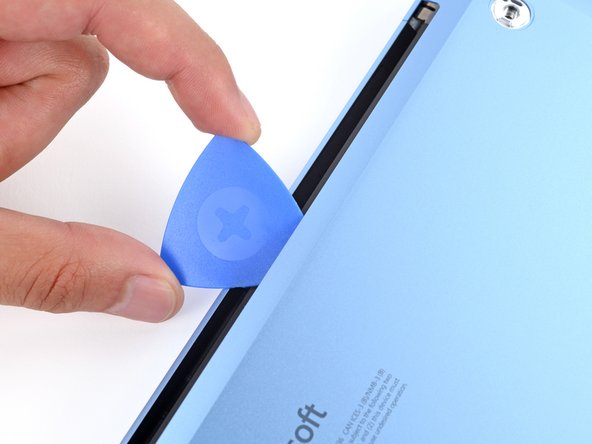
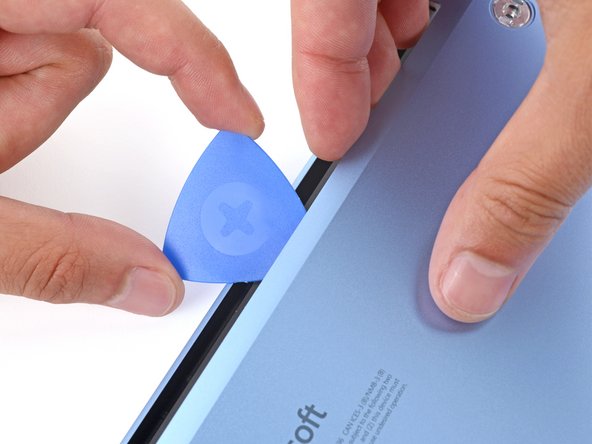
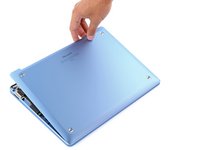
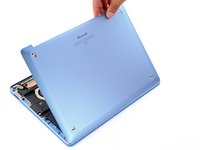
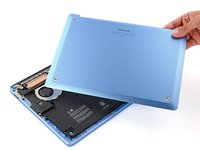
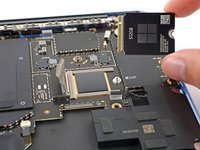
Insert the tip of an opening pick under the top edge of the lower case, about an inch (2.5 cm) to the left or right of the Microsoft logo.
-
-
-
-
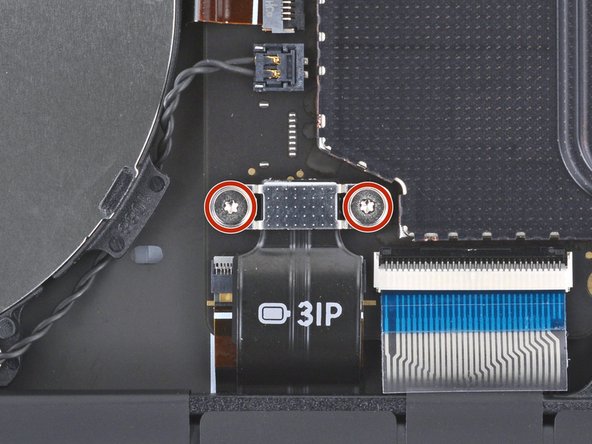
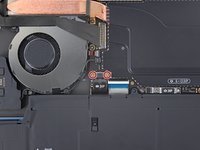
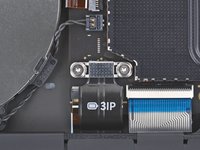
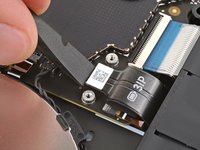
Use a Torx Plus 3IP screwdriver to remove the two 2.3 mm‑long screws securing the battery connector cover.
-
-
-
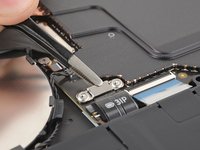
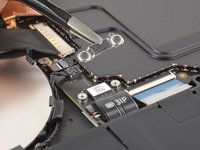
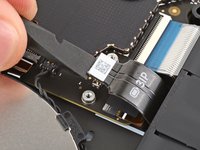
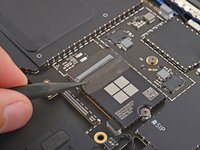
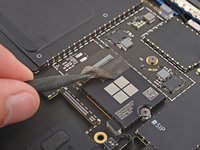
Insert the flat end of a spudger under the top edge of the battery press connector and pry up to disconnect it.
-
-
-
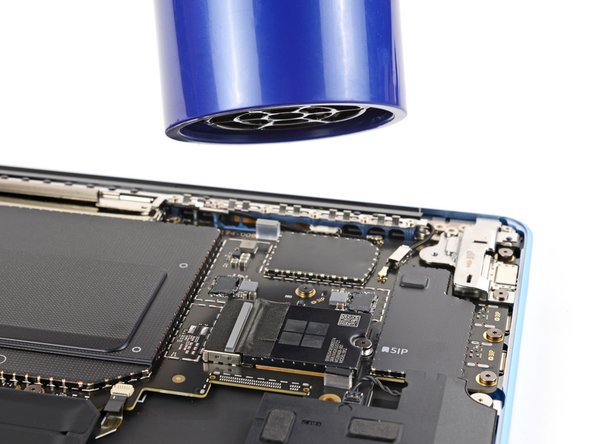
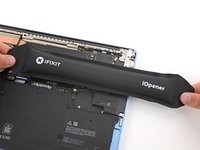
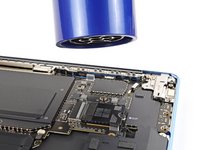
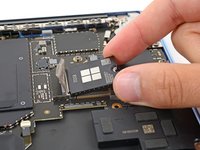
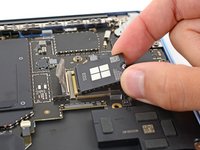
Heat an iOpener and lay it on the SSD for one minute to heat the tape on its left edge.
-
-
-
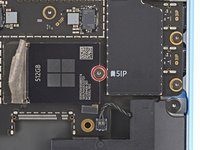
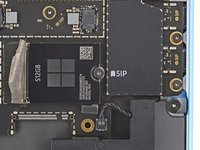
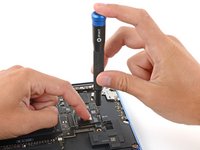
Use a Torx Plus 5IP screwdriver to remove the 2.9 mm‑long screw securing the SSD.
-


To reassemble your device, follow these instructions in reverse order.
Once your laptop is reassembled, follow Microsoft's post SSD replacement guide.
Take your e-waste to an R2 or e-Stewards certified recycler.
Repair didn’t go as planned? Try some basic troubleshooting, or ask our Answers community for help.

