Introduction
This guide will show you how to disassemble the Milwaukee M12 Cordless 3/8" Ratchet to access various parts for replacement or repairs.
What you need


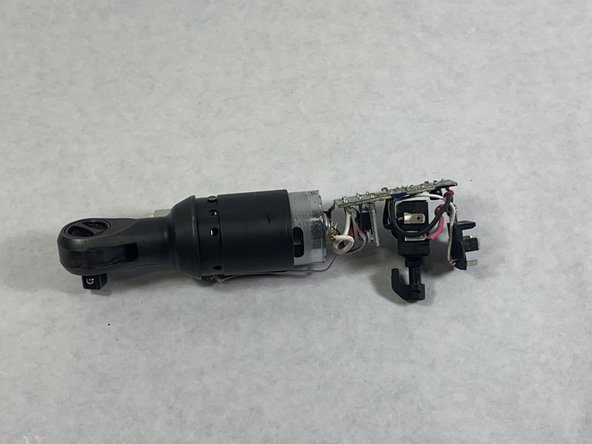


Almost done!
To reassemble your device, follow these instructions in reverse order.
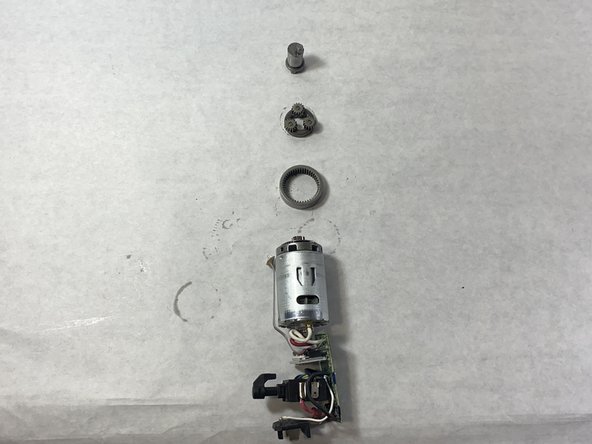
Conclusion
To reassemble your device, follow these instructions in reverse order.
Team

UMass Dartmouth, Team S1-G6, O'Connell Fall 2019 Member of UMass Dartmouth, Team S1-G6, O'Connell Fall 2019
UMASSD-O'CONNELL-F19S1G6
3 Members
1 Guide authored