Introduction
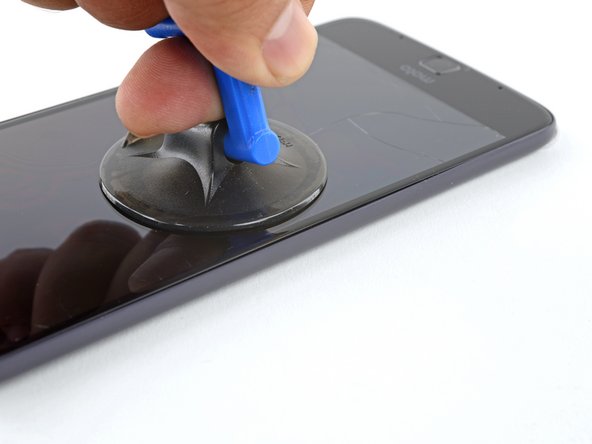
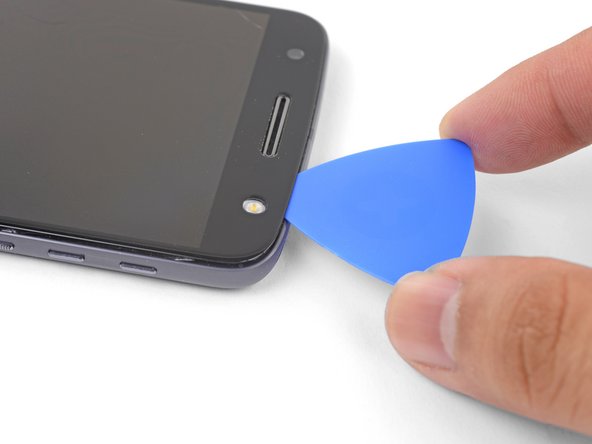
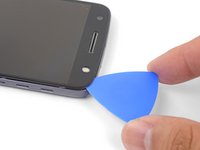
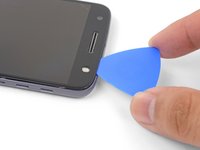
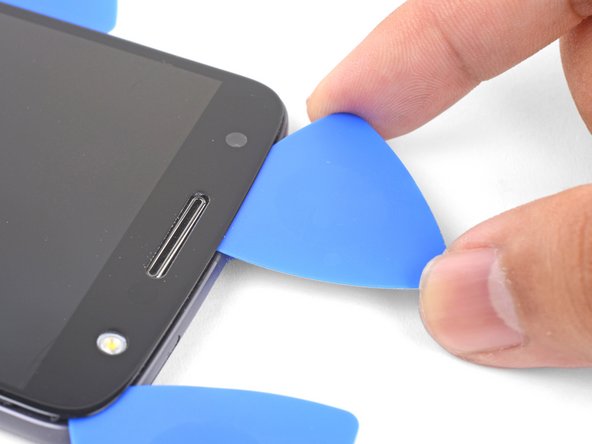
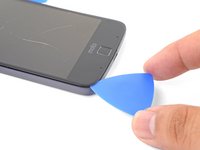
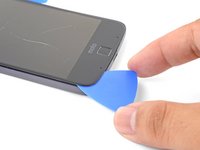
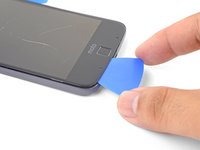
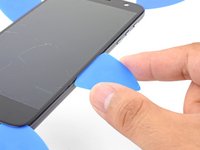
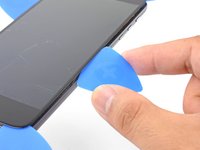
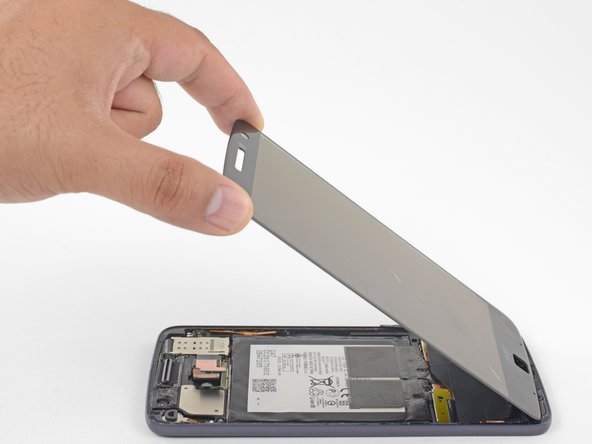
This guide shows how to open the Motorola Moto Z in order to replace an old or dead battery.
Before you begin, download the Rescue and Smart Assistant app to backup your device and diagnose whether your problem is software or hardware related.
The display assembly is extremely fragile and has no reinforcement. There is a significant chance that you may break the screen. Work slowly and methodically when handling the display assembly.
Before you begin, discharge your battery below 25%. A charged lithium-ion battery can catch fire and/or explode if accidentally punctured.
If your battery is swollen, take appropriate precautions.
What you need
-
-
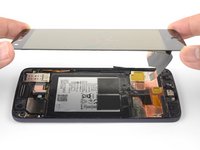
Heat an iOpener and apply it to the left edge of the phone for at least 90 seconds.
-
-
-
Tool used on this step:Tweezers$4.99
-
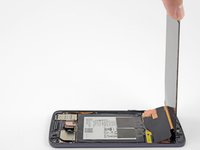
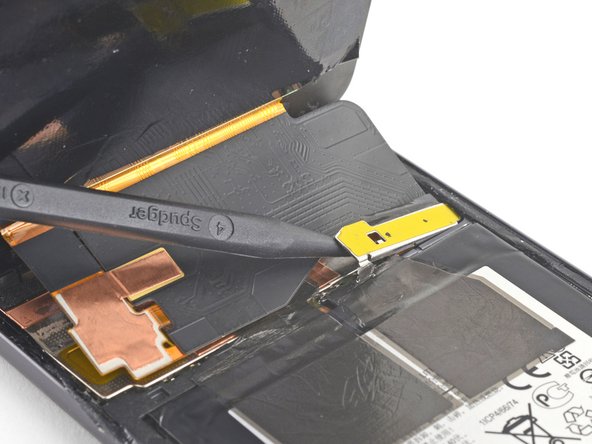
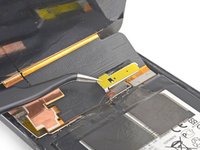
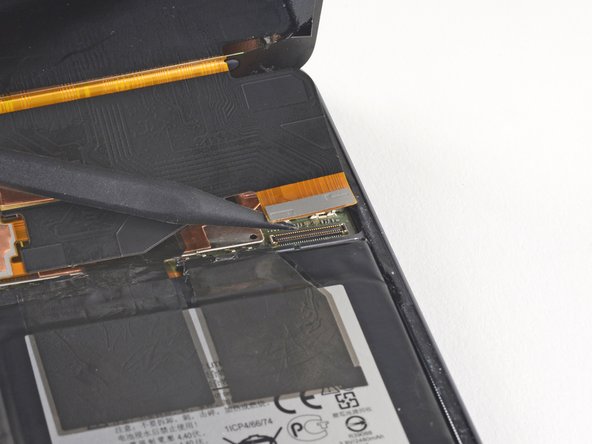
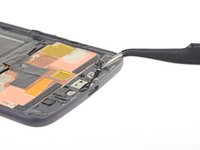
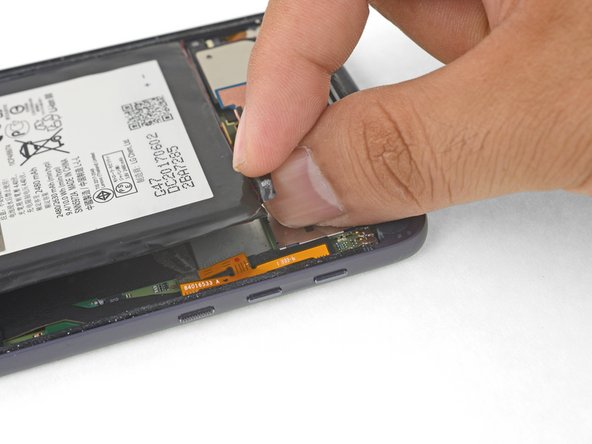
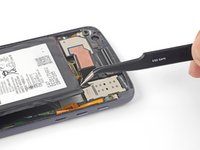
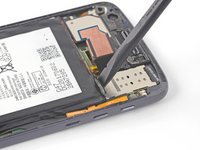
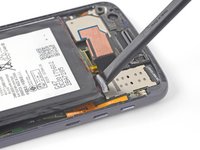
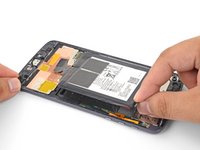
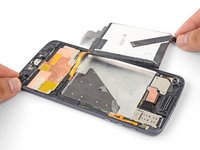
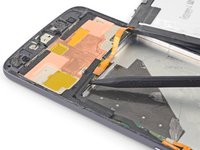
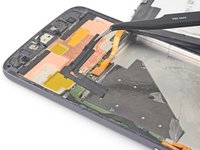
Use tweezers to peel the black tape securing the battery to the frame.
-
-
Tool used on this step:Tesa 61395 Tape$5.99
-
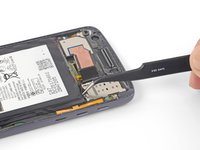
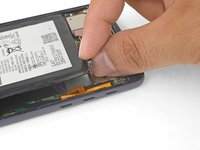
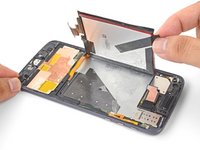
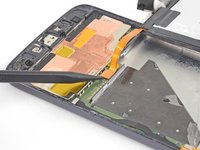
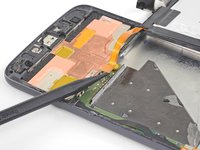
Remove the battery.
-
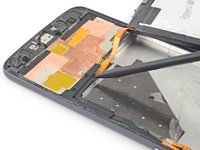
Remove any remaining adhesive from the phone, and clean the glued areas with isopropyl alcohol and a lint-free cloth.
-
Apply pre-cut adhesive strips or double-sided tape to the exposed, silver part of the battery compartment, not on the black foam layer.
-
Press the battery firmly into place for 5-10 seconds.
-
Compare your new replacement part to the original part. You may need to transfer remaining components or remove adhesive backings from the new part before installing.
To reassemble your device, follow these instructions in reverse order.
After completing this guide, calibrate your newly-installed battery.
Take your e-waste to an R2 or e-Stewards certified recycler.
Repair didn’t go as planned? Check out our Motorola Moto Z Answers community for troubleshooting help.
Cancel: I did not complete this guide.
32 other people completed this guide.
28 Guide Comments
Kindly link me to the suitable adhesive tape for sticking back the screen…
Thank you
Hi Anwesh,
You can use Tesa tape for that purpose.
I have a Moto Z Droid from Verizon. You have instruction for the Moto Z and Moto Z Droid Force. Battery replacement on the Droid Force is much easier. How do I know which one I have?
Hi Budbradley,
According to Phonearena, it looks like one easy way to tell is the rear camera:
The Z has a 13MP camera, while the Z Force Droid has a 21MP rear camera.
The built-in internal storage are also different:
The Z has 32GB while the Z Force Droid has 64GB.
Hopefully you can check your specs with those and figure out which version you have.
The hardest step in this guide is when you remove adhesive glue behind the LCD panel.
Second is clean residue glue [For this i use lint-free cloth soak with alcohol and rub on glue]
One more note - Moto original battery is su..k. Mine is degrade in 6 moths.


