Motorola Moto G7 Battery Replacement
Introduction
Go to step 1The Motorola Moto G7 features a 3000 mAh Li-Ion battery. If a user has had the phone for a long period of time (over a year) and the phone is losing its charge at a much faster rate, the battery may need to be replaced. Use this guide to remove the Motorola G7 battery.
Before you begin, download the Rescue and Smart Assistant app to backup your device and diagnose whether your problem is software or hardware related.
The specific model is XT1962-1 but the other models XT1962-4 and XT1962-5 can be used with this guide.
Before beginning the repair, make sure the device is turned off and disconnected from an external power source. Gather the suggested tools listed below and if you’d like to replace the battery, a new Motorola G7 battery.


-
-
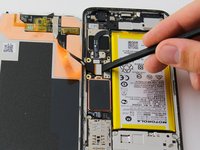
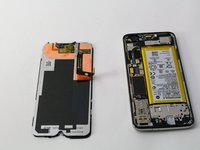
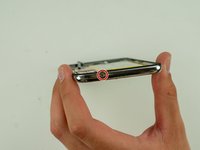
Use the iFixit opening tools to gently wedge the front screen from the rest of the device.
-
-
-
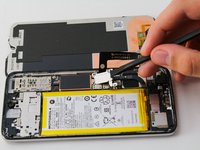
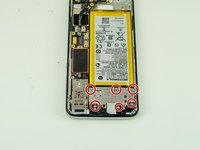
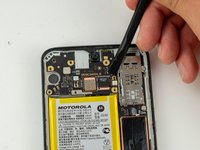
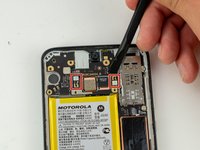
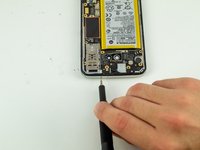
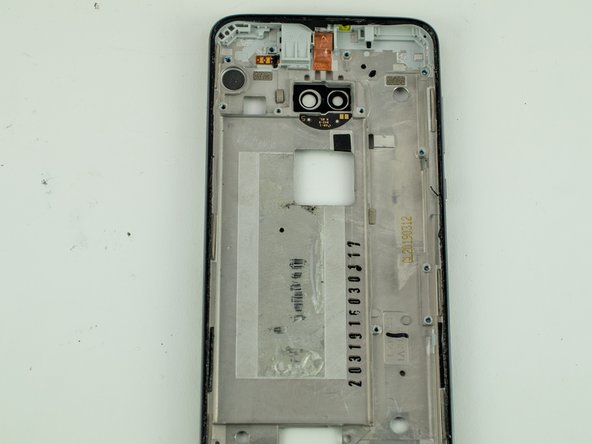
Remove by the six 2.7mm T3 Torx screws from the metal panel above the battery.
-
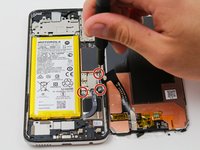
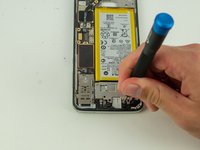
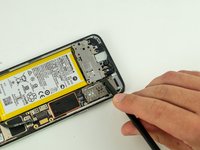
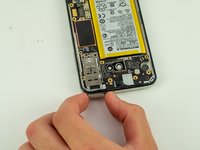
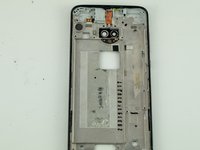
Wedge a spudger between the SD card tray and the metal plate, and use a medium amount of force to pry up the plate.
-
-
-
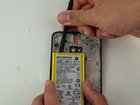
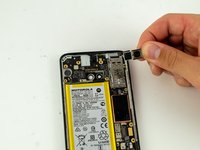
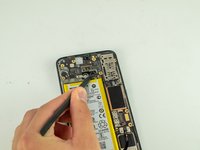
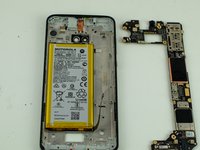
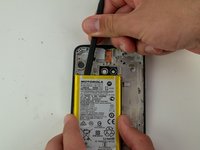
Pry the battery out of the case using a spudger beneath the top of the battery.
-


To reassemble your device, follow these instructions in reverse order.
To reassemble your device, follow these instructions in reverse order.
Cancel: I did not complete this guide.
7 other people completed this guide.
Team

Cal Poly, Team S19-G6, White Winter 2020 Member of Cal Poly, Team S19-G6, White Winter 2020
CPSU-WHITE-W20S19G6
4 Members
20 Guides authored
16 Comments
I don’t know what phone you are replacing a battery on here, but it looks nothing like my Motorola G7, which has a JK50 battery in it. The JK50 is NOT interchangeable with the JG30 you have pictured here and available to order.
The Moto G7 has many variations, including the G7 Play and the G7 Power, which is the model that takes the JK50. These instructions are for the plain vanilla G7.
This is a careless incomplete guide. It skips crucial steps, like removing the speaker subassembly (which the photos clearly show was done but not even mentioned), the buttons connector, and last but not least the battery connector itself. I also have wound up with two mystery rubberized parts which fell out at two separate points in disassembly, which are also never mentioned and which I will now have to black-box to figure out where they came from.
It also glosses over the reassembly, omitting it entirely in fact, thus failing to remind the reader, for instance, not to overlook the fingerprint reader’s connector when reinserting the motherboard and paying heed of the several tabs - and rubber parts which must be considered when reattaching that metal shield over the camera.
Also not mentioned is any suggestion how to replace the original rubberized adhesive “gasket” that attaches the front glass, which is supposed to provide some waterproofness as well as adhesion. In my instance that was compromised before I even started: the battery inflated with gas and bowed the glass front outward. Thank goodness Corning has chosen to evolve Gorilla Glass to be more flexible rather than more scratch-resistant and more brittle, otherwise I’d have had a cracked front. (That battery inflation is now the second occurrence in a second Motorola phone; I am officially spooked of Motorola phones now.)