Introduction
If your Motorola V551 Cellphone screen non-operational, it is likely that the screen is in need of repair. In order to remove and replace the screen, follow the steps in this guide.
The screen is the most important feature of a cell phone to the user. Without the ability to see the actions you are taking, a phone is meaningless. A faulty screen will not display anything on the phone.
Before using this guide, inspect the other components and their connections to the motherboard. The problem could be a component being unplugged from dropping the phone.
Ensure the cellphone is fully powered off and not plugged in before beginning the repair.
What you need
-
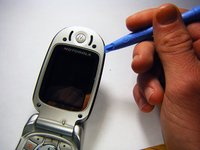
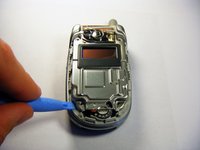
Tool used on this step:Spudger$3.99
-
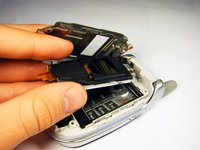
On the phone's face, remove the four rubber caps from the screw covers using a spudger.
-
-


To reassemble your device, follow these instructions in reverse order.
Cancel: I did not complete this guide.
2 other people completed this guide.
Team

Cal Poly, Team 6-6, Maness Fall 2009 Member of Cal Poly, Team 6-6, Maness Fall 2009
CPSU-MANESS-F09S6G6
4 Members
12 Guides authored