Mr. Coffee 5-Cup Mini Brew Thermal Fuse Replacement

What you need

  1. Mr. Coffee 5-Cup Mini Brew Thermal Fuse Replacement, Thermal Fuse: step 1, image 1 of 3 Mr. Coffee 5-Cup Mini Brew Thermal Fuse Replacement, Thermal Fuse: step 1, image 2 of 3 Mr. Coffee 5-Cup Mini Brew Thermal Fuse Replacement, Thermal Fuse: step 1, image 3 of 3
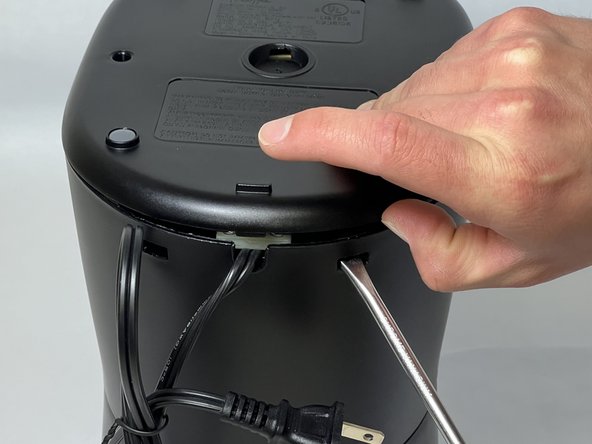
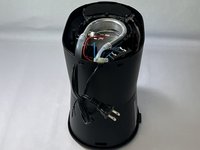
    • Remove the coffee pot.

    • Flip the Mr. Coffee machine over so the base is facing up.

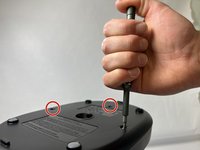
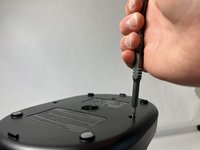
  2. Mr. Coffee 5-Cup Mini Brew Thermal Fuse Replacement: step 2, image 1 of 2 Mr. Coffee 5-Cup Mini Brew Thermal Fuse Replacement: step 2, image 2 of 2
    • Use the Y1 Tri-point screwdriver to remove the three 1.5 cm screws from the baseplate.

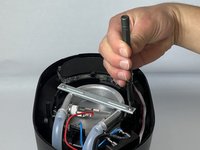
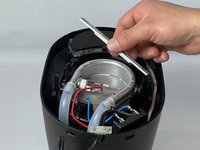
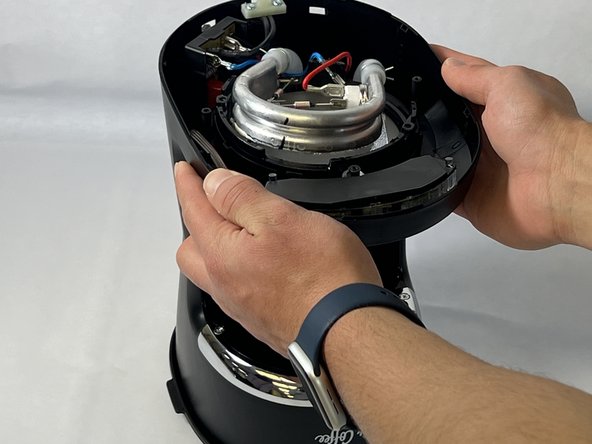
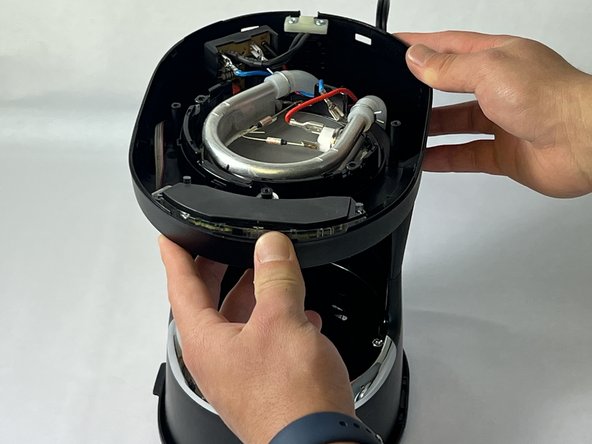
  3. Mr. Coffee 5-Cup Mini Brew Thermal Fuse Replacement: step 3, image 1 of 3 Mr. Coffee 5-Cup Mini Brew Thermal Fuse Replacement: step 3, image 2 of 3 Mr. Coffee 5-Cup Mini Brew Thermal Fuse Replacement: step 3, image 3 of 3
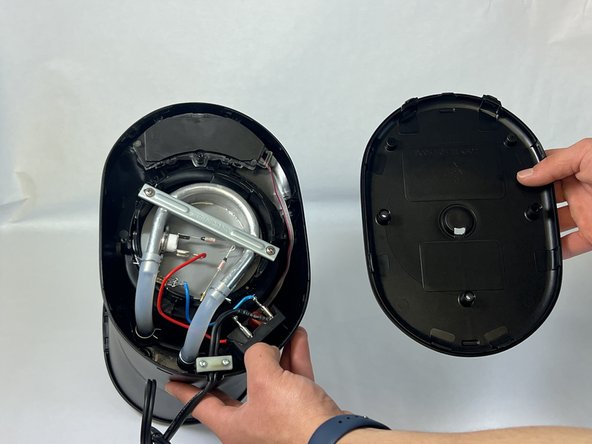
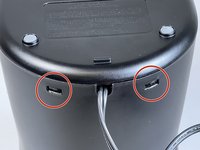
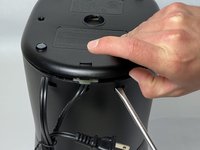
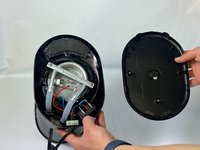
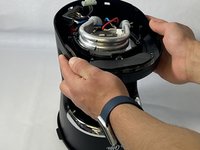
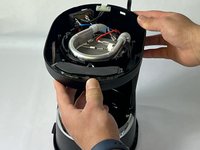
    • Use a flathead screwdriver to unclip the two clips from the back of the baseplate.

    • Unsnap the front clips and remove the baseplate.

  4. Mr. Coffee 5-Cup Mini Brew Thermal Fuse Replacement: step 4, image 1 of 3 Mr. Coffee 5-Cup Mini Brew Thermal Fuse Replacement: step 4, image 2 of 3 Mr. Coffee 5-Cup Mini Brew Thermal Fuse Replacement: step 4, image 3 of 3
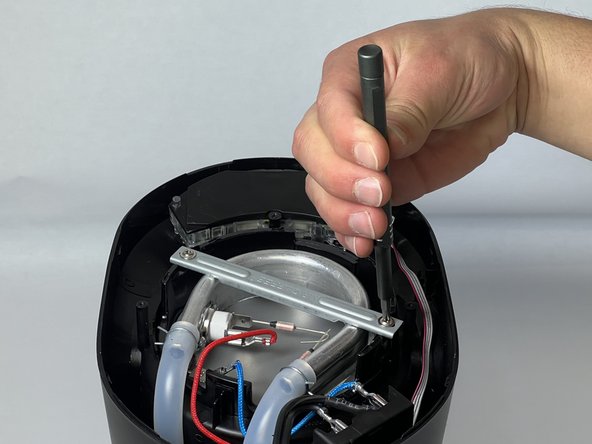
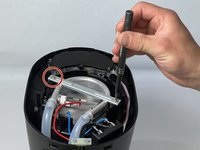
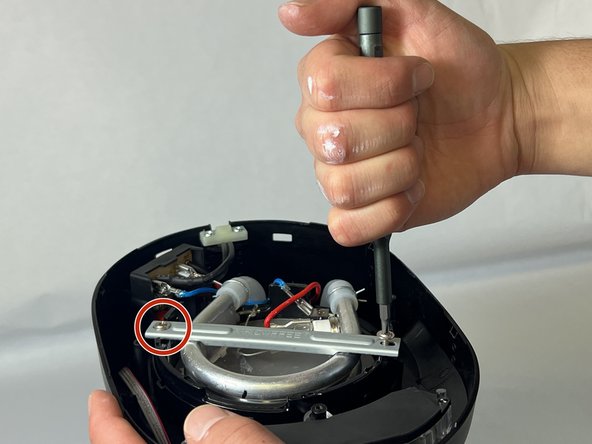
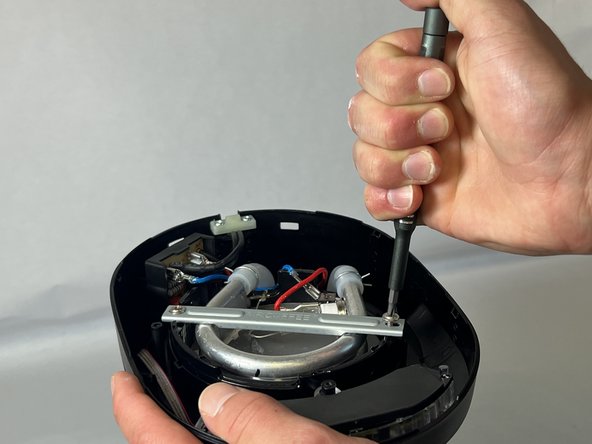
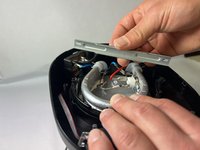
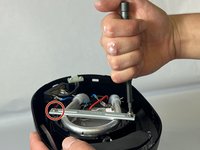
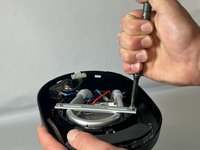
    • Use a Phillips screwdriver to remove the two 1.5 cm screws on the metal bracket.

  5. Mr. Coffee 5-Cup Mini Brew Thermal Fuse Replacement: step 5, image 1 of 3 Mr. Coffee 5-Cup Mini Brew Thermal Fuse Replacement: step 5, image 2 of 3 Mr. Coffee 5-Cup Mini Brew Thermal Fuse Replacement: step 5, image 3 of 3
    • Rotate the Mr. Coffee machine around so the front is facing you.

  6. Mr. Coffee 5-Cup Mini Brew Thermal Fuse Replacement: step 6, image 1 of 1
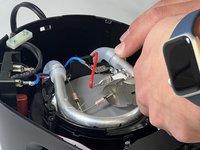
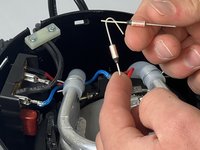
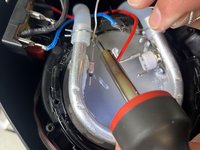
    • Locate the two thermal fuses.

    • The thermal fuses are attached to two different mounts and to each other.

  7. Mr. Coffee 5-Cup Mini Brew Thermal Fuse Replacement: step 7, image 1 of 3 Mr. Coffee 5-Cup Mini Brew Thermal Fuse Replacement: step 7, image 2 of 3 Mr. Coffee 5-Cup Mini Brew Thermal Fuse Replacement: step 7, image 3 of 3
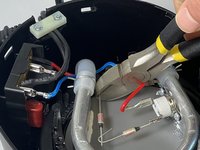
    • Clip each fuse where it connects with its mount with wire cutters.

    • Discard the fuses.

  8. Mr. Coffee 5-Cup Mini Brew Thermal Fuse Replacement: step 8, image 1 of 3 Mr. Coffee 5-Cup Mini Brew Thermal Fuse Replacement: step 8, image 2 of 3 Mr. Coffee 5-Cup Mini Brew Thermal Fuse Replacement: step 8, image 3 of 3
    Tool used on this step:
    Tweezers
    $4.99
    Buy
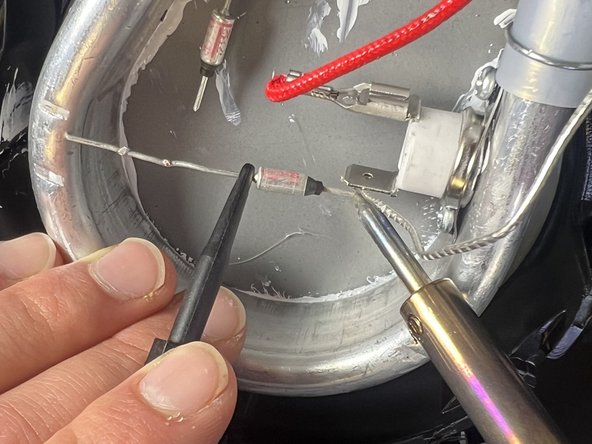
    • Do not touch the hot soldering iron. Use in a well ventilated area.

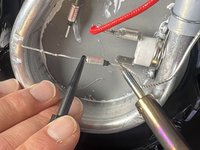
    • Hold the tail of the fuse with tweezers at the contact point from the previous fuse.

    • Avoid contact with soldering iron and other internal components.

    • Melt the solder material with the soldering iron at the point of contact until it melts and beads onto the tail of the fuse.

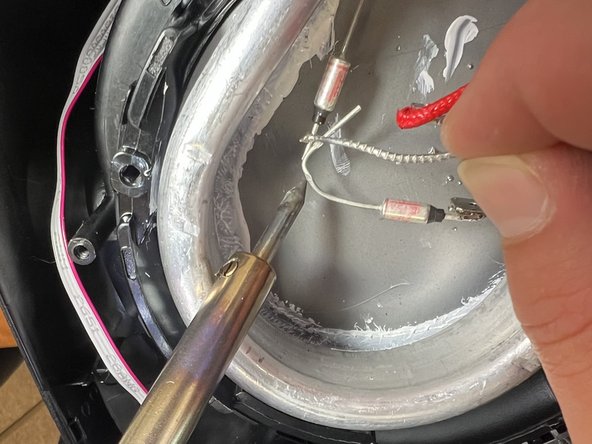
    • Hold the head of the new fuse with the tweezers at the contact point from the removed fuse.

    • Melt the solder material with the soldering iron at the point of contact until it melts and beads onto the head of the fuse.

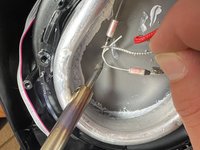
    • While touching the wires of the fuses together, melt the soldering material with the soldering iron until it melts and beads onto the two wires.

  9. Mr. Coffee 5-Cup Mini Brew Thermal Fuse Replacement: step 9, image 1 of 3 Mr. Coffee 5-Cup Mini Brew Thermal Fuse Replacement: step 9, image 2 of 3 Mr. Coffee 5-Cup Mini Brew Thermal Fuse Replacement: step 9, image 3 of 3
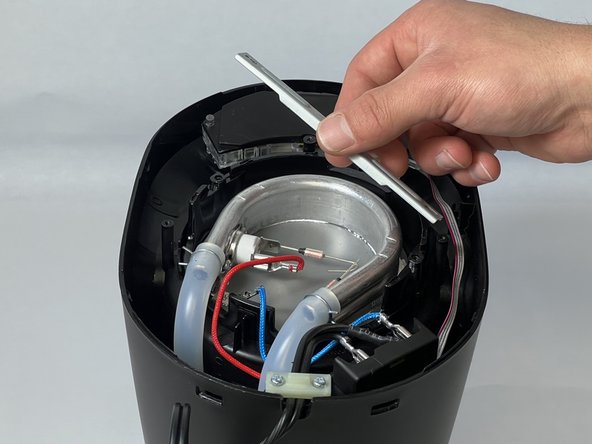
    • Place the support beam back into the original place.

    • Use a Phillips #1 screwdriver to fasten the 1.5 cm screws into place on the metal bracket.

    • The screws can be distinguished by looking at the head type. The two Phillips screws are for the metal support beam on the inside. The three tri-point head type screws are for securing the baseplate on the outside.

  10. Mr. Coffee 5-Cup Mini Brew Thermal Fuse Replacement: step 10, image 1 of 1
    • Clip baseplate back into place by snapping the front into the clips first and then the back clips (by the cord).

  11. Mr. Coffee 5-Cup Mini Brew Thermal Fuse Replacement: step 11, image 1 of 2 Mr. Coffee 5-Cup Mini Brew Thermal Fuse Replacement: step 11, image 2 of 2
    • Use a Y1 Tri-point screwdriver to fasten the three 1.5 cm screws into place on the baseplate.

Finish Line

Megan Wood

Member since: 01/22/24

193 Reputation

1 Guide authored

Team

UC Davis, Team 1-3, Morris Winter 2024 Member of UC Davis, Team 1-3, Morris Winter 2024

UCD-MORRIS-W24S1G3

3 Members

1 Guide authored

One Comment

My Mr. Coffee 5-cup coffeemaker machine is brand new, and never used. When plugged in the "On" button is lit but it stays quiet and does not brew. Also, the carafe plate and the water both stay cold. I opened up the bottom plate and everything looked tight, connected, and squeaky clean as it left the factory. Since it is out of warranty, the company is not willing to do anything. Any suggestion as to what might have gone wrong? Thanks.

My email: asarverma@yahoo.com

Anand - Reply

Add Comment

View Statistics:

Past 24 Hours: 3

Past 7 Days: 16

Past 30 Days: 66

All Time: 767