
Nextbook Flexx 10 Battery Pack Replacement

Introduction
Go to step 1With this guide you will be able to successfully remove the damaged or old battery pack.
What you need

-
-
To begin, remove the screen from the keyboard.
-
Open the 2-in-1, and hold the screen.
-
Press the silver button at the top of the keyboard.
-
When the screen lifts up, gently lift the screen away from the keyboard.
-
-
-
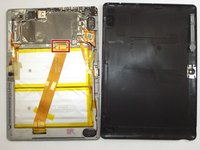
Removing the back cover will invalidate your warranty.
-
You may use your fingers, or a spudger. Be careful not to break your cover OR your fingernail. Removing the cover requires good judgement.
-
The goal is to separate the black from the silver. Start in a corner, or a flat edge -- whichever works best for you. Remember to not use too much force.
-
Once you start the initial separation, keep going until you free one edge. The goal now is to free three edges of the rectangle.
-
If your progress stops on one side of the rectangle, go to the other side and try there.
-
-
-
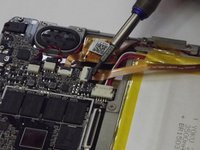
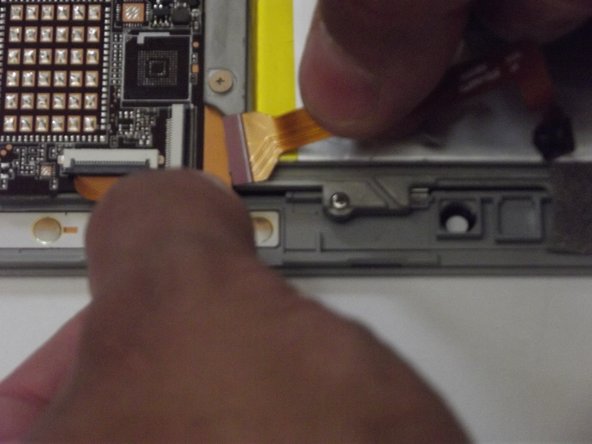
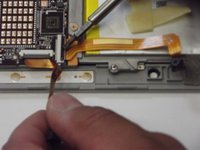
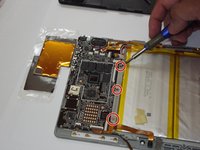
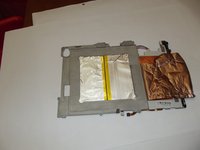
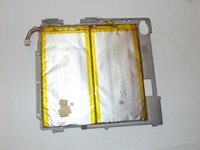
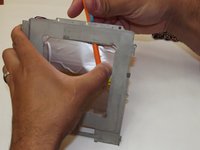
To remove the battery section of the device from the circuit board remove, use the small Phillips head screwdriver for the 3 small screws near the top.
-
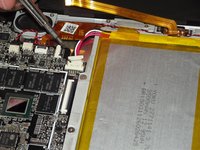
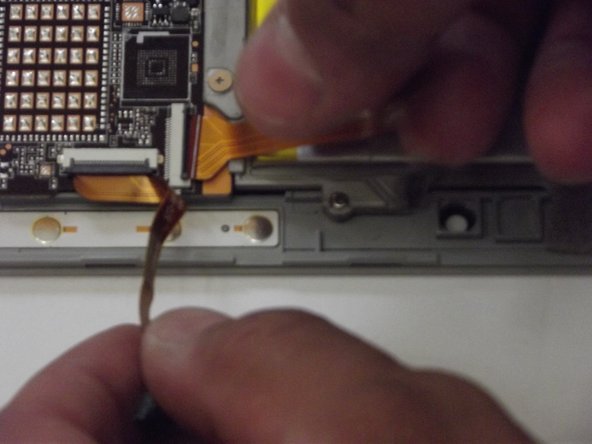
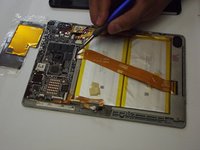
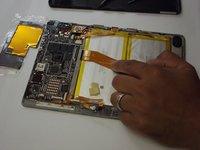
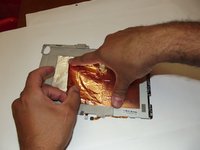
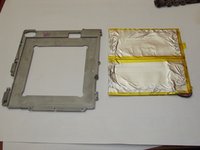
To get the battery pack completely away from the circuit board there is copper foil on the back of the battery.
-
be careful not to rip the copper foil. Pull the foil slowly an evenly.
-


To reassemble your device, follow these instructions in reverse order.
To reassemble your device, follow these instructions in reverse order.
Cancel: I did not complete this guide.
4 other people completed this guide.

Team

Western Carolina University, Team S1-G4, Virtue Fall 2017 Member of Western Carolina University, Team S1-G4, Virtue Fall 2017
WCU-VIRTUE-F17S1G4
5 Members
12 Guides authored