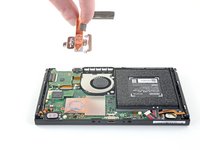
Nintendo Switch Headphone Jack and Game Card Board Replacement
Introduction
Go to step 1This is an archived guide. The updated version can be found here.
What you need
Fix Kit
This kit contains all the parts and tools needed to complete this guide.
Parts
Tools
Show more…
-
-
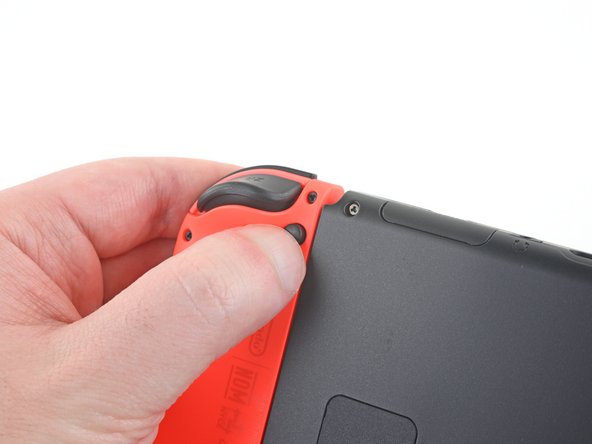
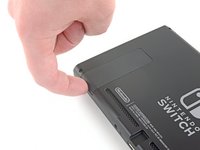
Press and hold down the small round button on the back of the Joy Con controller.
-
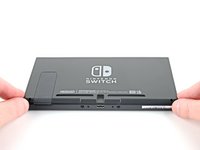
While you hold down the button, slide the controller upward.
-
-
-
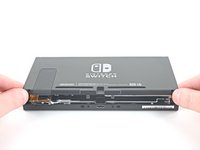
Continue sliding the Joy Con upward until it's completely removed from the console.
-
-
Tool used on this step:Magnetic Project Mat$19.95
-
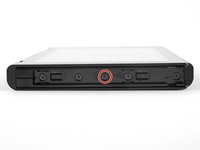
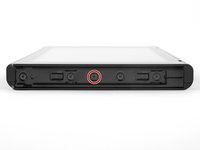
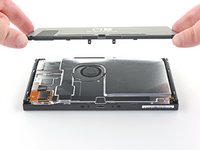
Use a Y00 screwdriver to remove the four 6.3 mm-long screws securing the rear panel.
-
-
-
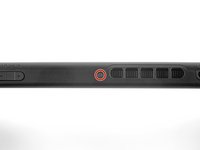
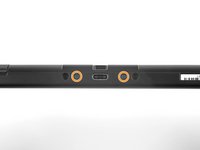
Use a JIS 000 driver or an official iFixit PH 000 driver to remove the following screws securing the rear panel:
-
One 2.5 mm-long screw on the top edge of the device
-
Two 2.5 mm-long screws on the bottom edge of the device
-
-
-
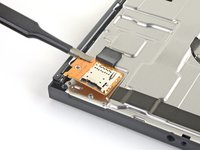
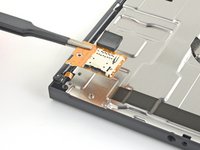
Use a JIS 000 screwdriver or an official iFixit PH 000 driver to remove the 3.1 mm screw securing the microSD card reader to the device.
-
-
-
Use a JIS 000 screwdriver or an official iFixit PH 000 driver to remove the six 3 mm screws securing the shield plate to the device.
-
-
-
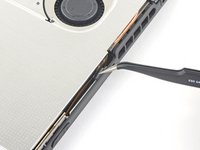
Insert a spudger underneath the shield plate along the edge of the device.
-
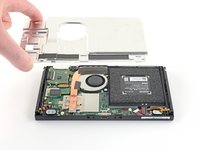
Pry up to lift the shield plate and remove it from the device.
-
You can reuse the pink thermal compound if you're careful. Keep the compound clean and make sure it makes solid contact between the heat sink and the shield during reassembly.
-
If you need to replace it, refer to our thermal paste guide to remove the old thermal compound and replace it with an appropriate compound, such as K5 Pro, during reassembly.
-
-
-
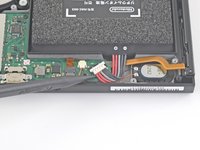
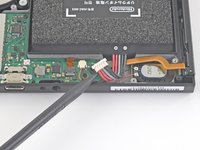
Use the point of a spudger to pry the battery connector straight up and out of its socket on the motherboard.
-
-
-
Use a JIS 000 screwdriver or an official iFixit PH 000 driver to remove the three 3 mm screws securing the heat sink to the motherboard.
-
-
-
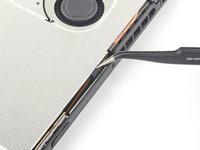
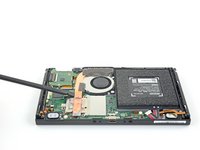
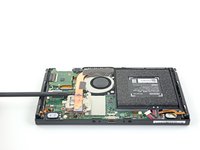
Carefully peel the two foam pieces stuck over both the heatsink and the fan away from the fan.
-
Insert the point of a spudger underneath the part of the foam that isn't stuck against anything,
-
Press the top of the foam with your finger to hold it in place.
-
Roll the spudger tip underneath the foam all the way to the other end of the foam to release it.
-
-
-
Remove the two 3.1 mm Phillips screws from the headphone jack bracket.
-
To reassemble your device, follow these instructions in reverse order.
To reassemble your device, follow these instructions in reverse order.


