Introduction
Use this guide to replace the motherboard in your Nintendo Switch OLED dock.
The Switch OLED's dock uses JIS screws, but you can use a Phillips screwdriver in a pinch. Be very careful not to strip the screws. iFixit's Phillips bits are designed to be cross-compatible with JIS-style screws.
Make sure to disconnect all cables from your dock before starting repairs.
What you need
-
-
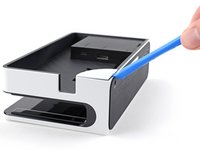
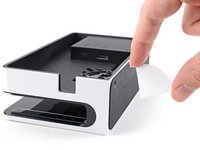
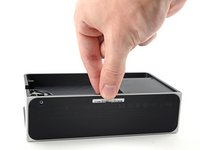
Use your fingers to pull the rear cover away from the frame and release its plastic clips.
-
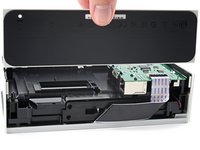
Remove the rear cover.
-
-
-
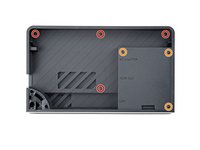
Use a Y0 screwdriver to unfasten the 7.5 mm-long screw securing the baseplate to the frame.
-
-
-
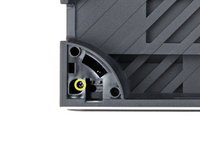
Insert an opening tool between the frame and the plastic screw cover at the bottom-left corner.
-
Pry up with the opening tool to separate the screw cover from the frame.
-
Remove the screw cover.
-
-
-
Use a Y0 screwdriver to remove the seven screws securing the midframe to the frame:
-
Four 3.9 mm screws
-
Three 7.5 mm screws
-
One 3.9 mm screw
-
-
-
-
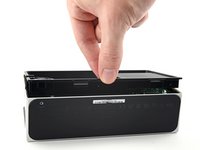
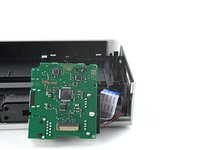
Use your fingers to pull the baseplate away from the frame and release it from its plastic clips.
-
Remove the baseplate.
-
-
-
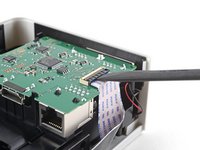
Use the flat end of a spudger to lift up the small locking flap on the motherboard cable's ZIF connector.
-
-
-
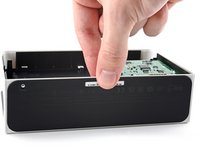
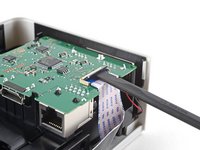
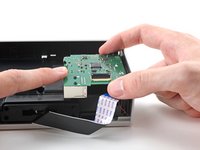
Use your finger to pull back on the plastic release tabs holding the motherboard in place.
-
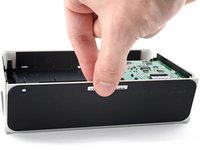
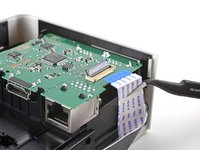
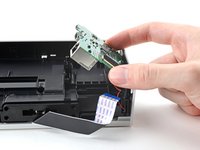
Pull the motherboard up and away from the frame to remove it.
-
Rest the motherboard by the frame before moving on to the next step.
-
-
-
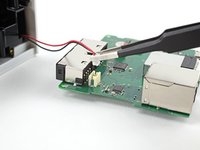
Use blunt tweezers, or your fingers, to pull the LED's JST connector out of its socket.
-


To reassemble your device, follow these instructions in reverse order.
Repair didn’t go as planned? Try some basic troubleshooting, or ask our Nintendo Switch OLED Answers community for help.
Compare your new replacement part to the original part—you may need to transfer remaining components or remove adhesive backings from the new part before you install it.
Cancel: I did not complete this guide.
One other person completed this guide.


2 Comments
Bonjour, bravo pour le tuto.
je suis à la recherche de la même carte mère.
avez-vous les références et surtout, où la trouver ?
Merci beaucoup.
Il y a cette pièce d'Aliexpress. Ce sera la meilleure offre : https://www.aliexpress.us/item/325680569...