
Nintendo Switch Right Joy-Con Buttons Replacement

Introduction
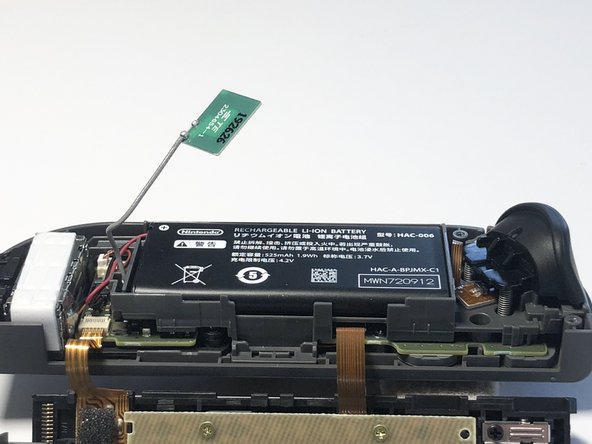
Go to step 1This guide aims to walk you through the steps required in replacing the face buttons on the right Joy-Con for the Nintendo Switch. This repair is slightly more difficult than the left Joy-Con as there are more components built into the right than there are in the left. Additional components to be aware of include the Infrared Sensor, Bluetooth Antenna, and NFC Antenna.
What you need
Parts


Tools


Show more…
-
-
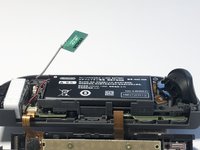
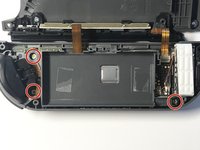
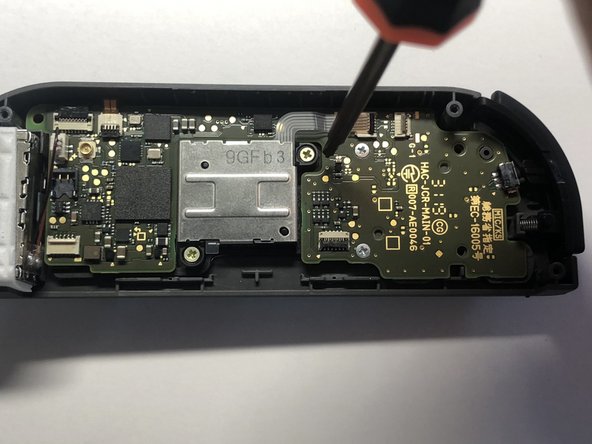
Use a Tri-wing Y00 screwdriver to remove the four 5mm screws holding the back panel in place.
-
-
Tool used on this step:Tweezers$4.99
-
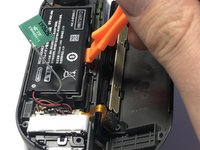
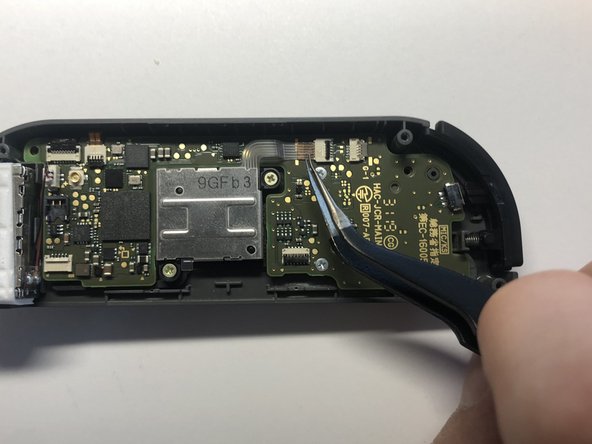
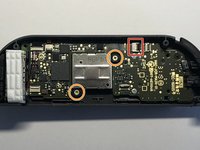
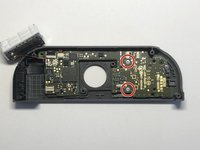
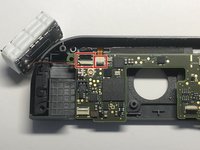
Using a pair of tweezers, gently lift the grey clasp holding down the ribbon cable and slide it out from its connector.
Connecting this ribbon cable back was the hardest part for me :) I think it's worth mentioning that this ribbon cable's contact points should be facing the bottom when connecting it.
-
-
-
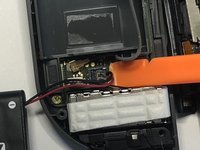
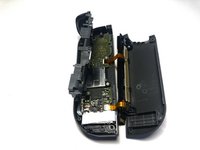
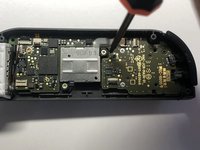
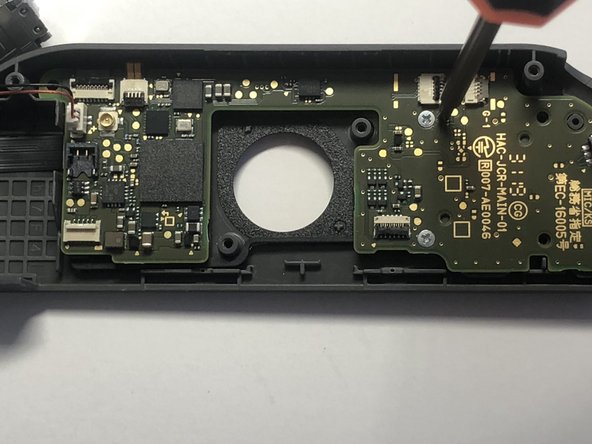
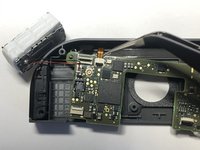
Using tweezers, gently lift the black and white clasps holding the two ribbon cables.
-
Slide the two ribbon cables out from their connectors to release the back panel and guide rail assembly.
-
-
-
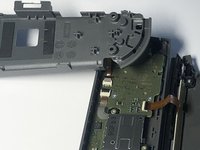
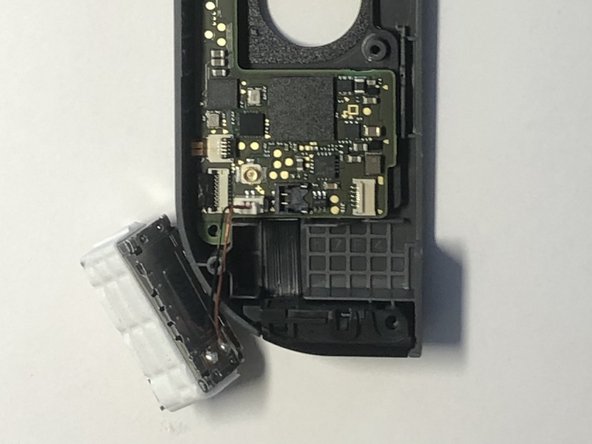
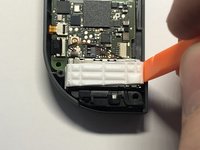
Remove the right shoulder button from its holder.
-


To reassemble your device, follow these instructions in reverse order. Be sure not to screw the motherboard in too tight as this may affect the responsiveness of the buttons. Always apply even pressure to screws when reinstalling the components; one side should not be tighter than the other.
To reassemble your device, follow these instructions in reverse order. Be sure not to screw the motherboard in too tight as this may affect the responsiveness of the buttons. Always apply even pressure to screws when reinstalling the components; one side should not be tighter than the other.
Cancel: I did not complete this guide.
40 other people completed this guide.

Team

York University, Team S1-G17, O'Regan Summer 2020 Member of York University, Team S1-G17, O'Regan Summer 2020
YORK-O'REGAN-SU20S1G17
1 Member
7 Guides authored
9 Comments
How do I take the black inner part of the home button out of it’s holding thing?
I need help with this as well. In the last picture you can see how the home button sits in a clear plastic ring and I cant get it out of there to place my new colorful home button
Doesn’t include how to change the trigger button…. :/
Super guide as always. Succesfully replaced the sl and sr buttons. Thanks!!
Thanks, I had a problem with the A button sometimes not registering, but after following this guide and simply cleaning both contact points and rubber pad, the button works as new again :)
Would it be possible for a lot more of these steps to have before and after pictures to better clarify with the layout of the covers and rubber bits are before taking them apart? I find myself coming to these guides for more visual indicators and many of them brush over what it's supposed to look like removing certain wires and connectors and such which I imagine is very important when you're dealing with very delicate and potentially costly to replace parts if disconnected improperly.
Philips #00 screwdriver is required for this task, but it's not in the tool list at the beginning.
Super guide qui m'a permis de changer les sticks par des sticks Gulikit à effet hall.
J'ai juste mal rebranché la nappe du bouton ZL, je n'avais pas fait attention au sens.