Introduction
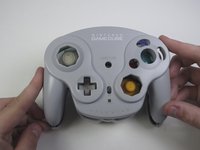
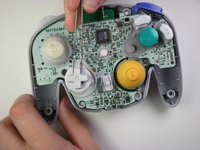
This guide will show you the steps on installing the motherboard. This will be helpful if the controller won't turn on or if it turns on and doesn't work.
What you need
-
-
Pull down on the battery cover release lever and pull back to remove the cover.
-
-
-
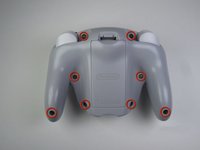
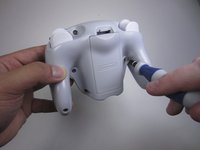
Remove the eight 9 mm screws from the back panel using the Tri-point Y1 screwdriver.
-
-
-
Tool used on this step:Tweezers$4.99
-
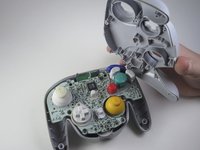
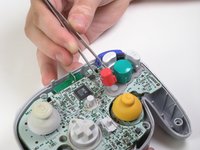
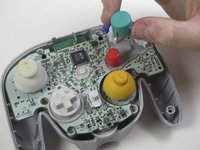
Using tweezers remove the three grey button pads from the motherboard.
-
To reassemble your device, follow these instructions in reverse order.
Cancel: I did not complete this guide.
7 other people completed this guide.


