Introduction
Follow this guide to remove the OnePlus 3’s battery. The hardest part of the guide is getting the frame clips free.
If your battery is swollen, take appropriate precautions.
For your safety, discharge your battery below 25% before disassembling your phone. This reduces the risk of a dangerous thermal event if the battery is accidentally damaged during the repair.
Note: Make sure the battery is the correct model before starting this repair. OnePlus 3 (BLP613) and OnePlus 3T (BLP633) are not interchangeable.
What you need
-
-
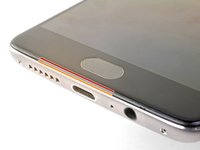
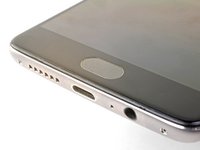
Insert a SIM eject tool, bit, or straightened paperclip into the hole located between the SIM card slot and the power button.
-
Press firmly to eject the SIM card tray.
-
-
-
Display panel seam: This seam is part of the display assembly. Do not pry at this seam, or you will separate and damage the display panel.
-
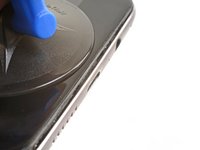
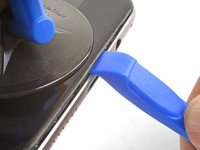
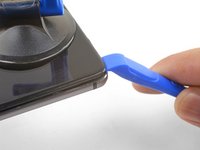
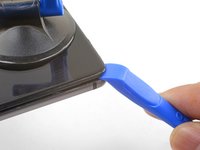
Frame seam: This is where the plastic frame meets the back cover. It is recessed into the back cover. Only pry at this seam.
-
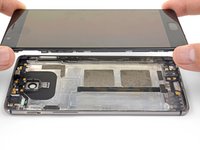
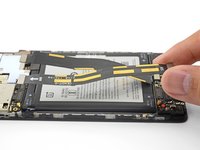
There are fourteen clips that hold the frame against the rear case. Be aware of their location as you pry the back cover off in the following steps.
-
-
-
-
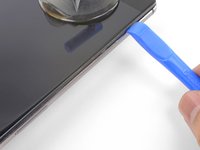
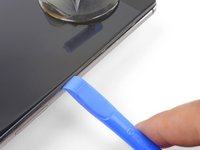
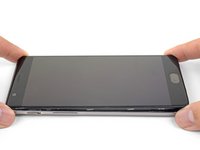
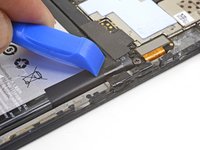
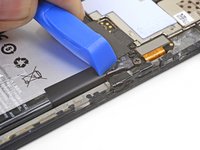
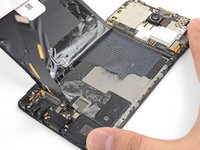
With the bottom and left edge of the phone freed, gently wiggle the frame to release the top and right edge clips.
-
Lift the screen up and remove it.
-
Align the top edge of the frame to the back cover and ensure that the top clips slip into place.
-
Squeeze along the long edges of the phone to snap the remaining clips into place.
-
-
-
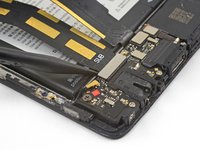
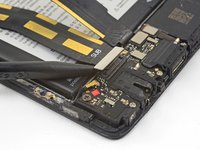
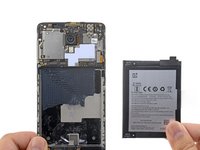
Use the point of a spudger to pry up and disconnect the battery connector from its socket, located above the top right corner of the battery pack.
-
Bend the connector away from the socket to prevent accidental contact.
-
-
-
Remove the 3 mm Phillips screw securing the cable bracket.
-
Remove the cable bracket.
-
-
-
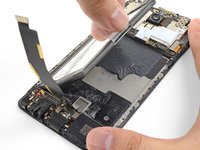
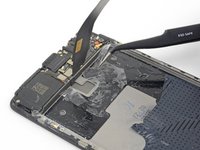
Use the point of a spudger to pry up and disconnect the interconnect flex cable from the daughterboard, which is located below the battery.
-


To reassemble your device, follow these instructions in reverse order.
For optimal performance, calibrate your newly installed battery: Charge it to 100% and keep charging it for at least 2 more hours. Then use your device until it shuts off due to low battery. Finally, charge it uninterrupted to 100%.
Take your e-waste to an R2 or e-Stewards certified recycler.
Repair didn’t go as planned? Check out our OnePlus 3 Answers community for troubleshooting help.
Cancel: I did not complete this guide.
58 other people completed this guide.


13 Guide Comments
Is this tutorial and the repair kit also applicable for the OnePlus 3T model? Thanks in advance for helping!
The tutorial for the 3T model would be similar, but not completely identical to this guide. Since the battery capacity is different between the 3 and 3T, the repair kit would not be applicable. However, the tools are most likely the same.
Thanks for your response Arthur! Is it planned to offer a battery kit also for the OnePlus 3T? I’d definitely appreciate it since I can’t find any trustworthy OnePlus 3T batteries so far. Best regards!
Unfortunately, I don’t think we are releasing a 3T battery kit anytime soon.