
Oster Digital Electric Kettle BVST-EK5967 Thermal Cutoff Fuse Replacement
Introduction
Go to step 1Replacing this fuse lets the kettle heat water again.
What you need
Tools


Show more…
-
-
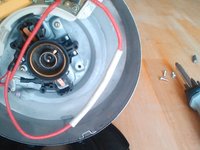
Remove the three screws. They are tri-wing or triangular slotted screws. My set labeled them as number 4.
-
Once removed the plastic cover comes right off.
-
-
-
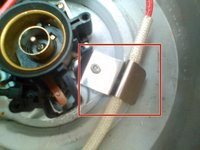
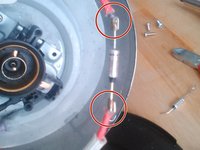
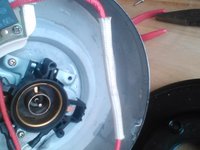
The Thermal Cutoff Fuse is pressed up against the heat element by a spring clip.
-
Remove the screw, a standard number 2 phillips head.
-
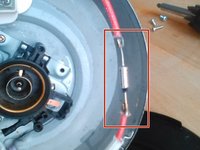
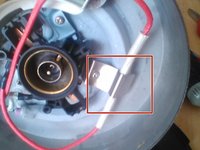
Slide the fiberglass sleeve down and off the fuse
-
-
-
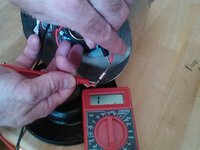
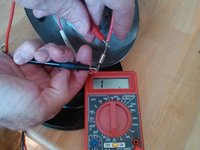
With ohm meter connected either way the fuse is open. A sure sign that the part is bad.
-
-
-
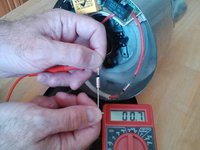
Testing the new fuse shows that electricity can flow through it.
-
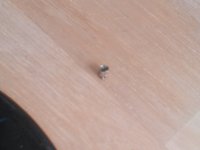
I purchased 5x of SF188E 192 10A/250V SEFUSE on ebay. You can just search for whatever is written on the side of yours.
-
-
-
Replace the fuse. The black band is down in this picture.
-
The difficult part is that this part is not soldered in, it is held together with a crimp band.
-
So one must slowly open the band and then crimp it back on the new fuse.
-
I really have no good way of doing this, and it is the most time consuming and frustrating part of the whole repair. Take your time with a pick and pliers and slowly open them and replace the fuse.
-
-
-
Now just slide the fiberglass sleeve back over the fuse.
-
Reattach the spring clip to hold the fuse on the heat element.
-
Make sure that the clip is directly over the fuse before tightening.
-
Replace the plastic cover and install the three tri-wing screws.
-


To reassemble your device, follow these instructions in reverse order.
To reassemble your device, follow these instructions in reverse order.
Cancel: I did not complete this guide.
22 other people completed this guide.
8 Comments
я не думаю, что это будет иметь значение для предохранителя. плавкий предохранитель рассчитан на 250 в, так что это может быть тот же предохранитель в 220 чайника.
я хотел бы посмотреть на предохранитель и посмотреть, если вы можете прочитать его. тогда просто заменить с тем же.
this helped me 100 percent
These steps worked fine for me. They are clear and concise. On Step 6, rather than trying to pry the crimp bands off, I cut them off and used new bands that came with the new fuse - much quicker.