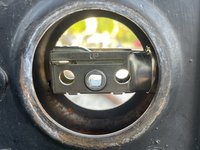
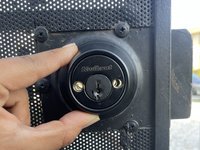
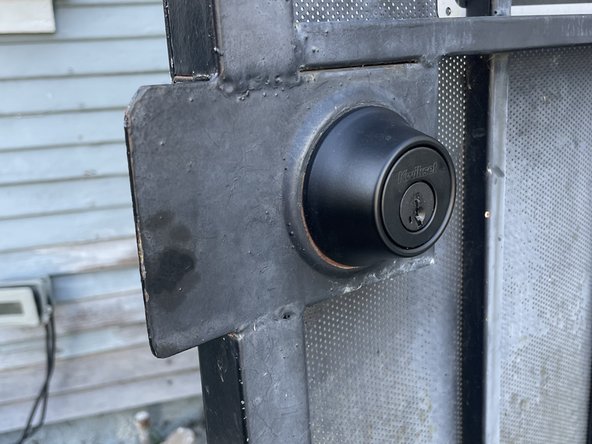
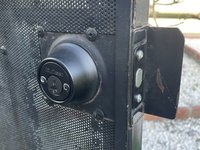
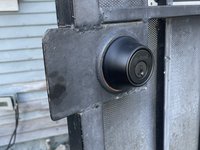
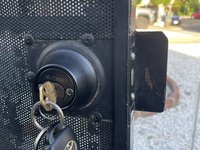
Outdoor Gate Deadbolt Replacement

What you need

  1. Outdoor Gate Deadbolt Replacement, Deadbolt: step 1, image 1 of 3 Outdoor Gate Deadbolt Replacement, Deadbolt: step 1, image 2 of 3 Outdoor Gate Deadbolt Replacement, Deadbolt: step 1, image 3 of 3
    • Remove the old deadbolt.

    • The gate should look like this before you begin installing the new deadbolt

  2. Outdoor Gate Deadbolt Replacement: step 2, image 1 of 3 Outdoor Gate Deadbolt Replacement: step 2, image 2 of 3 Outdoor Gate Deadbolt Replacement: step 2, image 3 of 3
    • From the front side of the gate, push the latch into the center of the opening. Adjust as needed.

    • Screw both of the short screws into the panel to the right of the latch.

  3. Outdoor Gate Deadbolt Replacement: step 3, image 1 of 3 Outdoor Gate Deadbolt Replacement: step 3, image 2 of 3 Outdoor Gate Deadbolt Replacement: step 3, image 3 of 3
    • Grab both of the long screws.

    • Adjust the back head of the doorknob to be facing in a straight upward position.

    • Screw in the long screws.

    • Make sure the screws are properly tightened.

  4. Outdoor Gate Deadbolt Replacement: step 4, image 1 of 2 Outdoor Gate Deadbolt Replacement: step 4, image 2 of 2
    • The back end and the front face of the deadbolt must line up.

    • Screw in the screws until they are fully tightened.

  5. Outdoor Gate Deadbolt Replacement: step 5, image 1 of 2 Outdoor Gate Deadbolt Replacement: step 5, image 2 of 2
    • Test out the new deadbolt with a key or door handle, depending on which one you may have.

Conclusion

To reassemble your device, follow these instructions in reverse order.

One other person completed this guide.

Kenneth

Member since: 03/20/24

121 Reputation

1 Guide authored

Team

0 Guide Comments

Add Comment

View Statistics:

Past 24 Hours: 1

Past 7 Days: 28

Past 30 Days: 147

All Time: 1,857