Introduction
The toughest part with this task is the separation of the outer shell and the inner workings. The two tabs that hold it together are hard to locate and separate. They do require a lot of force to actually get separated.
What you need
-
-
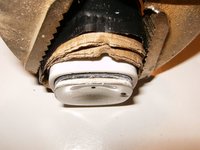
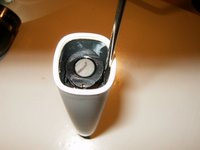
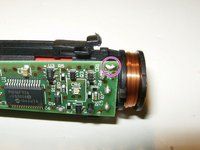
Here is the Philips Sonicare handle HX9340 that no longer holds a charge
-
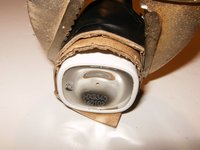
This is the bottom endcap that requires removal.
-
A few layers of cardboard gets wrapped around the handle to protect it from any marring or other damage.
-
-
-
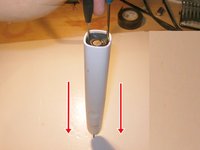
BEFORE trying with tools, it is possible to get the cap off as well as the inner part of the toothbrush without any tools. This will not damage the toothbrush; actually it will possibly save the toothbrush from being marred.
-
Simply push the metal head at the top of the tootbrush downwards into a hard surface with some force and the bottom cap and the inner part will pop out by itself.
-
This works on both old and new Sonicare models.
-
If this worked for you, simply skip Steps 3–6.
-
-
-
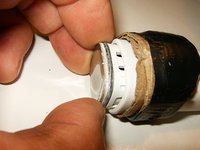
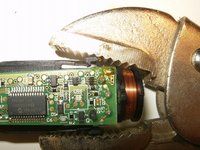
Using a pair of pliers to apply some pressure round the handle. The best place to start is the wider part of the rectangular base and about 1/2" to 3/4" from the bottom
-
Continue to apply pressures around the whole base of the the handle moving to each side of the rectangular base.
-
It may take a few complete rotations to finally open up the gap between base and handle.
-
-
-
-
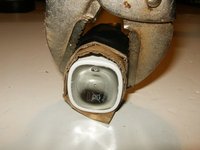
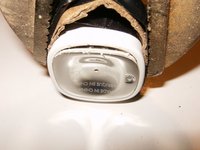
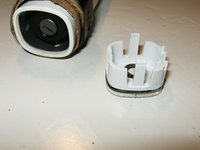
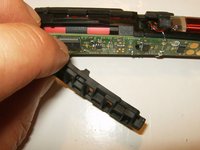
Here is the endcap showing the tabs that hold it securely in place once inserted
-
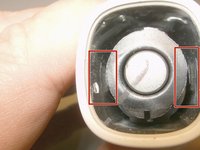
There will be two plastic tabs that hold the inner workings to the outside handle. These are hard to reach and not easy to see.
-
Using a long small flathead screwdriver (or similar tool) to find those tabs is the difficult part on this job.
-
-
-
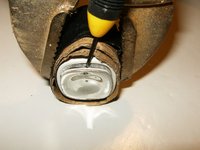
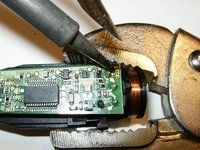
Once the tabs have been properly located, insert one tool on each side to loosen compress the base and apply downward pressure on the outer handle. For this the top end of the handle needs to rest against a solid base. It does require a considerable amount of downward force to accomplish this.
-
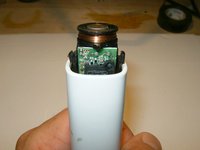
With the tabs loosened and the handle opushed downward, the inner workings of the toothbrush will loosen and pop out of the handle.
-
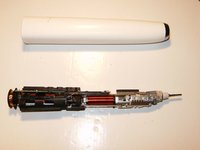
Remove the mechanics out of the handle.
-
-
-
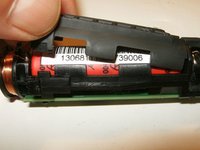
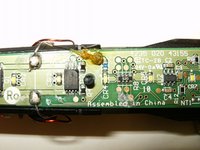
There are three places that will have to be desoldered.
-
Positive battery contact
-
Negative battery contact
-
and a jumper
-
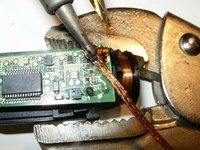
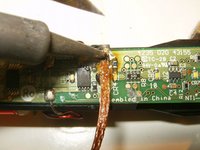
For the jumper the only thing required is to remove the solder between the pads.
-
Apply some flux to the jumper. The pliers will help to stabilize the PCB during soldering. any other means to hold it steady can be used.
-
-
-
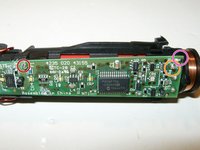
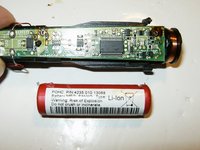
Battery removed from the PCB and the solder pads on the PCB are now clearly visible
-
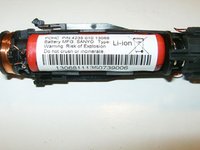
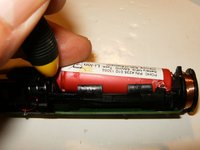
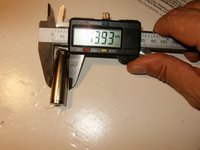
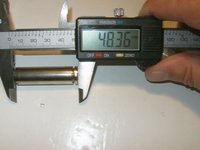
In an attempt to determine the type off battery the red plastic covering was removed. The battery is a 3.7V lithium-ion battery that measures approximately (rounded) 14mmX49mm. Roughly the size of a AA battery.
-


To reassemble your device, follow these instructions in reverse order.
To reassemble your device, follow these instructions in reverse order.
Cancel: I did not complete this guide.
50 other people completed this guide.

Team

32 Comments
Nach dem wechsel der Batterie leuchten alle Lampen, aber die Bürste gibt keine Vibrationen ab. Wo ist der fehler? Hatte jemand dieses Problem?
After replacement of the akku all lamps are flashing but there is no function of the vibration-module. anyone knows this problem?
Das wird wahrscheinlich daran liegen, dass zwischen der Antriebseinheit und der BürstenWelle kein Platz ist. Sprich der Magnet liegt auf der Antriebseinheit an. Um das Problem zu lösen musst du zwei feststellschrauben lösen, den Spalt herstellen und dann die feststellschrauben wieder anziehen. Dann sollte die BürstenAufnahme wieder schwingen.
Thanks for information. This guide leads to success. *Thumbs up* My Sonicare is back at work now. :-)