Introduction
A guide on the teardown and replacement of the VARTA CP1654 battery for a Plantronics Backbeat Fit.
What you need
-
-
Tools: exacto knife (dull blade), soldering iron, tweezers, and a soldering microscope.
-
Materials: VARTA CP1654 replacement battery, Glue (I used clear gorilla glue)
-
-
-
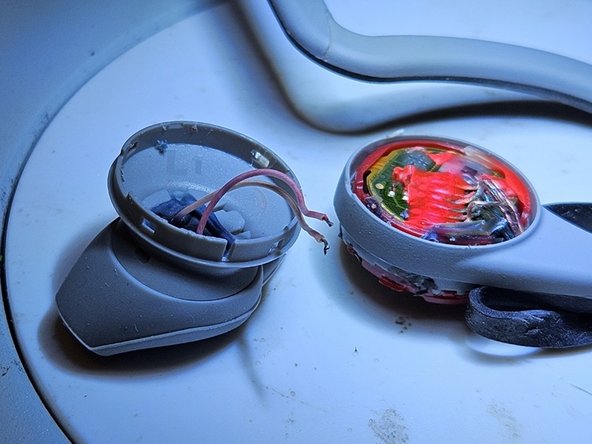
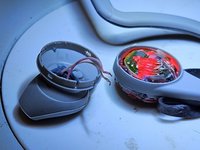
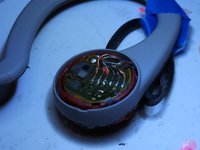
There are two sides of the device. We are working on the play/pause button side, the left earpiece.
-
Start by peeling the edge of the rubber edging on the far end of the left ear piece. There should be a minor amount of glue holding the rubber to the earpiece housing; be careful to not rip the rubber, just take your time cutting back any glue.
-
Throughout this guide, take note of the locations where glue has been applied. I do not go into great detail for re-assembly on where to glue.
-
-
-
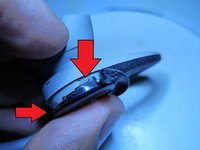
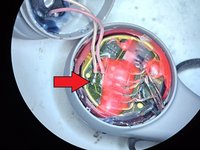
To remove the button faceplate, you must carefully remove the glue points holding the plate onto the battery module inside the assembly. It also helps to gently pry the side of the housing away (but not too much!).
-
WIth the plate removed, put that aside, and be careful to not separate by button from the surround or the gasket.
-
-
-
-
With the button cover removed, next separate the earpiece from the main housing. Slide the exacto knife along the perimeter to free up the glue.
-
Note: be careful to not cut the wires or any tangs, you are just trying to break the glue bond.
-
With the glue free, you can gently pry the earpiece out. If enough glue was released, the tangs should come out undamaged.
-
-
-
At this point you should probably write down the wire colors.
-
Desolder the two leads holding the speaker to the earpiece.
-
-
-
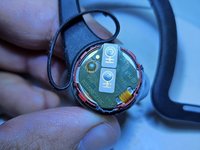
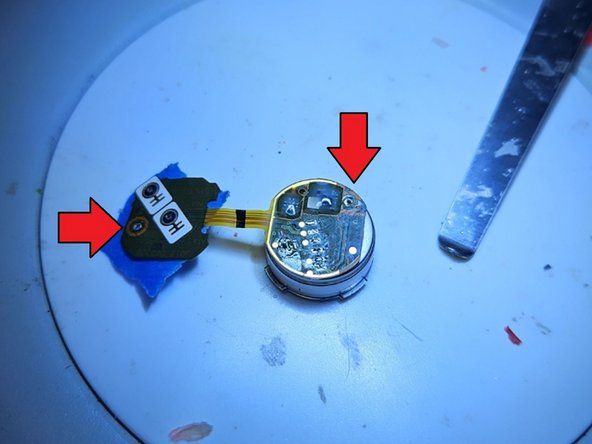
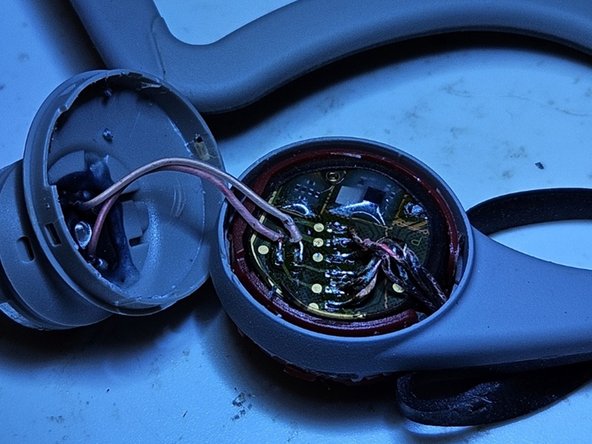
Carefully remove the glue holding down the 6 wires to the back of the battery pack.
-
At this point, write down the colors and wiring order before desoldering.
-
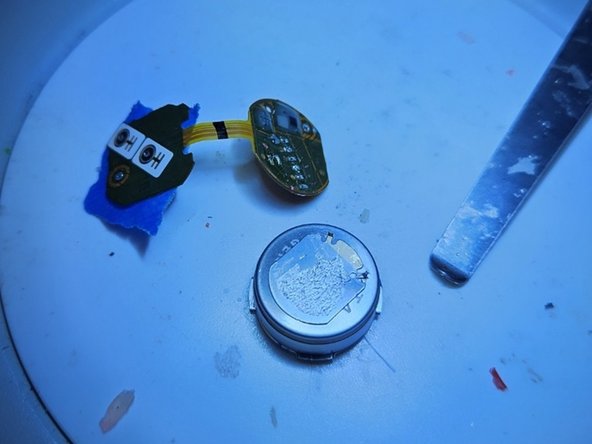
Desolder the wires and lift away.
-
Flip the earpiece over the other side and carefully run the knife around the perimeter of the earpiece to free up any glue.
-
With the glue free, you can carefully push the battery pack assembly out of the earpiece.
-
-
-
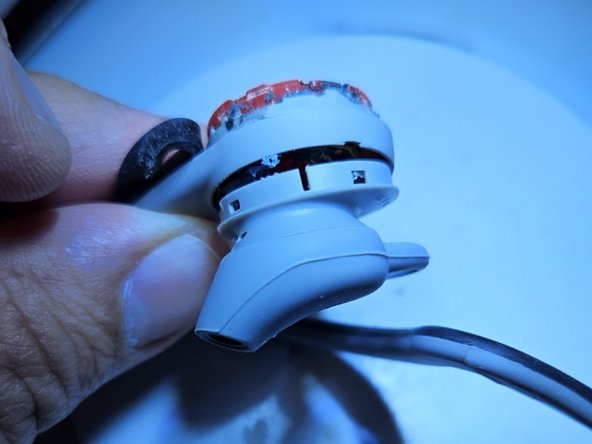
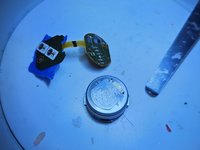
With the battery pack removed from the earpiece surround, you can work on the battery pack disassembly.
-
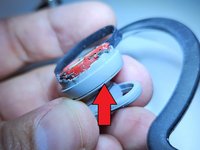
Start by gently prying back the red tangs of the red sleeve and pushing the battery pack out of the housing. The read sleeve will slide off as well as a black silicone sleve.
-
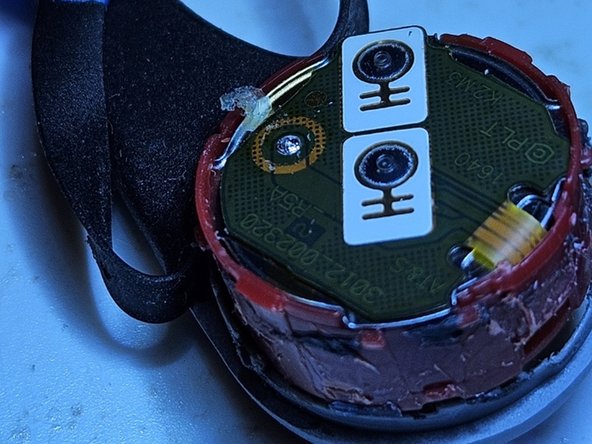
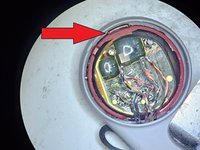
To remove the PCB from the battery, carefully cut the double sided tape underneath the board on the side away from the soldered joint.
-
Once you are close enough to the solder joint and board is flexing a little, desolder while gently prying the board up and away. This may take several heat and flex cycles to fully pull it away. Repeat this process for the other side.
-
By this point, the PCB should be free of the battery.
-
-
-
If your new battery does not have tangs to solder the PCB to the battery you'll have to add a bond wire as you see fit. Pay attention to polarity as well!
-
Assemble in reverse order. Glue in the same locations where you noticed during disassembly.
-
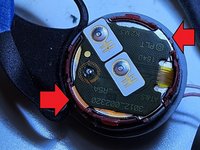
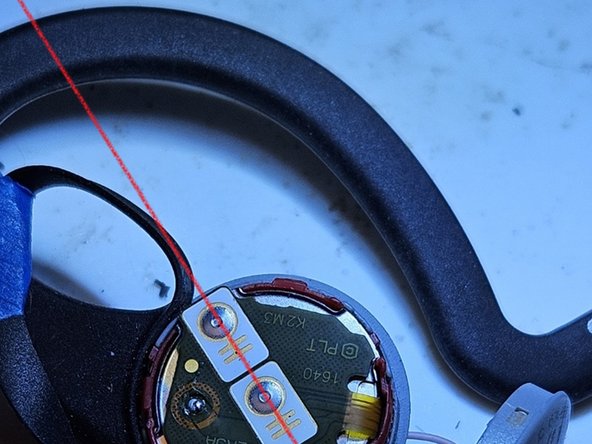
Note: Pay attention to the clock angle / orientation of the PCB with respect to the red sleeve, with respect to the earpiece housing. The red sleeve can only go in at one clock angle, and the pcb should be oriented with the buttons pointing up with respect to your ear (point towards the top of the ear loop).
-
Note: Upon completing re-assembly, the electronics may be in a defunct state. One way to reset the processor is by holding down the power button while inserting the charging cable.
-


To reassemble your device, follow these instructions in reverse order.
Attached Documents
1 Guide Comment
I have tried to find a battery with tangs but the tangs are not in the right places so I could not solder it back to the circuit board. What if I can get ones with bond wires? Where exatly should I connect the wires to? Soldering them to where the soldering points are?