
Propel Graviton Rotor Assembly Replacement
Introduction
Go to step 1When drones crash into obstacles or the ground, parts can be damaged. Debris (any foreign material) may become lodged in gears and cause them to break, or blunt force may damage them.
If your drone’s rotor assembly isn’t functioning properly because of damaged or dirty parts, then this guide is for you.
All four of the drone’s rotor assemblies are the same (minus the camber of the propellers, two of which are labeled A and the other two, B). This guide can be used to repair any of these by replacing their broken components.
What you need


-
-
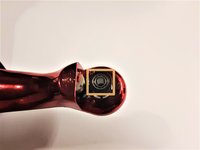
Remove the 4mm screw that holds the propeller to the axle using a Phillips #00 screwdriver.
-
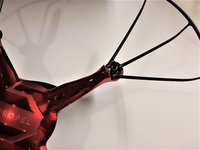
Remove the propeller by pulling it upwards away from the assembly.
-
-
Tool used on this step:Tweezers$4.99
-
Remove the three 6mm screws holding the propeller guard with a Phillips #00 screwdriver
-
-
-
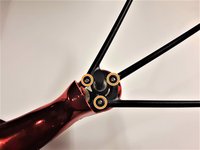
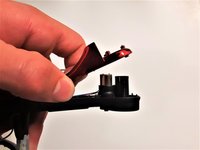
Using your finger, gently push on the top of the propeller axle and remove out of the bottom of its housing.
-
-
-
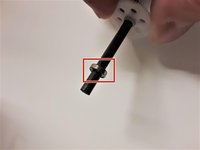
Remove the wheel bearing from the axle using your fingers.
-
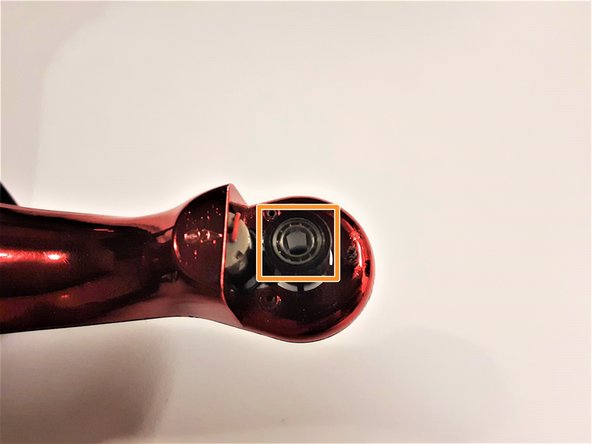
Remove the wheel bearing from the axle housing with a pair of tweezers.
-
-
-
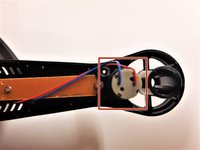
Gently pry the top and bottom drone housing apart with a spudger to reveal the motor.
-
Replace the motor (if it is necessary).
-


Team

Embry-Riddle Aeronautical University, Team S3-G5, Cromer Twal Fall 2020 Member of Embry-Riddle Aeronautical University, Team S3-G5, Cromer Twal Fall 2020
ERAU-CROMER TWAL-F20S3G5
1 Member
1 Guide authored