
Rear Axle Removal

Prerequisite Only
This guide is only intended to be used as a prerequisite for other guides. It's incomplete by itself.

What you need

  1. Rear Axle Removal, Disconnect the spark plug wire: step 1, image 1 of 2 Rear Axle Removal, Disconnect the spark plug wire: step 1, image 2 of 2
    • Before you begin, ensure that the mower is powered down and cool to the touch.

    • Grab the plastic housing at the end of the spark plug wire and pull firmly to disconnect it.

  2. Rear Axle Removal, Chock the rear wheels: step 2, image 1 of 1
    • Chock the rear wheels to prevent the mower from rolling during service.

    • If the blades are extremely dirty, you can clean them using the washout fitting so the bolts on the underside of the blade guard are accessible.

  3. Rear Axle Removal, Lift up the deflector: step 3, image 1 of 2 Rear Axle Removal, Lift up the deflector: step 3, image 2 of 2
    • Lift up the plastic deflector.

  4. Rear Axle Removal, Remove the grass bag: step 4, image 1 of 3 Rear Axle Removal, Remove the grass bag: step 4, image 2 of 3 Rear Axle Removal, Remove the grass bag: step 4, image 3 of 3
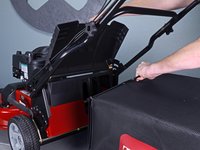
    • While holding the deflector up and out of the way, lift the grass bag handle away from the mower to detach it.

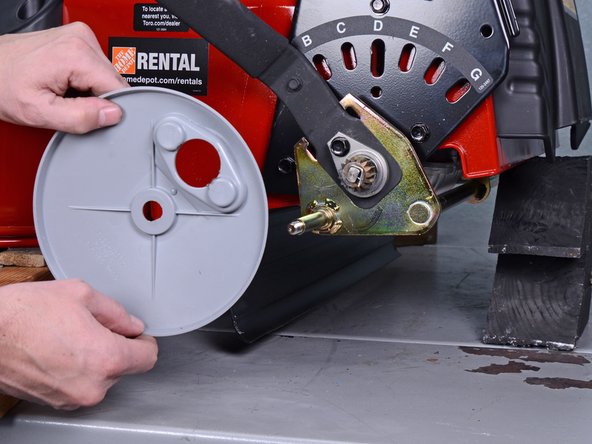
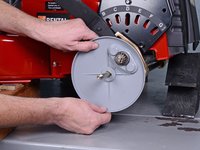
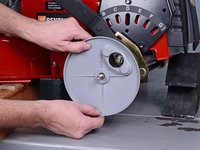
    • Remove the grass bag.

  5. Rear Axle Removal, Set the height adjustment lever: step 5, image 1 of 1
    • Set the height adjustment lever all the way forward, past the "A" setting, to loosen the axle spring underneath the mower.

  6. Rear Axle Removal, Tilt the mower on its side: step 6, image 1 of 1
    • Tilt the mower onto its side so the blades are facing out.

    • This may require two people.

  7. Rear Axle Removal, Unhook the axle spring: step 7, image 1 of 3 Rear Axle Removal, Unhook the axle spring: step 7, image 2 of 3 Rear Axle Removal, Unhook the axle spring: step 7, image 3 of 3
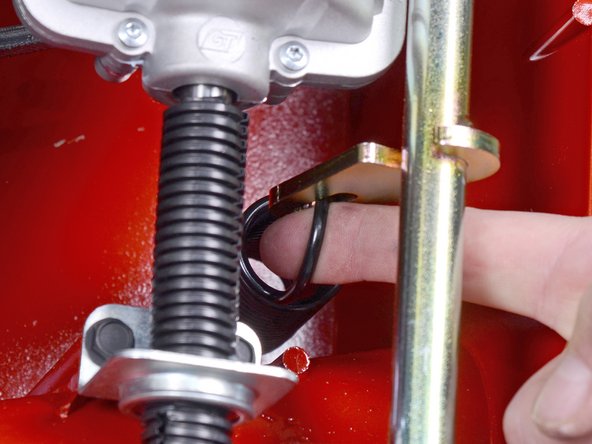
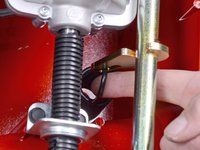
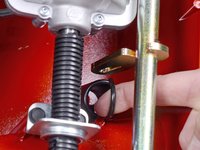
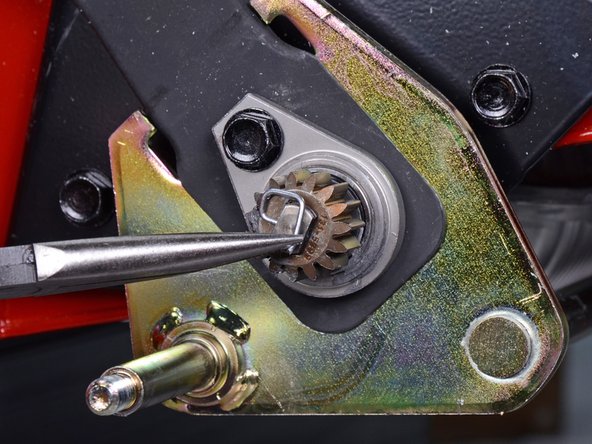
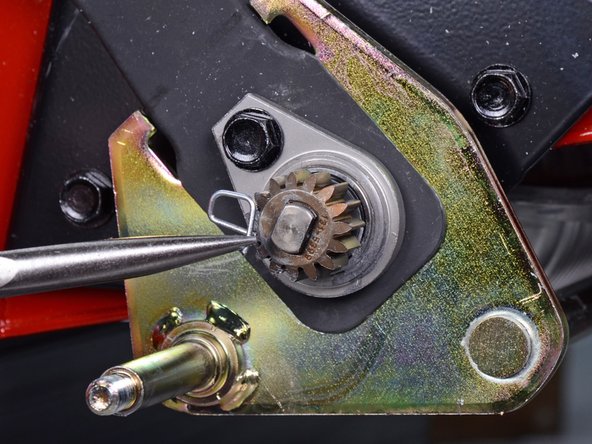
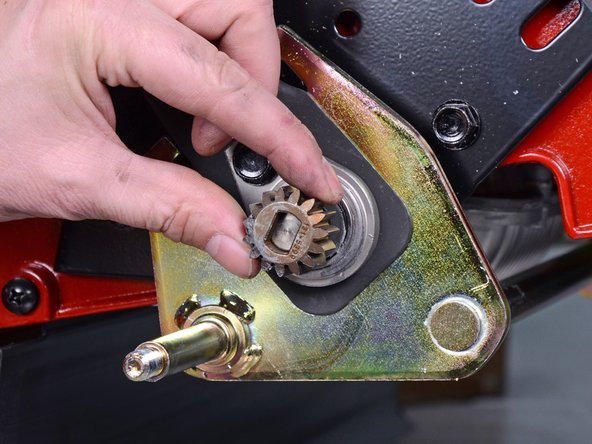
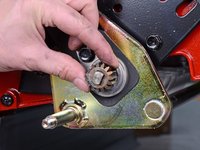
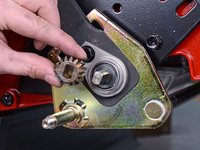
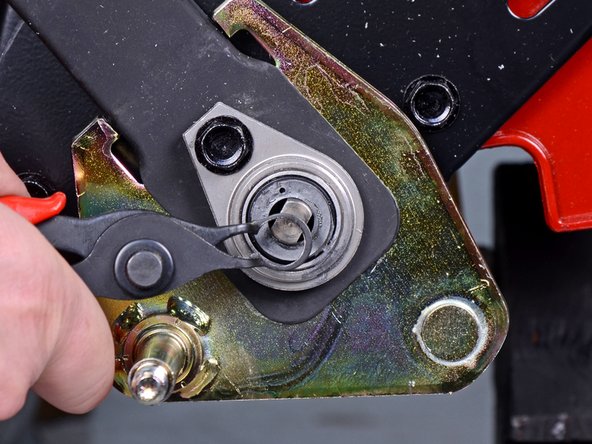
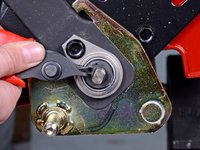
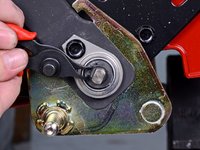
    • Reach underneath the axle, near the transmission, and pull the axle spring out towards the axle and down to unhook it.

    • Return the mower back to an upright position.

  8. Rear Axle Removal, Block up the mower: step 8, image 1 of 2 Rear Axle Removal, Block up the mower: step 8, image 2 of 2
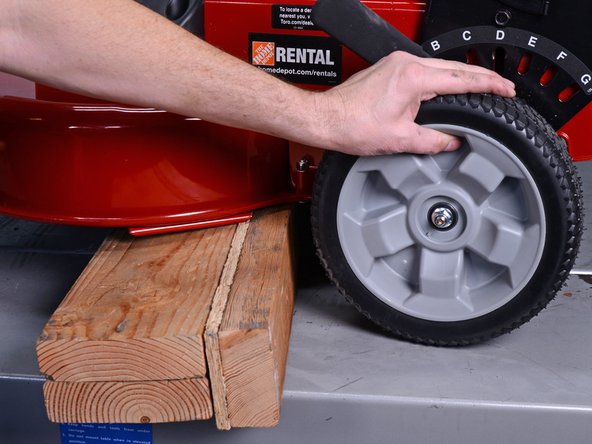
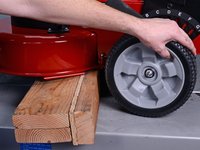
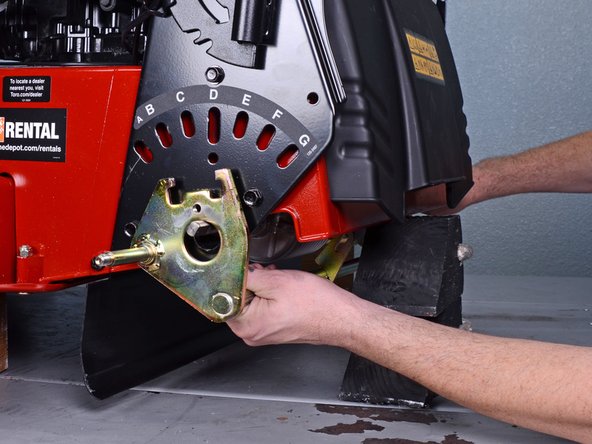
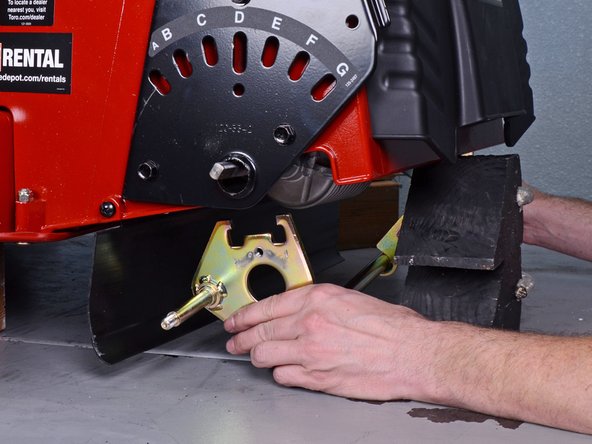
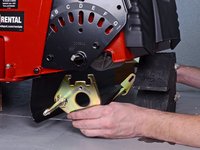
    • Place the mower on blocks so each wheel is above the work surface and can rotate freely.

  9. Rear Axle Removal, Remove the wheel: step 9, image 1 of 1
    • Use a 9/16 inch socket to remove the wheel nut.

  10. Rear Axle Removal: step 10, image 1 of 2 Rear Axle Removal: step 10, image 2 of 2
    • Remove the wheel.

  11. Rear Axle Removal, Remove the axle components: step 11, image 1 of 2 Rear Axle Removal, Remove the axle components: step 11, image 2 of 2
    • Remove the wheel washer.

  12. Rear Axle Removal: step 12, image 1 of 3 Rear Axle Removal: step 12, image 2 of 3 Rear Axle Removal: step 12, image 3 of 3
    • Remove the dust cover.

  13. Rear Axle Removal: step 13, image 1 of 3 Rear Axle Removal: step 13, image 2 of 3 Rear Axle Removal: step 13, image 3 of 3
    • Use a pair of needle nose pliers to remove the gear retaining pin.

  14. Rear Axle Removal: step 14, image 1 of 3 Rear Axle Removal: step 14, image 2 of 3 Rear Axle Removal: step 14, image 3 of 3
    • Remove the drive gear.

  15. Rear Axle Removal: step 15, image 1 of 3 Rear Axle Removal: step 15, image 2 of 3 Rear Axle Removal: step 15, image 3 of 3
    • Use a pair of snap ring pliers to remove the snap ring from the driveline.

  16. Rear Axle Removal: step 16, image 1 of 1
    • Remove the snap ring washer.

  17. Rear Axle Removal: step 17, image 1 of 1
    • Use a 1/2 inch socket to remove the driveline bearing retaining bolt.

  18. Rear Axle Removal: step 18, image 1 of 3 Rear Axle Removal: step 18, image 2 of 3 Rear Axle Removal: step 18, image 3 of 3
    • Firmly pull the driveline bearing away from the mower.

    • This bearing is holding the driveline in place, so some components may shift around during removal.

    • This may require some force.

    • Repeat the last nine steps for the right side of the mower, starting with removing the right wheel. Once complete, continue to the next step.

  19. Rear Axle Removal, Remove the height adjustment lever: step 19, image 1 of 2 Rear Axle Removal, Remove the height adjustment lever: step 19, image 2 of 2
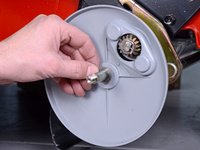
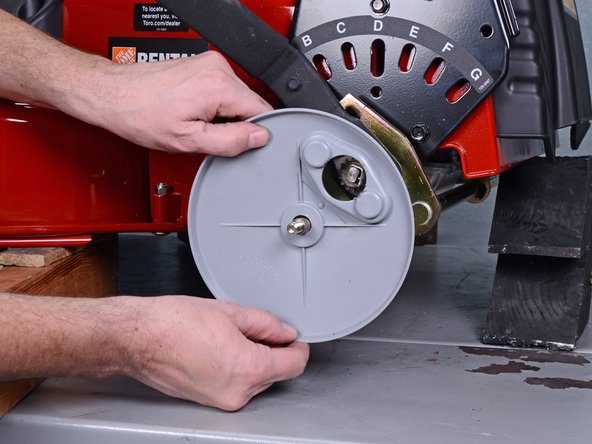
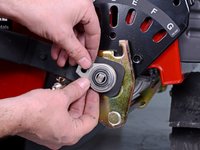
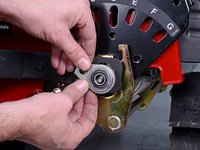
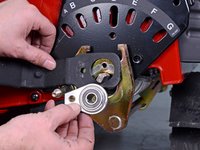
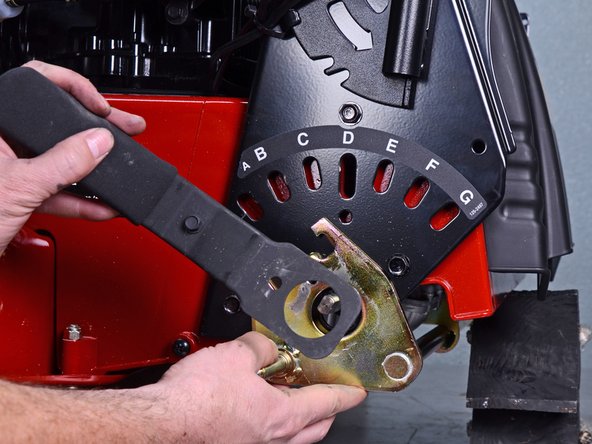
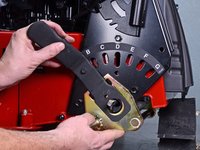
    • Remove the height adjustment lever from the left side of the mower.

  20. Rear Axle Removal, Remove the axle: step 20, image 1 of 3 Rear Axle Removal, Remove the axle: step 20, image 2 of 3 Rear Axle Removal, Remove the axle: step 20, image 3 of 3
    • Holding the left end of the axle with your left hand and the right end of the driveline with your right hand, firmly pull them in opposite directions—the axle to the left, and the driveline to the right.

    • While maintaining these opposing forces, squeeze both axles together.

  21. Rear Axle Removal: step 21, image 1 of 2 Rear Axle Removal: step 21, image 2 of 2
    • With the axle being pulled left and driveline being pulled right, force the left end of the axle out and down, around the end of the driveline.

    • If done correctly, there will be enough of a gap for the axle to clear the end of the driveline and drop down towards the work surface.

  22. Rear Axle Removal: step 22, image 1 of 2 Rear Axle Removal: step 22, image 2 of 2
    • Remove the axle.

Finish Line

Carsten Frauenheim

Member since: 03/10/20

135,464 Reputation

371 Guides authored

Team

iFixit Member of iFixit

Staff

118 Members

19,410 Guides authored

0 Comments

Add Comment

View Statistics:

Past 24 Hours: 0

Past 7 Days: 0

Past 30 Days: 0

All Time: 15