Introduction
Does your child have a LeapFrog Hug & Learn Baby Tad with non-functional buttons? Learn to fix it yourself with this easy guide.
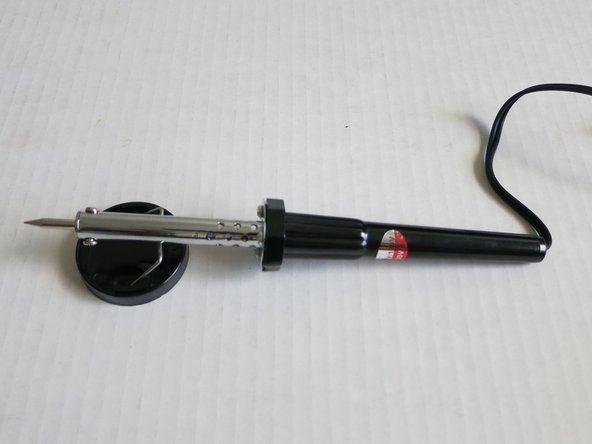
This guide requires soldering. For your own safety, use lead-free solder and work in a well-ventilated area. Wear safety goggles and try to work with your head at a distance from the solder. Make sure to wash your hands after finishing your work. Do not eat or drink while working with solder.
What you need
-
-
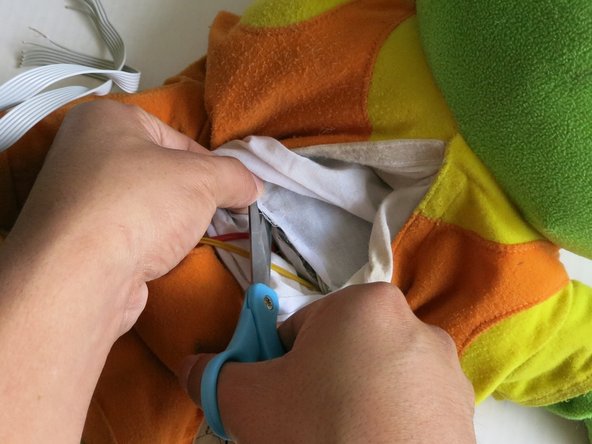
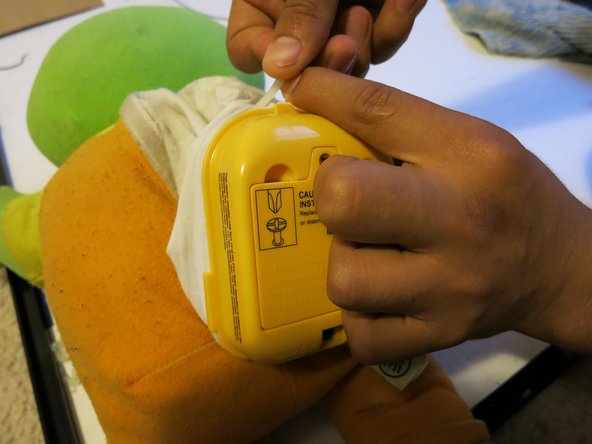
Open the LeapFrog's back.
-
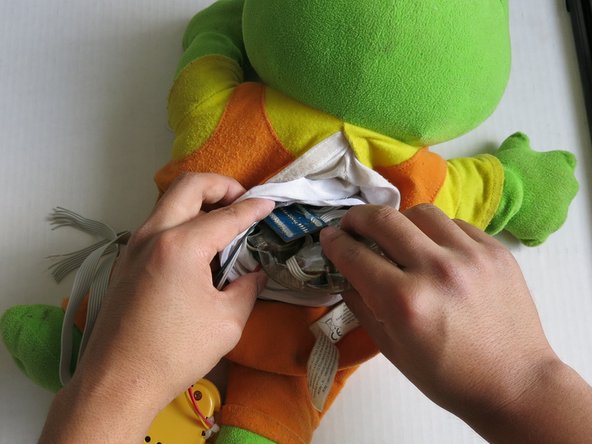
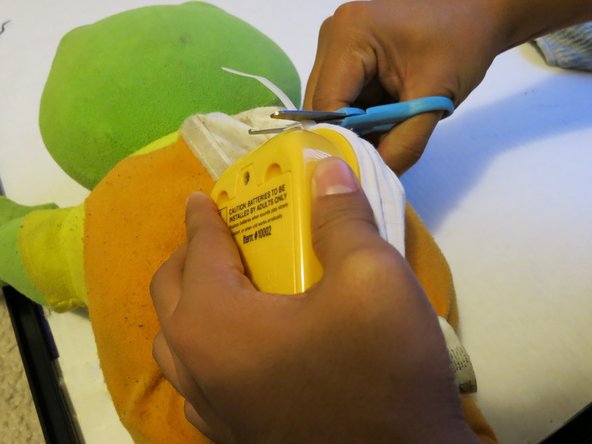
Carefully pull out the battery compartment just enough to hold it in your hand.
-
With your Philips head screwdriver, unscrew the battery compartment and take the batteries out.
-
-
-
-
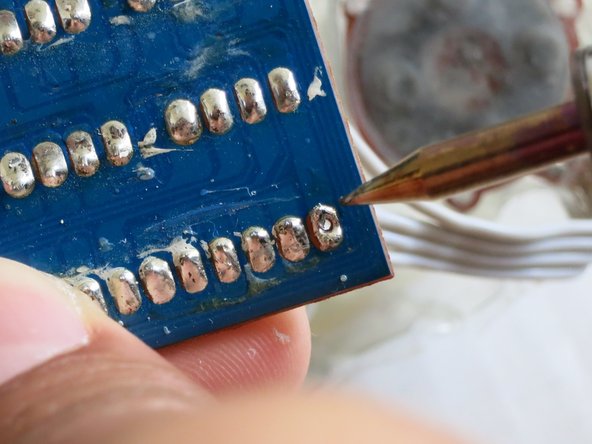
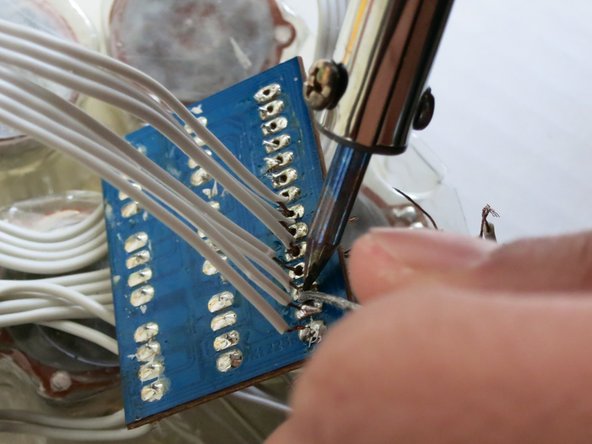
When the soldering iron is ready, place its tip on the first soldered bit that doesn't have a wire connected to it.
-
Once the solder begins melting, add a little pressure and you will be able to find a hole through the board.
-
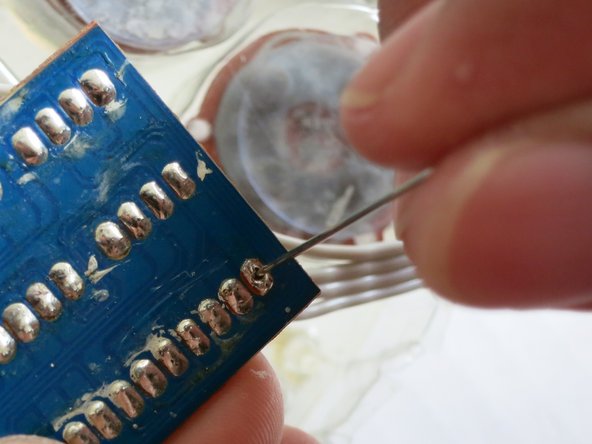
Insert your needle through the holes you just opened and wiggle it to clear them of any extra solder.
-
-
-
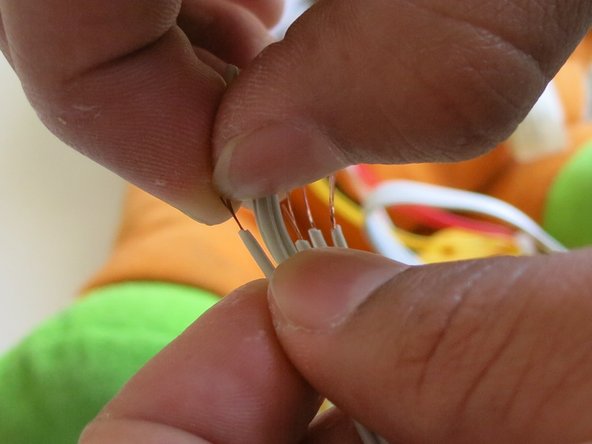
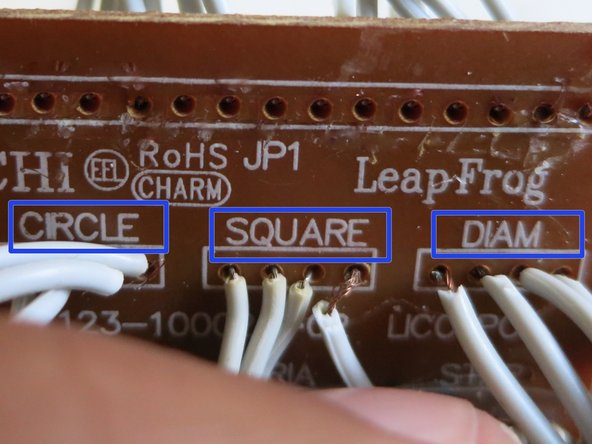
Once you have opened all the holes needed, take a look at the board and try to figure out where each loose wire goes.
-
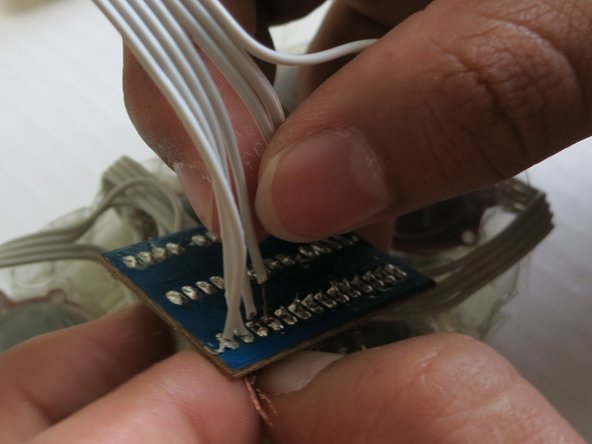
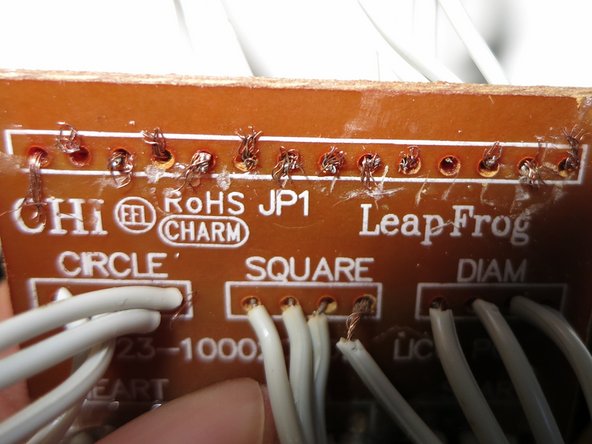
Place each end of the loose wires through the holes you made in Step 7.
-
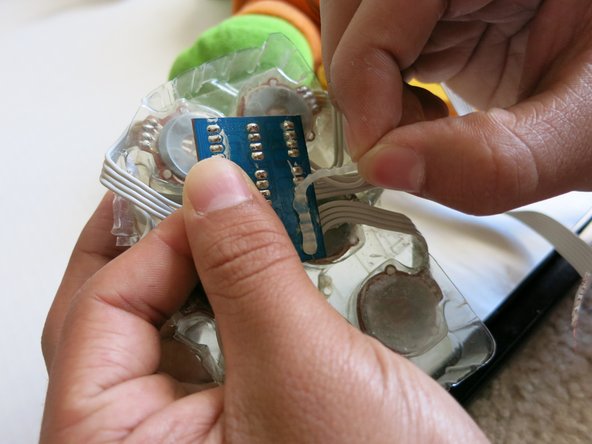
Each button has a group of four wires, and the circuit board is labeled with each of the buttons' names(i.e. circle, square, diamond, etc.). You can also follow the wires that are still connected as guidance.
-
-
-
After you have soldered all the groups of wires, cut the excess wires on the other side of the board.
-
To prevent the wires from touching, use your needle to bend the wires in an up-and-down pattern throughout the board. Cover any exposed wires with electrical tape.
-
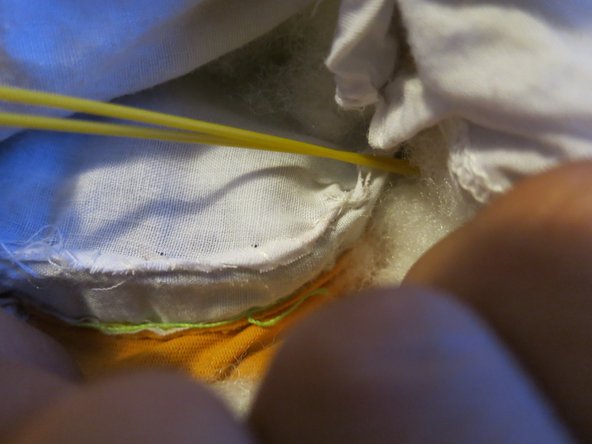
Once you have cut the excess wires, replace the button compartment inside the cloth bag.
-


Once you have put all the parts back together, you should make sure all buttons are working.
Once you have put all the parts back together, you should make sure all buttons are working.
Cancel: I did not complete this guide.
One other person completed this guide.
Team

Cal Poly, Team 24-1, Green Winter 2015 Member of Cal Poly, Team 24-1, Green Winter 2015
CPSU-GREEN-W15S24G1
4 Members
4 Guides authored