Introduction
This is a guide designed for replacing a broken direction switch in a RIDGID X4 18V Litium-Ion Impact Driver. This direction switch is imperative to the functionality of the driver. The direction switch determines whether the driver is going to rotate clockwise or counterclockwise.
What you need
-
-
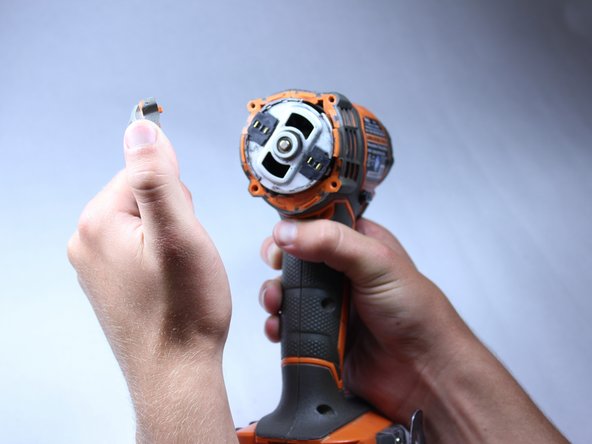
Use the flat side of a metal spudger to peel the black rubber cover off of the casing.
-
Rotate the casing until it fits onto the housing with no gaps between it and the clear cover.
-
-
-
-
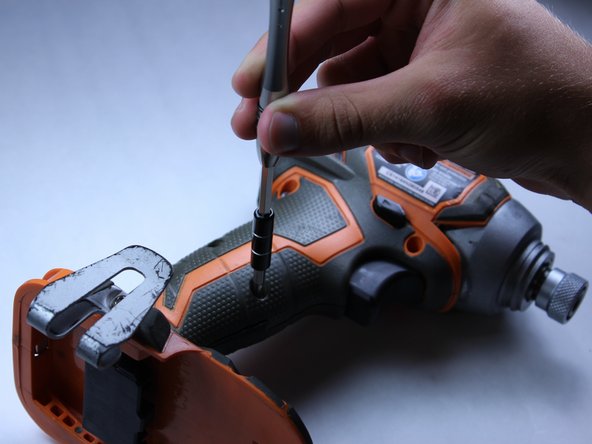
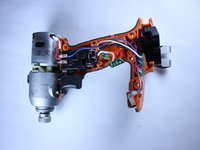
Remove the broken direction switch.
-
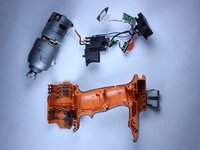
Replace the broken direction switch with a functional switch.
-


To reassemble your device, follow these instructions in reverse order.
Cancel: I did not complete this guide.
2 other people completed this guide.
Team

Cal Poly, Team 15-5, Amido Spring 2015 Member of Cal Poly, Team 15-5, Amido Spring 2015
CPSU-AMIDO-S15S15G5
4 Members
12 Guides authored