Introduction
Over time, the battery can lose its capacity, causing the vacuum to require more frequent charging. If your robot vacuum struggles to hold a charge, acts strangely during cleaning, or doesn't run as long as it used to, these are signs that the battery could be worn out.
Generally, you may need to replace robot vacuum batteries every 1 to 3 years, depending on the type and how much you use it. Taking good care of your vacuum and following the manufacturer's recommendations can help the battery last longer, and newer battery technology offers more durable replacement options.
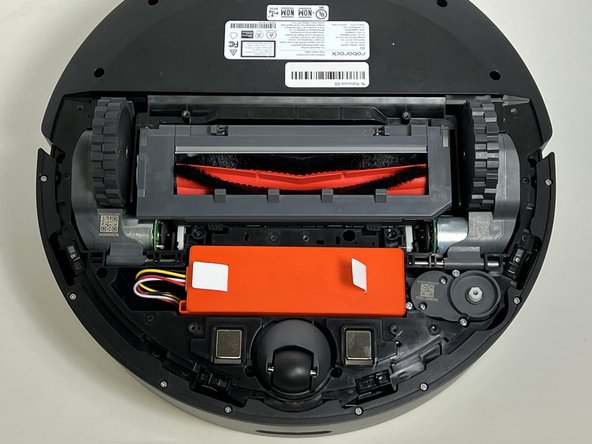
Use this guide to replace the battery for your Roborock Q5 robot vacuum.
Before starting this procedure, power off your device
What you need
-
-
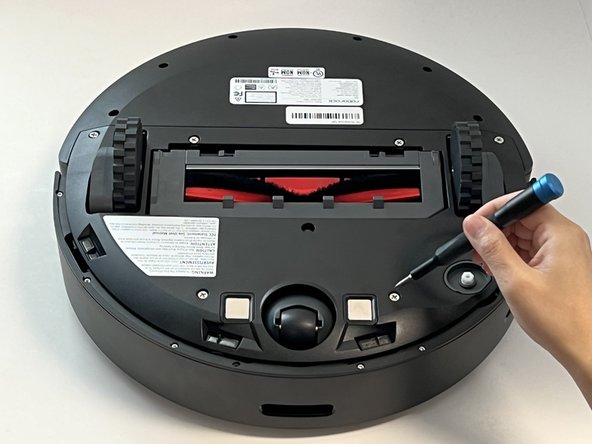
Power off your Roborock and place the device on a flat surface with the wheels facing up.
-
Position the robot so the five-pronged side brush is on the bottom right side.
-
-
-
-
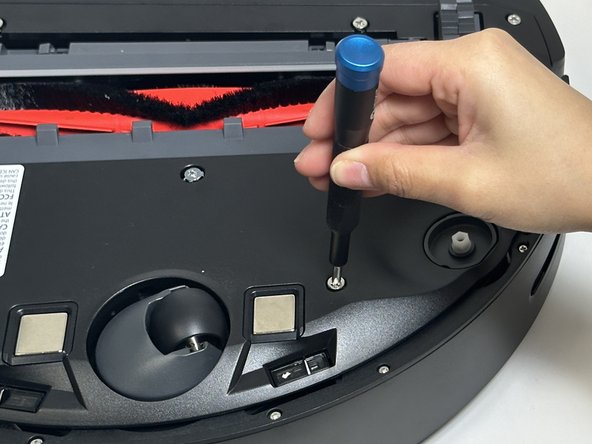
Use a Phillips screwdriver to remove the seven 15 mm screws from the bottom panel.
-


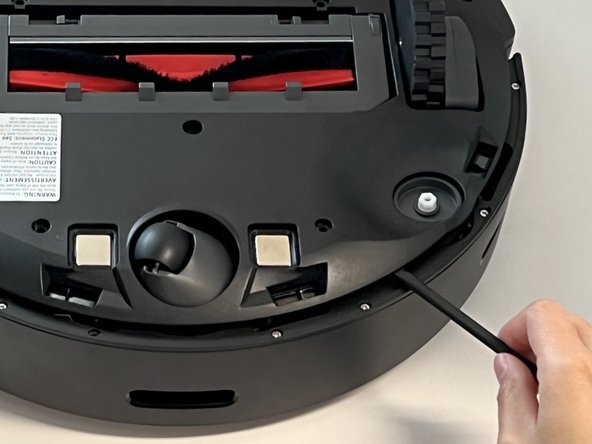


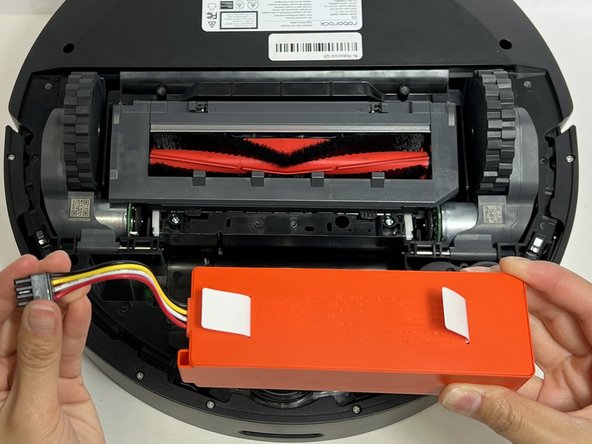
To reassemble your device, follow these instructions in reverse order.
To reassemble your device, follow these instructions in reverse order.

Team

Austin Community College, Team 18-1, Watkins Spring 2024 Member of Austin Community College, Team 18-1, Watkins Spring 2024
AUSTINCC-WATKINS-S24S18G1
4 Members
6 Guides authored