
Roconia Q6 Fan Replacement

What you need

  1. Roconia Q6 Fan Replacement, Top Cover: step 1, image 1 of 2 Roconia Q6 Fan Replacement, Top Cover: step 1, image 2 of 2
    • Flip your device upside down so that the interface is facing downwards.

  2. Roconia Q6 Fan Replacement: step 2, image 1 of 3 Roconia Q6 Fan Replacement: step 2, image 2 of 3 Roconia Q6 Fan Replacement: step 2, image 3 of 3
    • The device is supported by rubber pieces located at the bottom extremities.

    • There are screws beneath the rubber pieces that can be removed. Remove all four 1.1 mm Phillips #1 screws by using the Phillips #0 screwdriver.

  3. Roconia Q6 Fan Replacement: step 3, image 1 of 3 Roconia Q6 Fan Replacement: step 3, image 2 of 3 Roconia Q6 Fan Replacement: step 3, image 3 of 3
    • Turn device over again and pry open the device to remove the cover.

  4. Roconia Q6 Fan Replacement: step 4, image 1 of 3 Roconia Q6 Fan Replacement: step 4, image 2 of 3 Roconia Q6 Fan Replacement: step 4, image 3 of 3
    • Pull out the cable that is connected to the top cover to fully separate.

  5. Roconia Q6 Fan Replacement, Fan: step 5, image 1 of 1
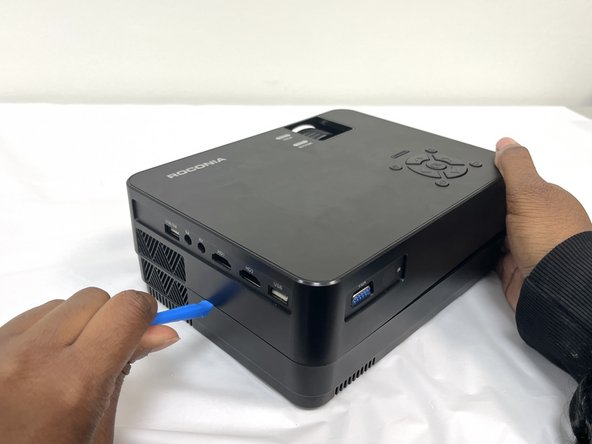
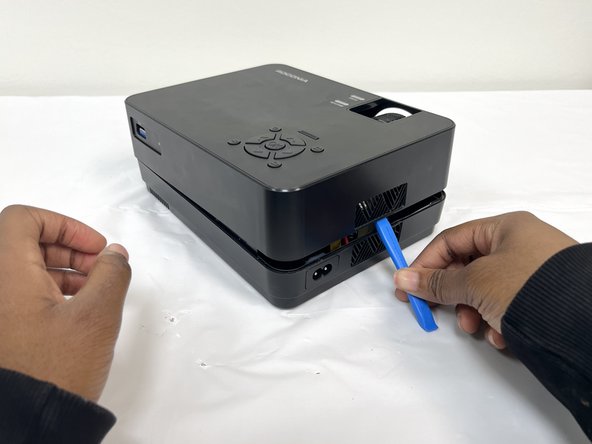
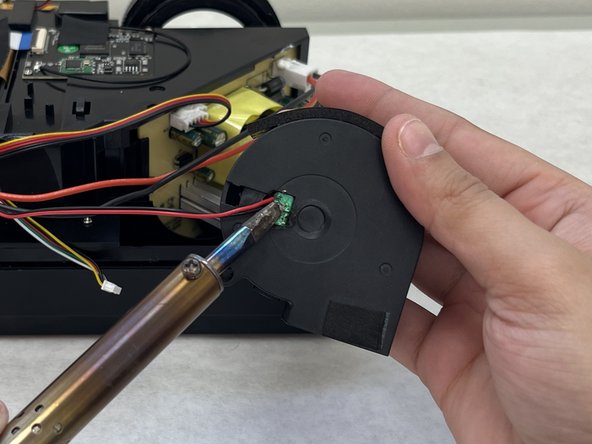
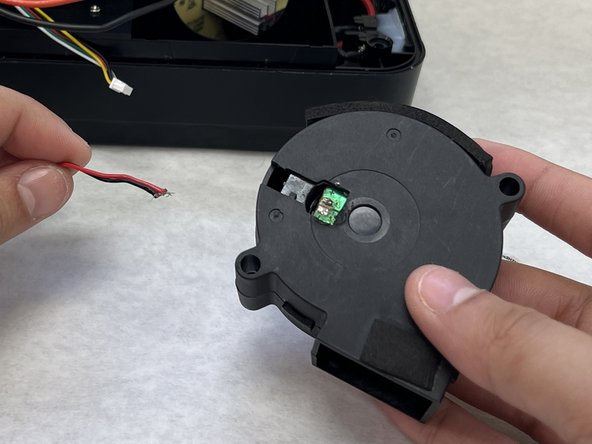
    • Use the opening guide to open the device. Once open find the fan located in the back corner of the device

  6. Roconia Q6 Fan Replacement: step 6, image 1 of 1
    • To remove the fan from its holder, simply pull it out.

  7. Roconia Q6 Fan Replacement: step 7, image 1 of 3 Roconia Q6 Fan Replacement: step 7, image 2 of 3 Roconia Q6 Fan Replacement: step 7, image 3 of 3
    • Remove the sticker on the back of the fan to reveal soldered wires.

    • Using a soldering iron, desolder the wiring from the fan.

Conclusion

To reassemble your device, follow these instructions in reverse order.

Axel

Member since: 02/08/24

97 Reputation

1 Guide authored

0 Comments

Add Comment

View Statistics:

Past 24 Hours: 0

Past 7 Days: 0

Past 30 Days: 4

All Time: 46