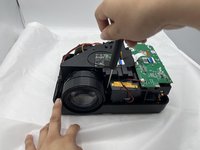
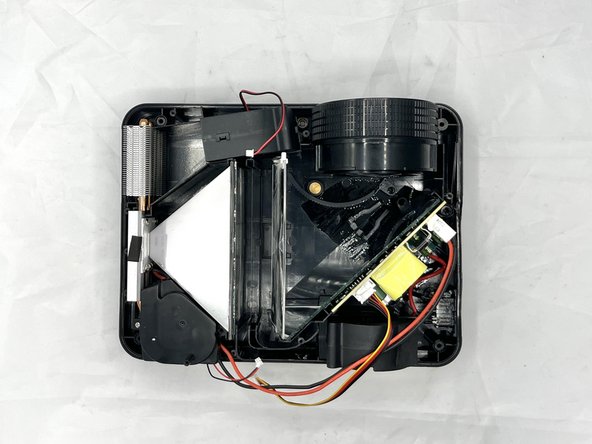
Free Shipping on Domestic Orders $75+

Roconia Q6 Lamp Replacement

What you need

  1. Roconia Q6 Lamp Replacement, Top Cover: step 1, image 1 of 2 Roconia Q6 Lamp Replacement, Top Cover: step 1, image 2 of 2
    • Flip your device upside down so that the interface is facing downwards.

  2. Roconia Q6 Lamp Replacement: step 2, image 1 of 3 Roconia Q6 Lamp Replacement: step 2, image 2 of 3 Roconia Q6 Lamp Replacement: step 2, image 3 of 3
    • The device is supported by rubber pieces located at the bottom extremities.

    • There are screws beneath the rubber pieces that can be removed. Remove all four 1.1 mm Phillips #1 screws by using the Phillips #0 screwdriver.

  3. Roconia Q6 Lamp Replacement: step 3, image 1 of 3 Roconia Q6 Lamp Replacement: step 3, image 2 of 3 Roconia Q6 Lamp Replacement: step 3, image 3 of 3
    • Turn device over again and pry open the device to remove the cover.

  4. Roconia Q6 Lamp Replacement: step 4, image 1 of 3 Roconia Q6 Lamp Replacement: step 4, image 2 of 3 Roconia Q6 Lamp Replacement: step 4, image 3 of 3
    • Pull out the cable that is connected to the top cover to fully separate.

  5. Roconia Q6 Lamp Replacement, Lamp: step 5, image 1 of 3 Roconia Q6 Lamp Replacement, Lamp: step 5, image 2 of 3 Roconia Q6 Lamp Replacement, Lamp: step 5, image 3 of 3
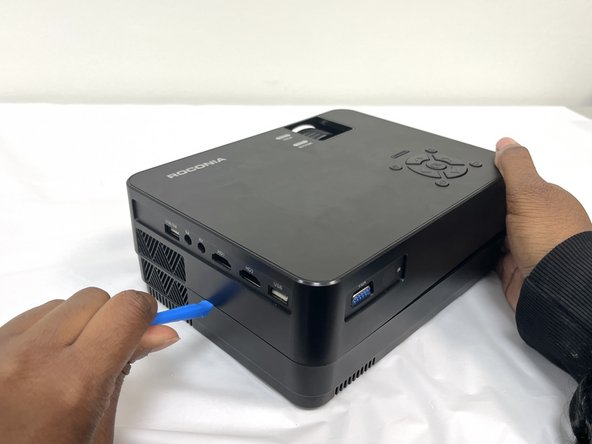
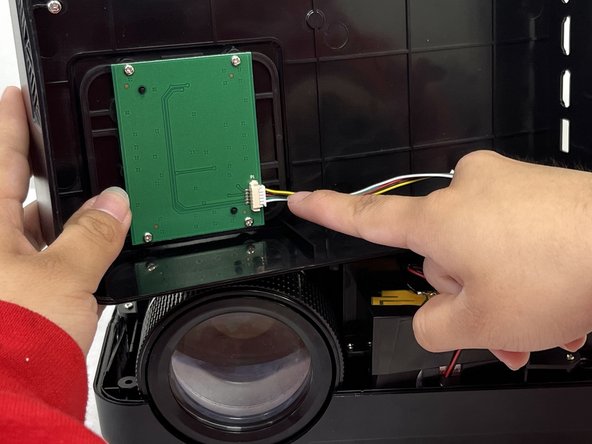
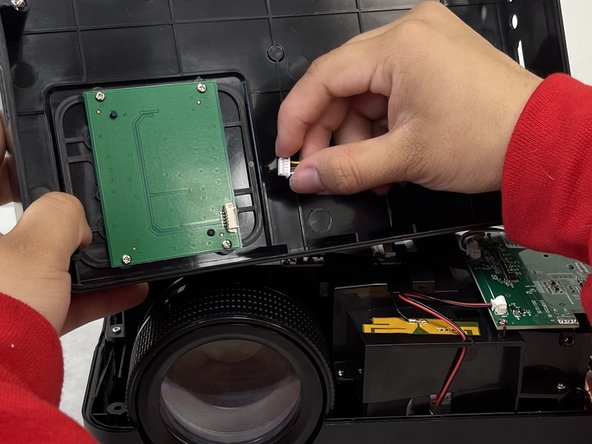
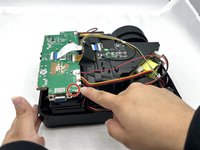
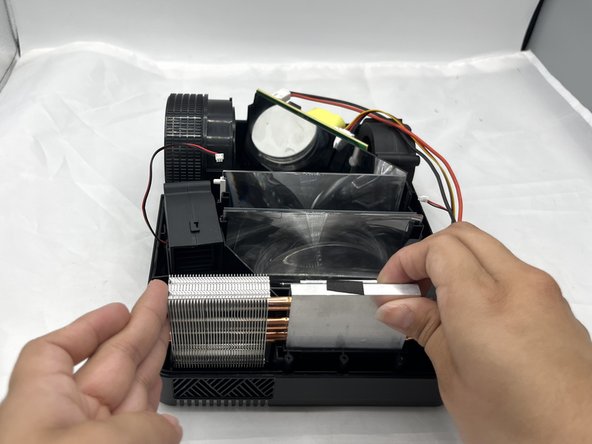
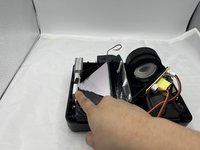
    • Locate the plastic cover above the lamp.

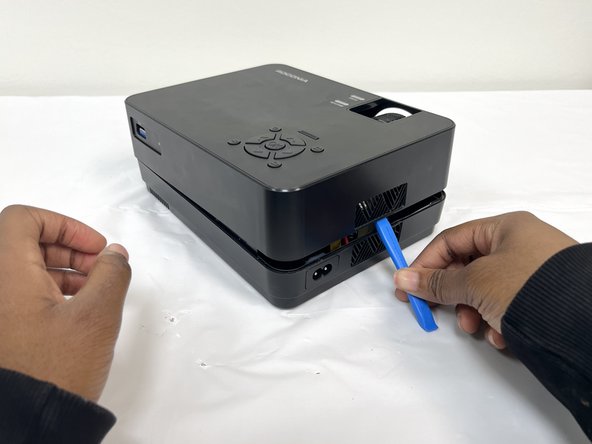
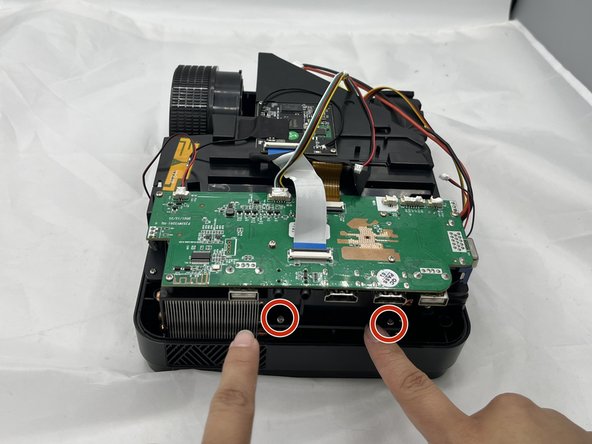
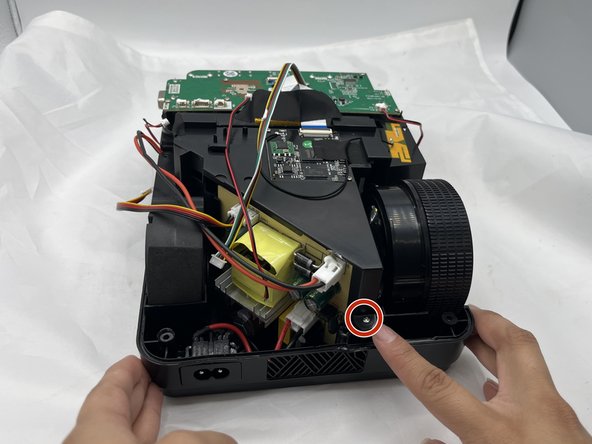
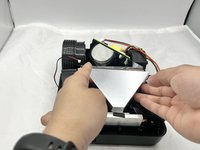
    • Remove the two 8.8 mm securing the cover using a Phillips #1 screwdriver.

  6. Roconia Q6 Lamp Replacement: step 6, image 1 of 3 Roconia Q6 Lamp Replacement: step 6, image 2 of 3 Roconia Q6 Lamp Replacement: step 6, image 3 of 3
    • Remove one additional screw located on the motherboard that secures the same plastic cover.

    • Carefully pull out the highlighted cables attached to the motherboard before lifting the cover completely.

  7. Roconia Q6 Lamp Replacement: step 7, image 1 of 3 Roconia Q6 Lamp Replacement: step 7, image 2 of 3 Roconia Q6 Lamp Replacement: step 7, image 3 of 3
    • Lift off the plastic cover to reveal the second internal layer of the projector.

  8. Roconia Q6 Lamp Replacement: step 8, image 1 of 3 Roconia Q6 Lamp Replacement: step 8, image 2 of 3 Roconia Q6 Lamp Replacement: step 8, image 3 of 3
    • Locate the lamp secured by the mirror assembly.

    • Carefully remove the mirror without touching the lens to avoid smudges.

    • Once the mirror is removed, lift out the old lamp and install the new one.

Conclusion

To reassemble your device, follow these instructions in reverse order.

One other person completed this guide.

2 Guide Comments

Can you tell us what type of bulb it is? I've been looking for information regarding bulb type and there's no where in the manual or online that has that info. Thanks!

Mischief Makers - Reply

Anyone know where to order the bulb/lamp for the roconia Q6 projector?

Website, part number, or whatever information you can provide.

FRANK - Reply

Add Comment

View Statistics:

Past 24 Hours: 1

Past 7 Days: 11

Past 30 Days: 38

All Time: 830