Introduction
This guide will show you how to properly replace the power cord in the Ryobi CSB135L. If the symptoms in our troubleshooting page for a damaged power cord align with the symptoms your Ryobi CSB135L are experiencing your power cord is most likely damaged.
What you need


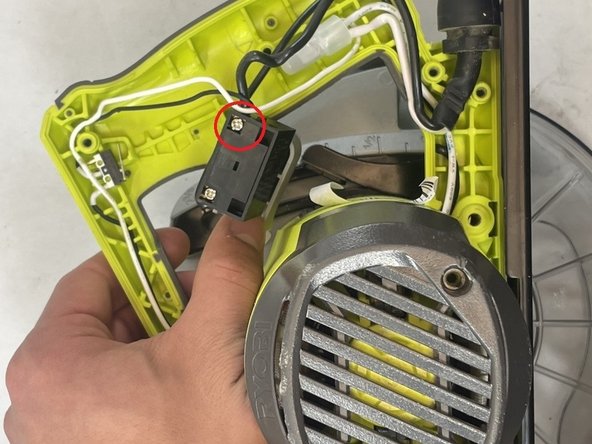

Almost done!
To reassemble your device, follow these instructions in reverse order.
Conclusion
To reassemble your device, follow these instructions in reverse order.
Team

UMass Dartmouth, Team 7-3, Ryckebusch Spring 2023 Member of UMass Dartmouth, Team 7-3, Ryckebusch Spring 2023
UMASSD-RYCKEBUSCH-S23S7G3
3 Members
6 Guides authored