
Samsung Eternity Digitizer and Screen Replacement
Introduction
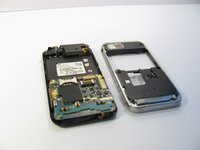
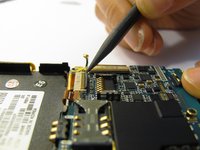
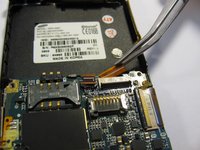
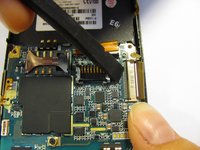
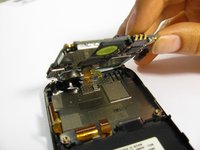
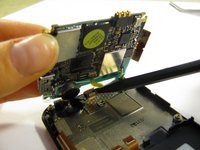
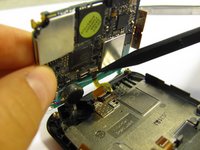
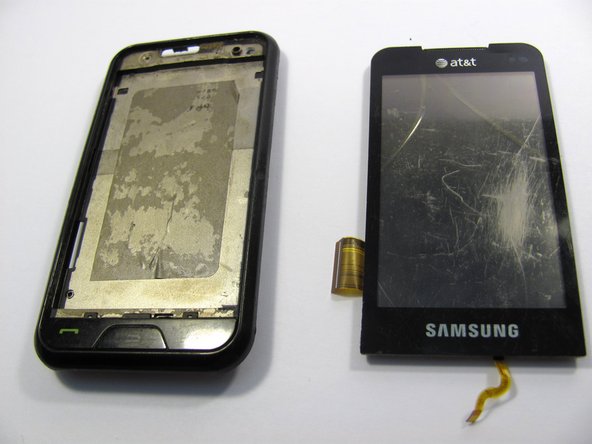
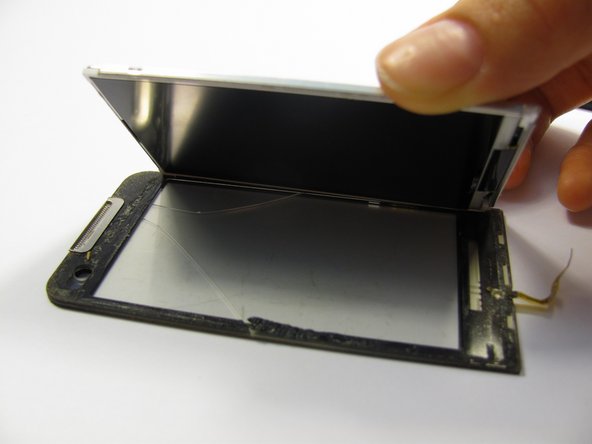
Go to step 1You will need to find a clean area to work in and have the necessary tools. Follow this guide to gain access to your cellphone's digitizer and screen.
What you need


-
-
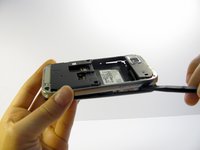
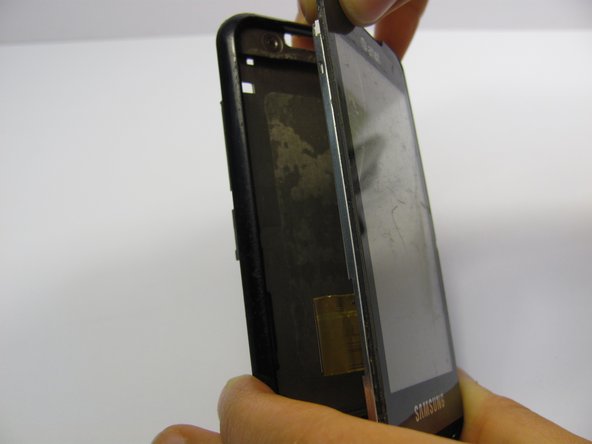
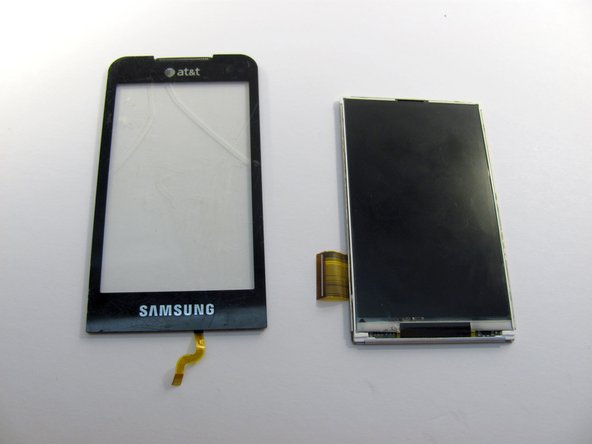
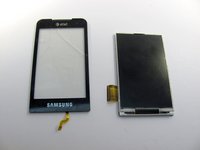
Flip the phone over so you are looking at the front screen of the phone.
-


To reassemble your device, follow these instructions in reverse order.
To reassemble your device, follow these instructions in reverse order.
Cancel: I did not complete this guide.
4 other people completed this guide.
Team

Cal Poly, Team 15-11, Regan Spring 2011 Member of Cal Poly, Team 15-11, Regan Spring 2011
CPSU-REGAN-S11S15G11
5 Members
14 Guides authored
3 Comments
Do these steps also work for the Samsung Eternity 2?
Está mierda no sale