
Samsung Galaxy Note II Display Assembly Replacement

Introduction
Go to step 1Use this guide to replace the front panel display assembly on your Samsung Galaxy Note II.
What you need
Parts


Tools


Show more…
-
-
Pry with a plastic opening tool, or your fingernail, in the divot to the left of the rear-facing camera, near the power button.
-
-
-
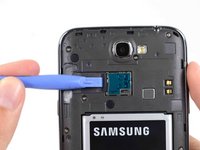
If you have an SD card inserted, use the flat end of a spudger, or your fingernail, to press the microSD card slightly deeper into its slot until you hear a click.
-
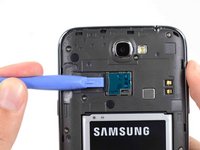
After the click, release the card and it will pop out of its slot.
-
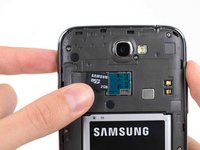
Remove the microSD card.
-
-
-
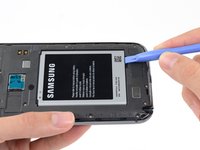
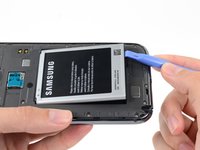
Insert a plastic opening tool, or your finger, into the notch of the battery compartment and lift the battery upward.
-
-
-
Remove the eleven 4.0 mm Phillips #00 screws securing the midframe to the display assembly.
In my phone some of the screws are litterally not ot turn - I screwed up one of the heads - be careful!
I have 2 note 2 phones model #: SGH-I317M. I have a broken screen that does not display in my note 2 but my brother's note 2 is working perfectly. Can I either transfer the motherboard in MY note 2 to my brothers note 2 or swap the broken screen with the new screen in my brother's note 2 ? Thanks. Reach me at anmac1789@gmail.com
-
-
-
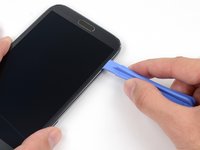
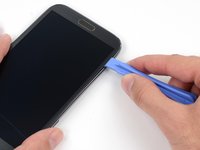
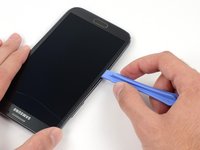
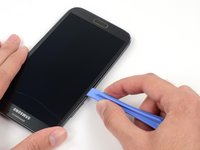
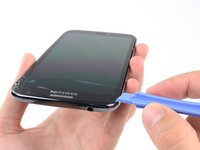
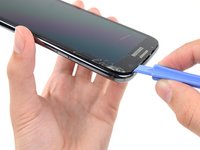
Insert your plastic opening tool between the midframe and front panel assembly on the side of the phone.
-
Slide the plastic opening tool down the seam.
I didn't have an opening tool, so I used a stiff guitar pick. Worked like a charm.
for best result without any scratches or breaking frame, open the frame on table (solid), don't open on hand.
-
-
-
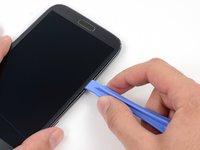
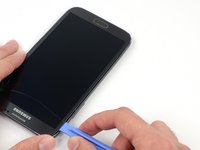
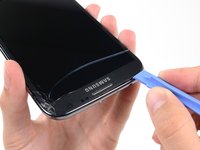
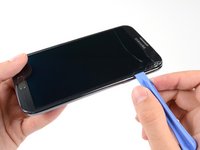
Carefully pry around the corner with a plastic opening tool.
-
-
-
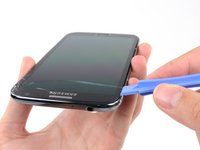
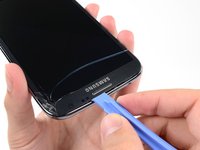
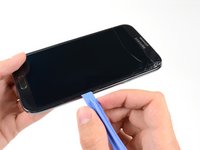
Free the clips along the power button side of the phone.
-
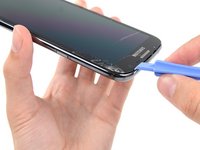
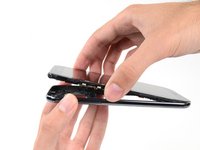
Lastly, free the two clips along the top and bottom edge of battery compartment.
Start with the top clip. You can see it located next to the three battery connectors. Insert the spludge from the side gently to push, the clip should go off.
Once this clip is off, the bottom battery clip can be unclipped simply by gently moving the two pieces apart.
Gan kalok bluetooth hp saya sama wifi nya nggak bisa nelusurin jaringan apa nya yg rusak apa gara gara udah di root
If you're primarily following the pictures, as I was, you might be frustrated that your display assembly isn't popping off. Unfortunately, a vital step was listed in the instructions but not photographed:
"Lastly, there are two clips along the top and bottom edge of battery compartment that also hold the display assembly in place."
-
-
-
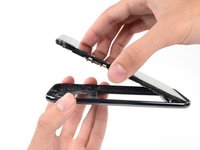
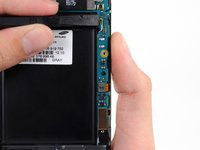
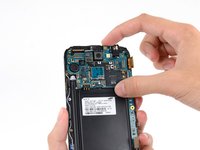
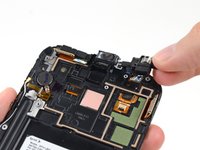
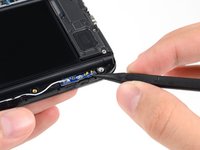
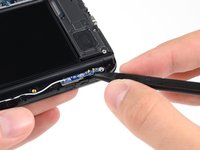
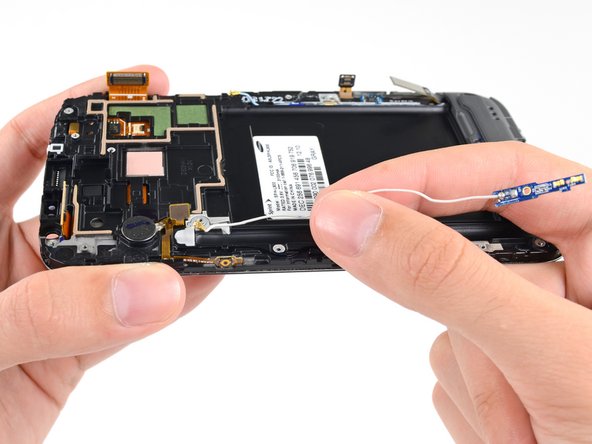
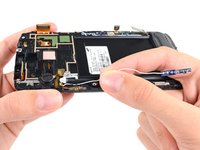
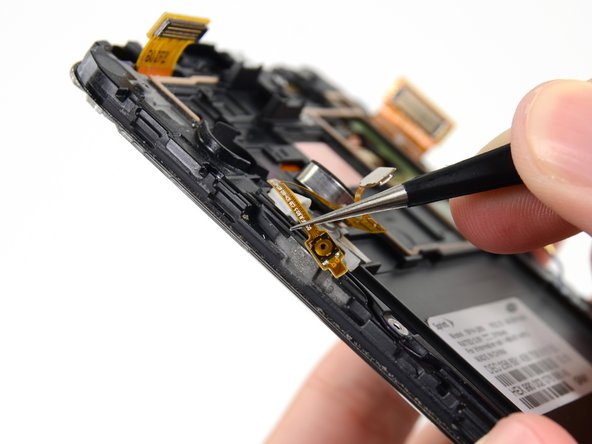
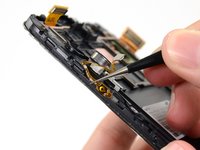
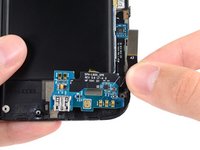
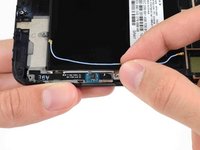
Use a spudger to disconnect the vibrator/power button assembly cable connector.
-
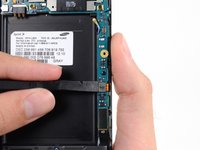
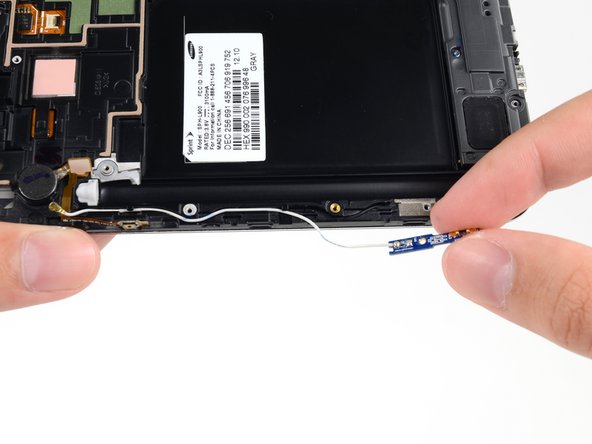
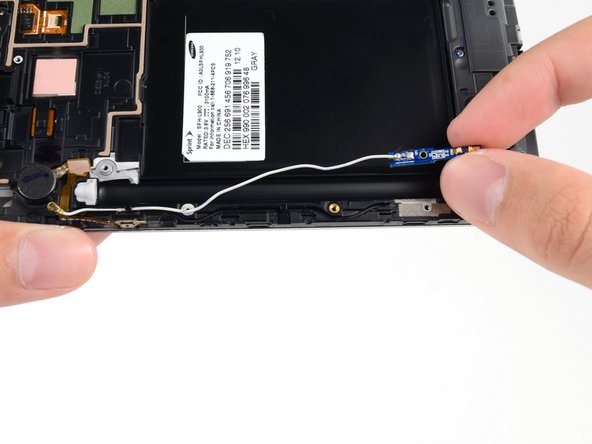
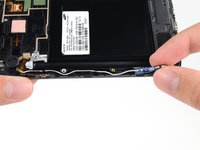
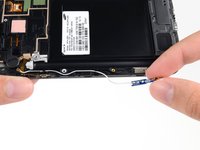
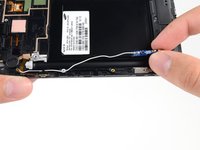
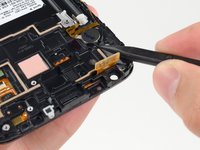
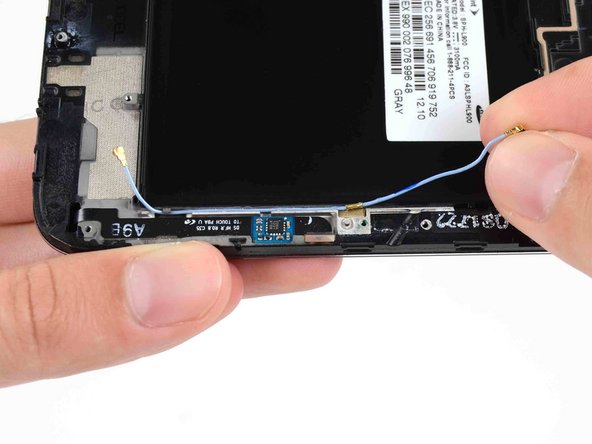
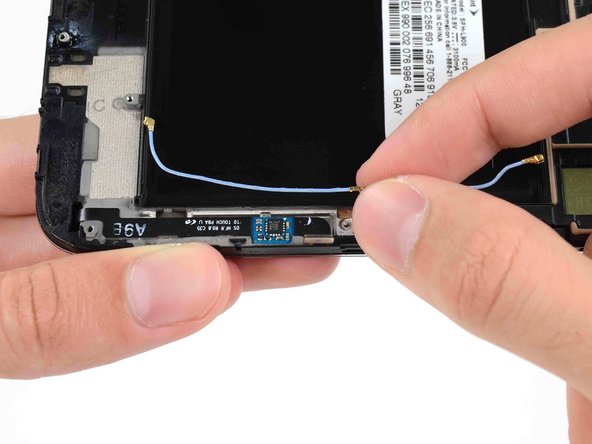
Disconnect the antenna cable connector.
-
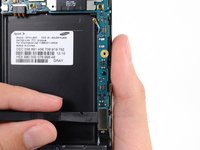
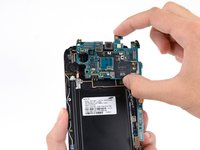
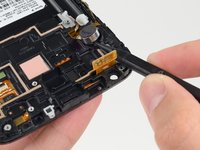
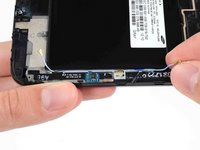
Disconnect the display cable connector.
Dear Sirs,
My Galaxy Note II is completely dead due to lightning in the house. I guess there is a fuse or a protection somewhere but I can not find it. Can you help ? Thanks in advance, Jose
One idea would be to track backwards, i.e. check to see if current is reaching from the charge port to the mainboard. Looking at the following picture http://d3nevzfk7ii3be.cloudfront.net/igi... it seems like the fuse is - as expected - located right by the USB port. If you're lucky it could be as easy as replacing the charging board, a $10 component.
hakro807 -
-
-
-
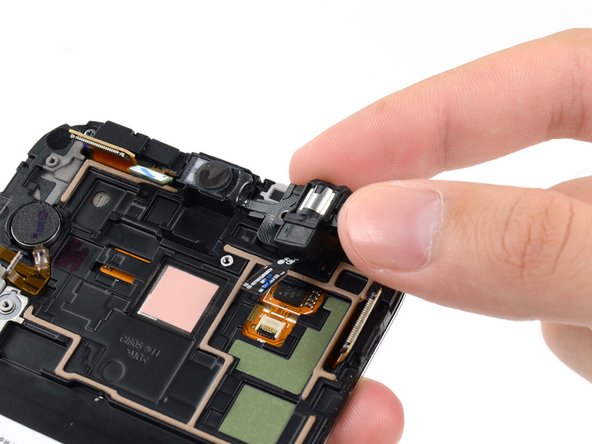
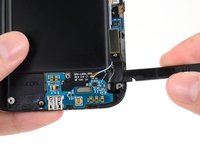
Remove the 3 mm Phillips #00 screw securing the motherboard to the display assembly.
Is it possible to replace my Note II N7105 motherboard to N7100? Is there some negative effects happen, if i did it?
-
-
-
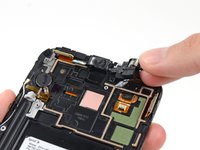
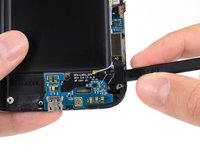
Remove the 3 mm Phillips #00 screw securing the headphone jack assembly to the display assembly.
-
-
-
Remove the 3mm Phillips #00 screw from the front-facing camera bracket.
-


To reassemble your device, follow these instructions in reverse order.
To reassemble your device, follow these instructions in reverse order.
Cancel: I did not complete this guide.
183 other people completed this guide.


12 Comments
This guide is awful. Not even the US phone model. mine and most on youtube does not have the antennae on both side, only a antena on one of the sides of the phone.
Also this does not cover how to remove most things that you HAVE to remove when you buy the digitizer+lcd from here... not to mention that it stops in the middle...
there is a video on youtube from https://www.youtube.com/user/LE55ONS that shows how to dismantle the note2 in much more detail than this... and he goes all the way and show how to remove every piece needed.
thx for the video!
note i was repairing looked slightly different. no antenna on the left and powerbutton/vibrator where differnet parts, midframe is hold by 2 additional tabs inside battery compartment. video was a good addition to this guid, and helped alot ;)
Lego -
Thank you for the link to the videos, it helped particularly for the vibrator and power button.
This is the Sprint model, SPH-L900. It's not his fault that your phone is different.
Roger -
Overall, a great guide to look at while you are fixing the Note II. However, it misses couple of tips. It forgot to mention to remove earphone jack underneath the motherboard and caution about plastic clip at center back when you are lifting display from midframe at Step 14. I would recommend supplementing this guide with youtube video of disassembling Note II before you go ahead and fix your phone.
I thank author and editor(s) for posting this guide and helping me successfully repair my Note II.
I'm just wondering as I'm not to good with this stuff but if I was to do this would I be able to do the above and put back onto a new screen and keep my phones data pics ect if not then how would I go about it any ideas ??
There seems to be an issue with the screen replacement proposed with the guide, they don't match. I ordered the screen replacement (Display assembly LCD) for my Note 2. My phone is a N7100 (international 3G model) and the replacement came labelled for N7105 (4G/LTE model). There is a difference in the clipping path for the antenna cable travelling from botton to top: the path is longer and exits on the external side of the motherboard instead of the internal side.The antenna cable can thus not be plugged back on the N7100 model.
As the LCD assembly pieces labelled with the phone model are "not for sale", you have to match your model with either the one sold by AT&T or the one sold by Verizon. It looks like the AT&T LCD is for the LTE (N7105) devices only....
Is this a part from iFixit?
At&t Gsm and sprint verizon cdma lte the are diffrent
ok ya the guide is a little out of date or not for U.S. phone but with the layout being basicly the same and if your not a complete moron you can firgure it out like i did and i did watch youtube just to see how long it would take....1 step i suggest is the you make sure the headphone jack rubber is on correctly or you cant you it use it and have to take it apart again
My note 2 display has been damaged so you any have old diaplay... Then msg me or call on 887150
1053 nd I buy nd pay for this