
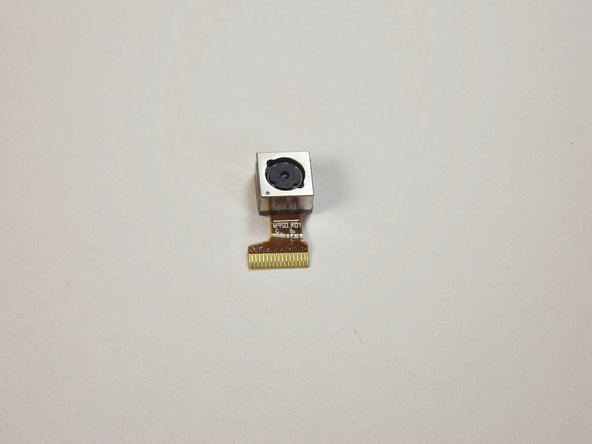
Samsung Galaxy Prevail 2 Rear Facing Camera Replacement

Introduction
Go to step 1This guide will show you how to locate and replace the camera for the Samsung Galaxy Prevail 2. No background information is required.
What you need


-
-
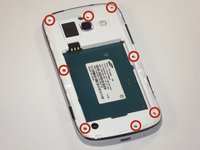
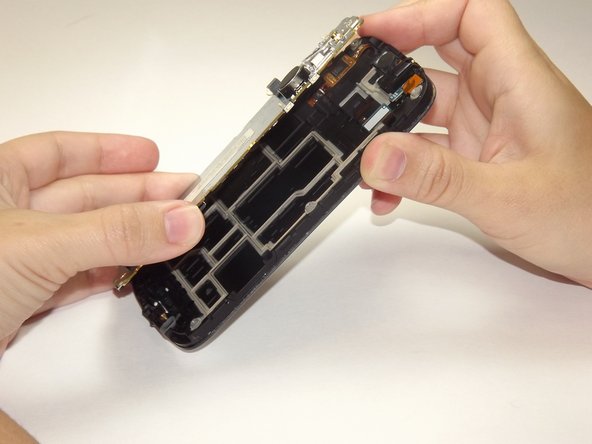
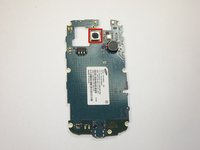
Using your finger nails or the spudger; pry the plastic casing open, and pull away from the body of the phone.
-
-
-
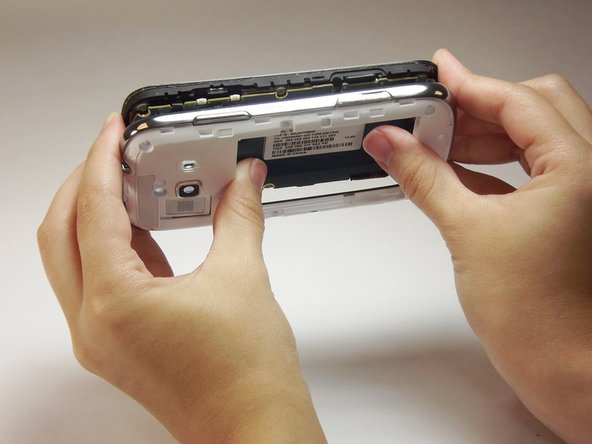
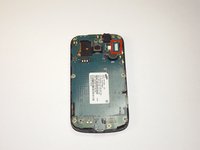
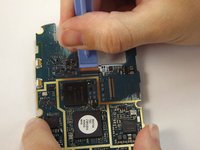
Insert the plastic prying tool between the silver frame and the white face of the phone to pry off the front frame.
-
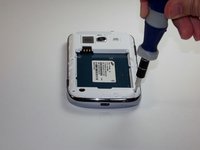
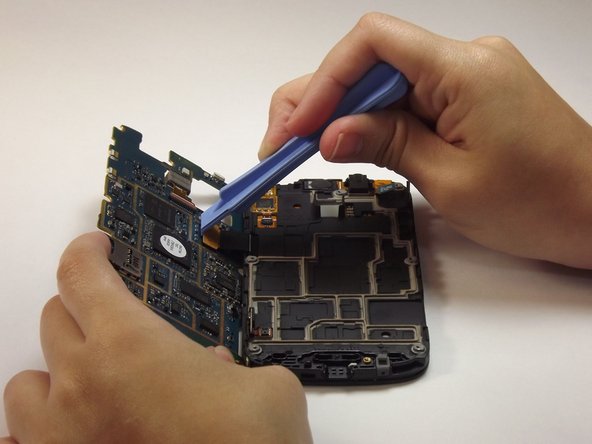
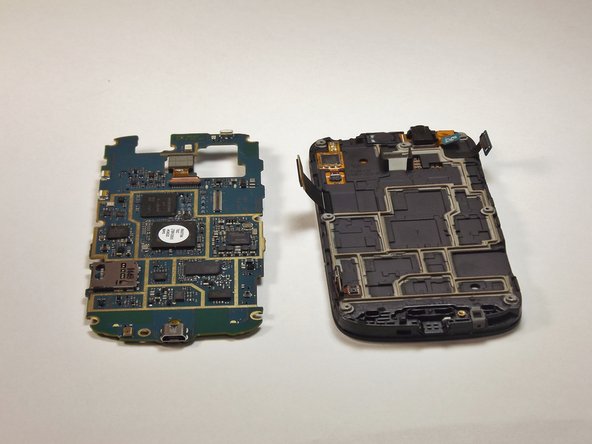
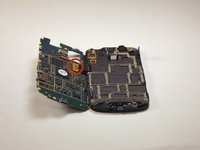
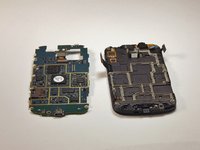
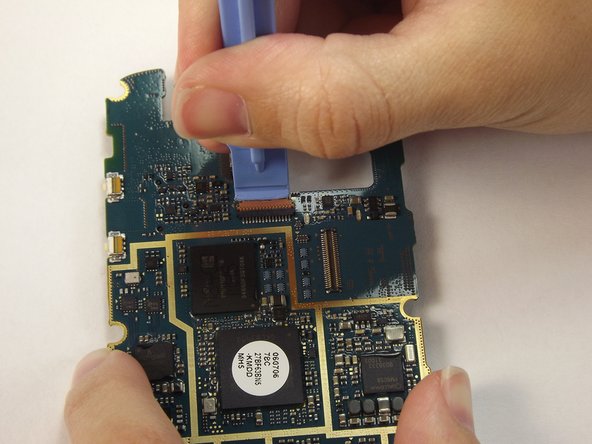
Push the motherboard out using your thumbs as shown
-
-
-
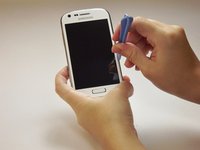
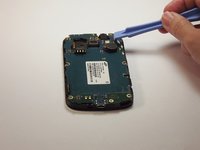
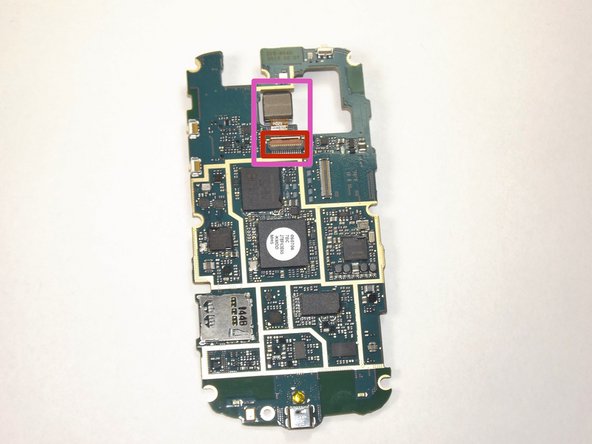
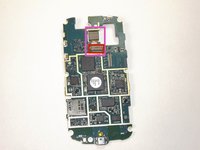
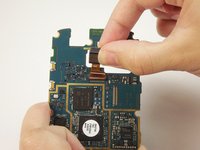
With plastic prying tool, lift the flap connected to the camera (indicated in red) to remove it.
-


To reassemble your device, follow these instructions in reverse order.
To reassemble your device, follow these instructions in reverse order.
Cancel: I did not complete this guide.
8 other people completed this guide.

Team

USF Tampa, Team 14-4, Leahy Fall 2014 Member of USF Tampa, Team 14-4, Leahy Fall 2014
USFT-LEAHY-F14S14G4
4 Members
5 Guides authored