Introduction
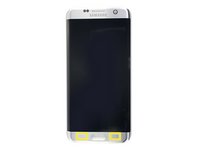
Follow this guide to replace the Samsung Galaxy S7 Edge's display assembly.
This guide instructs you to replace only the display while leaving the original frame and battery in place.
The curved edge and strong adhesive make the initial opening procedure very challenging. Be patient, repeat multiple heat and pull cycles, and the adhesive will eventually loosen.
Note: Some replacement screens for this phone come pre-installed in a new frame (a.k.a. chassis), which requires you to transplant all of your phone's internals and install a new battery. Make sure you have the correct part before starting this guide.
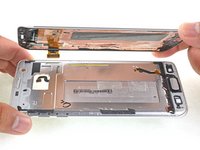
If the frame is damaged or bent, it's important to replace it, or else the new screen may not mount correctly and can suffer damage from uneven pressure.
The process of separating the display from the frame usually destroys the display, so don't follow this guide unless you intend to replace the display.
If your screen is badly shattered, wear eye protection, and apply a screen-protector, or tape, to the display to help contain glass shards.
What you need
-
-
Insert a SIM card opening tool, SIM eject bit, or a paperclip into the small hole on the top edge of the phone.
-
Press in the opening tool to eject the tray.
-
Remove the SIM/SD card combo tray from the phone.
-
-
-
Heat an iOpener and apply it to a long edge of the phone for about two minutes.
-
-
Tool used on this step:Tweezers$4.99
-
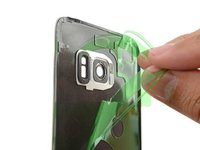
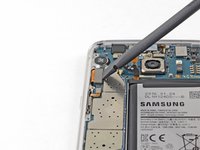
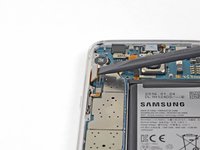
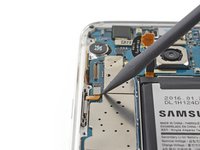
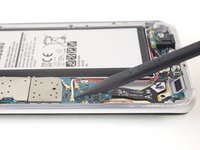
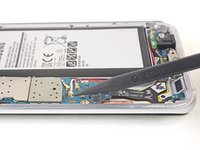
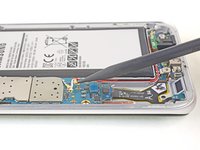
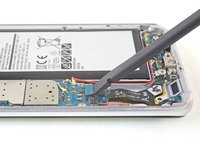
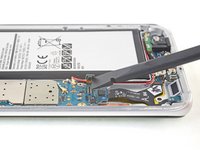
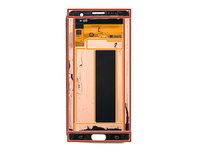
Use tweezers to peel away any remaining adhesive from the phone's chassis. Then clean the adhesion areas with high concentration isopropyl alcohol (at least 90%) and a lint-free cloth to prep the surface for the new adhesive.
-
Peel the adhesive backing off of the new rear glass, carefully line up one edge of the glass against the phone chassis, and firmly press the glass onto the phone.
-
-
-
-
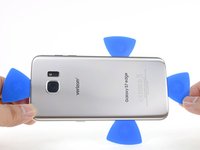
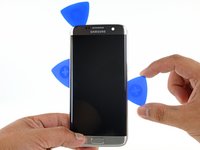
Once the edge is warm, apply a suction cup as close to the top edge as possible without overlapping the speaker grill.
-
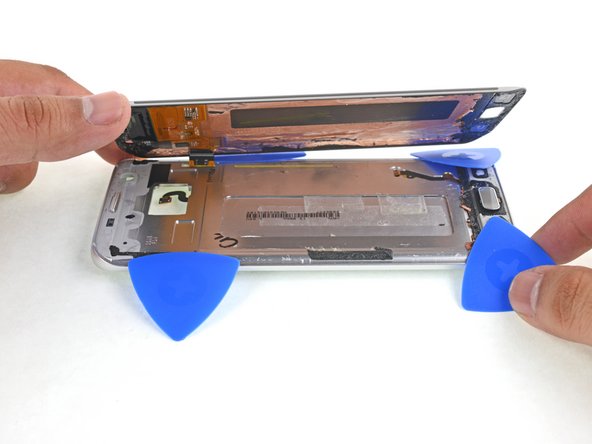
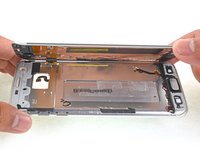
Lift on the suction cup to create a small gap underneath the top edge of the display.
-
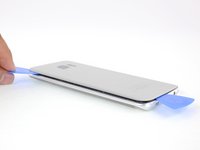
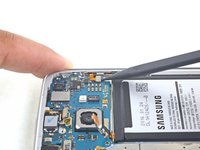
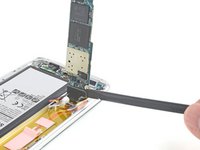
Insert an opening pick into the gap. Take care not to insert it more than 0.25 inches in.
-
-
-
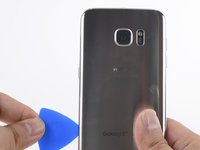
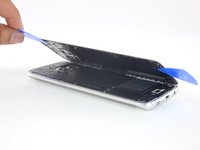
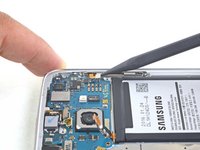
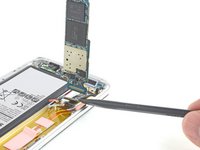
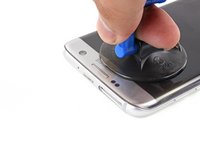
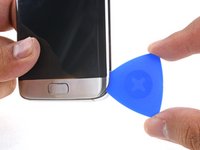
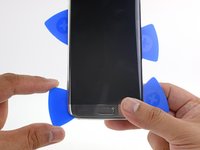
Insert an opening pick in the bottom right corner.
-
Push the pick in slowly. Try to leverage the pick's cutting edge upward so that it slides against the back of the display.
-
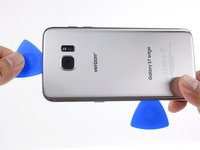
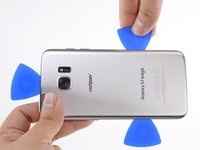
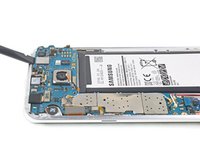
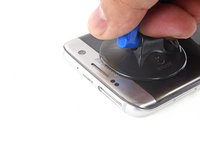
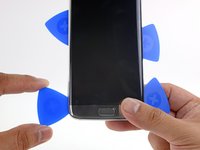
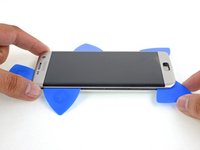
Once the pick has cut through the adhesive in the right corner, leave it in place to prevent the adhesive from resealing.
-
-
-
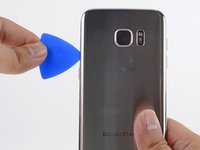
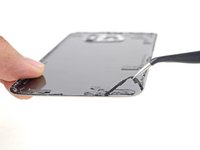
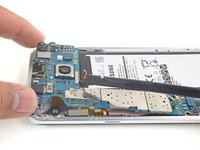
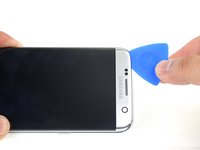
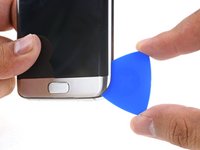
Insert an opening pick in the bottom left corner.
-
Push the pick in slowly. Try to leverage the pick's cutting edge upward so that it slides against the back of the display.
-
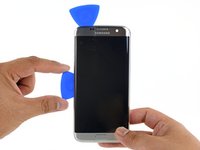
Once the pick has cut through the adhesive in the left corner, leave it in place to prevent the adhesive from resealing.
-


To reassemble your device, follow these instructions in reverse order.
To reassemble your device, follow these instructions in reverse order.
Cancel: I did not complete this guide.
132 other people completed this guide.


38 Comments
Excellent guide, really enjoyed following the instructions. A job well done :-D
There is no fool proof method. Apply liberal amounts of heat. Be careful when slicing near the corners. If your back has micro-fractures already, chances are your back will crack along the fracture.
No matter how long I try to heat the back panel with an iOpener, I cannot seem to get the glue warm enough… Any advice on how to better unglue this thing?
Hi Jérémie,
The glue is pretty strong on this phone. You can try using a heat gun if you have one, or a hair dryer. You can also try the bottom edge instead of the long edge- sometimes the glue is not as strong there.