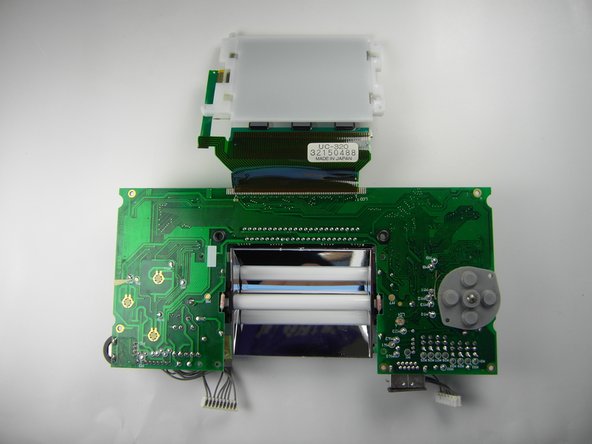
Sega Game Gear Screen Replacement
Introduction
Go to step 1A guide to installing a replacement screen on a Sega Game Gear.
-
-
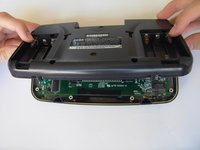
Remove the following screws:
-
Six Phillips screws
-
One 4.5 mm Gamebit screw
The screw hole in the bottom center is for the PowerBack. Also there are not 7 screws there are only 6
-
-
-
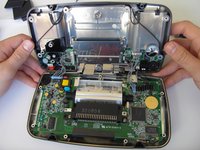
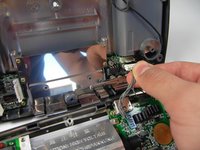
Carefully unplug the 2 white-tipped connectors on the top cover.
Il faut aussi débrancher le connecteur du haut parleur (2 broches, en haut à droite).
There is a third cable on the right side of the top half in this picture which is the speaker. Unplug that too.
-
-
-
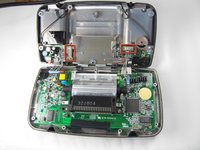
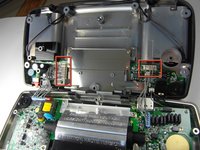
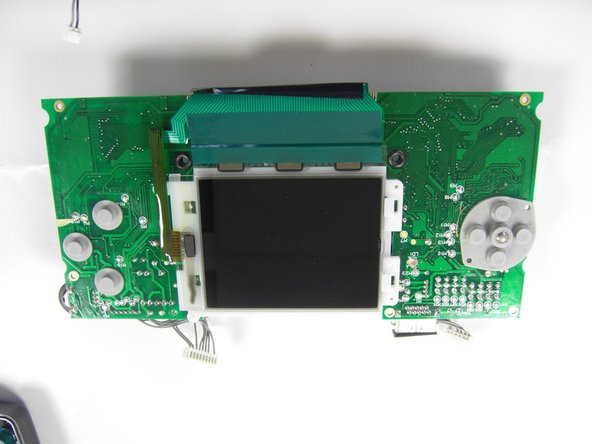
Unscrew all the marked screws.
There are two more screws at the top just to the left and right of the screen you can see clearly in this photo (the ones on the green PCB, not the ones on the screen support). Unscrew those too. All the screws have a white circle printed around them.
-
-
-
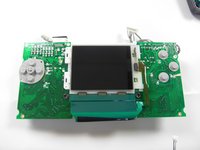
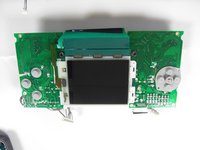
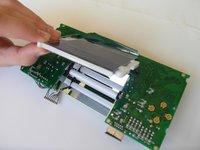
Place the board onto a flat surface.
There is a gasket around the screen which may also stick to the screen. Be careful not to lose, stretch, or damage that.
-
To reassemble your device, follow these instructions in reverse order.
To reassemble your device, follow these instructions in reverse order.
Cancel: I did not complete this guide.
14 other people completed this guide.
9 Guide Comments
any one know where to get a new display that wont bleed me dry?
Due to the nature a Game Gear screen attaches, a ribbon directly soldered to the mainboard, replacing it requires a soldering iron and some fairly advanced technique.
This guide, titled “Sega Game Gear Screen Replacement”, only takes us to the point you remove the ribbon. There is much work left.
so, uh, is there a more comprehensive version somewhere?
rollin -
Does the screen get fixed at the end?
SadlySadly, in step 7 you missed a screw location
there’s actually 2 more screws, one above the transformer and one on the left of the EXT port. this guide is sooooo incomplete, it’s a shame.
I’d like to see a capacitor replacement guide, I’m in the process of doing my early model Game Gear.
Also, how about a screen LCD upgrade guide?
They make modern LCD’s for these that eliminate the fluorescent bulbs that suck the batteries dry in a hurry. Lol
Can’t wait to get mine back up and running after several caps started to leak, video was non-existent and sound was very low and poor.
this guide is stupid
so in conclusion this is half a guide


