
Sony Clie PEG-UX50 Rear Case Replacement

What you need

  1. Sony Clie PEG-UX50 Rear Case Replacement, Rear Cover Case: step 1, image 1 of 3 Sony Clie PEG-UX50 Rear Case Replacement, Rear Cover Case: step 1, image 2 of 3 Sony Clie PEG-UX50 Rear Case Replacement, Rear Cover Case: step 1, image 3 of 3
    • Use the Phillips #1 screwdriver to remove the four screws from the back of the rear cover.

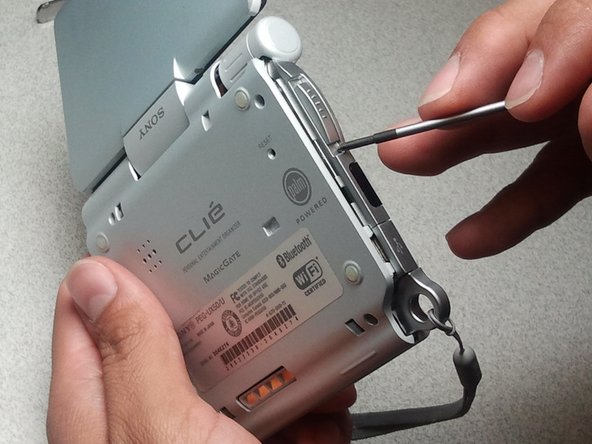
    • Use the Phillips #1 screwdriver to remove the screw on the right side of the rear cover.

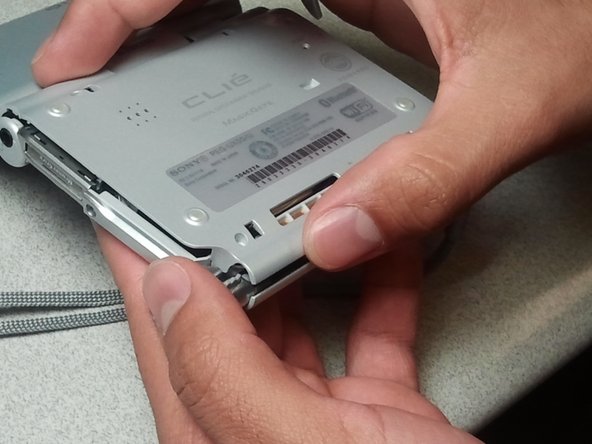
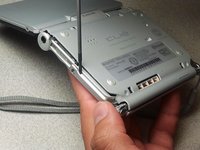
    • Use the Phillips #1 screwdriver to remove the screw on the top of the rear cover.

  2. Sony Clie PEG-UX50 Rear Case Replacement: step 2, image 1 of 2 Sony Clie PEG-UX50 Rear Case Replacement: step 2, image 2 of 2
    • Gently pry the rear cover case off to remove both the USB port cover and the hold switch.

  3. Sony Clie PEG-UX50 Rear Case Replacement: step 3, image 1 of 2 Sony Clie PEG-UX50 Rear Case Replacement: step 3, image 2 of 2
    • Remove the side cover.

    • Slowly pull on the rear cover case to separate it from the rest of the device. The case should not come off completely.

    • To avoid wire breakage, do not pull hard on the speaker connection wire.

  4. Sony Clie PEG-UX50 Rear Case Replacement: step 4, image 1 of 1
    • Gently remove the speaker wire from the device.

    • The rear cover case should now be completely separate from the device.

Conclusion

To reassemble your device, follow these instructions in reverse order.

One other person completed this guide.

Christopher M Garcia

Member since: 04/28/11

26 Reputation

1 Guide authored

Team

0 Comments

Add Comment

View Statistics:

Past 24 Hours: 1

Past 7 Days: 5

Past 30 Days: 29

All Time: 4,241