Introduction
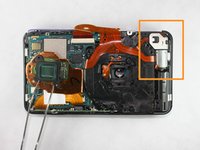
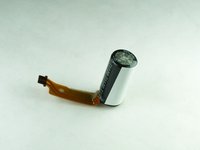
Be sure to remove the battery before beginning this procedure, and use caution when handling the flash capacitor. Do not touch the capacitor leads, or you may receive a nasty shock.
What you need
-
-
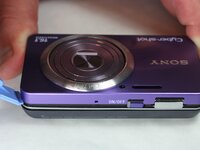
Begin by facing the camera bottom side up to reveal the two 2.93 mm long screws
-
Remove these two screws using a Philips #00 screwdriver
-
-
-
-
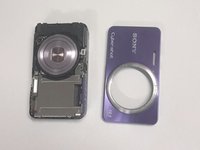
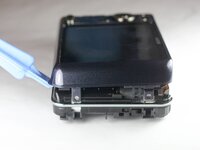
Taking off the previous cover will reveal the two cables connecting the LCD screen to the motherboard below the screen.
-
-
-
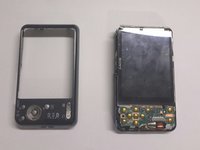
These are buttons for menu. Be sure to check that the flash settings are correct for your scene. Do not replace flash until settings are verified.
-


To reassemble your device, follow these instructions in reverse order.
To reassemble your device, follow these instructions in reverse order.
Cancel: I did not complete this guide.
3 other people completed this guide.
Team

USF Tampa, Team 9-1, Brown Winter 2015 Member of USF Tampa, Team 9-1, Brown Winter 2015
USFT-BROWN-W15S9G1
5 Members
10 Guides authored