Introduction
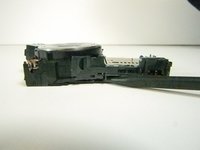
The motherboard is one of the hardest components on the camera to replace. Be very careful when taking apart the ribbons, you could accidentally damage other parts of the camera.
What you need
-
-
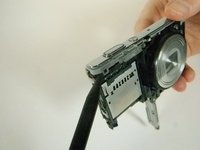
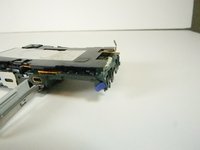
Open the battery/memory card door and remove the 6 screws (.35cm) with a Philips 000 screwdriver. There will be two screws on the left and right sides, and two on the bottom.
-
-
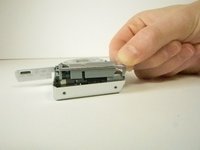
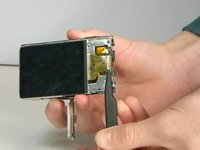
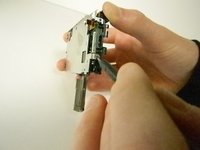
Tool used on this step:Tweezers$4.99
-
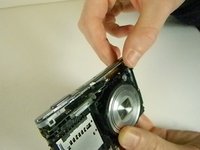
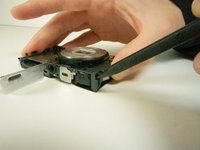
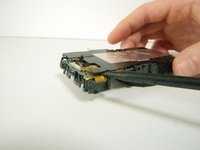
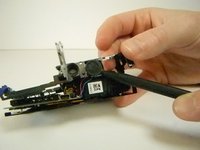
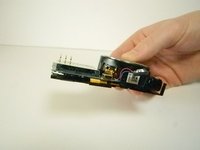
Flip over the control board then use tweezers to pull out the ribbon connecting the circuit board to the motherboard.
-
-
-
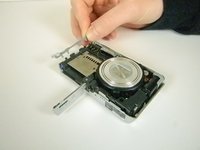
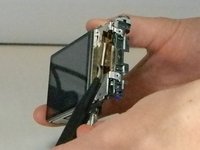
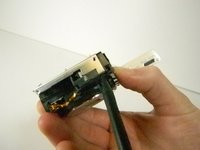
Tool used on this step:Tweezers$4.99
-
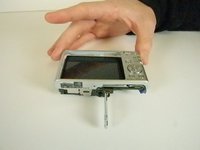
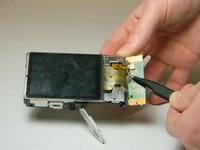
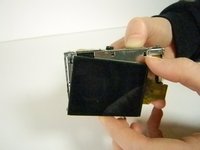
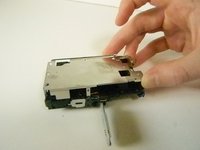
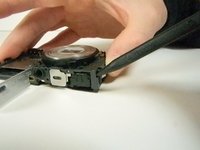
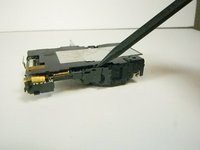
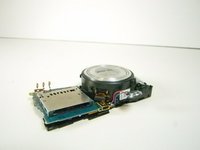
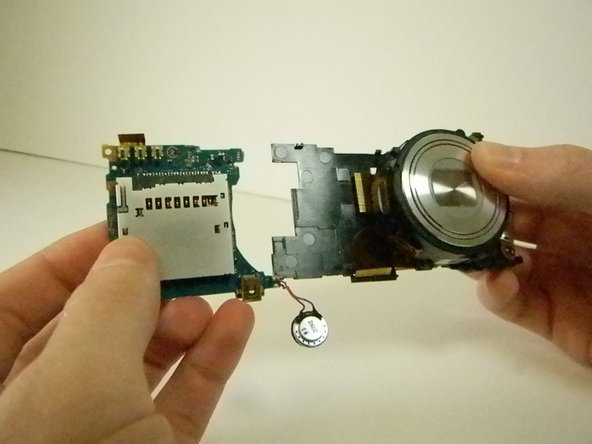
Use tweezers to remove the ribbon that is connected from the LCD screen to the camera by pulling the part that is folded under, out.
-
-
-
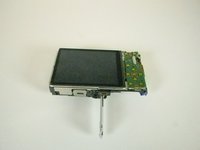
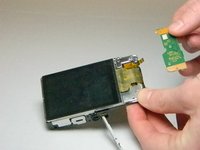
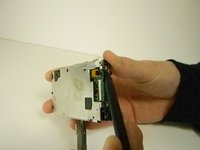
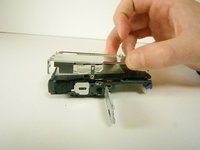
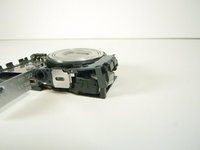
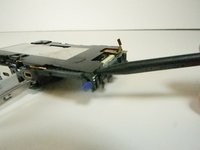
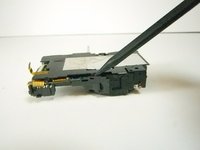
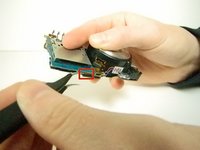
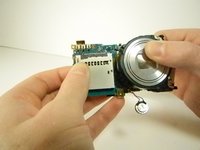
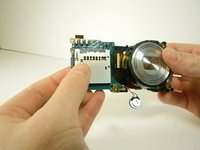
After the screen is off, work the spudger under three clips to remove the metal plate.
-


To reassemble your device, follow these instructions in reverse order.
To reassemble your device, follow these instructions in reverse order.
Cancel: I did not complete this guide.
One other person completed this guide.
Team

USF Tampa, Team 9-4, Blackwell Winter 2015 Member of USF Tampa, Team 9-4, Blackwell Winter 2015
USFT-BLACKWELL-W15S9G4
3 Members
12 Guides authored