
Sony Handycam HDR-XR500V Hard Drive Replacement
Introduction
Go to step 1Before throwing your defunct drive in the freezer or hitting it like the Fonz in the hopes that it will magically work again, follow this replacement guide. Be sure to conduct your repairs in a Class-100 clean room (less than 100 particles of dust per square foot of air) to prevent internal contamination and have some sort of container prepared to save your screws.
What you need

-
-
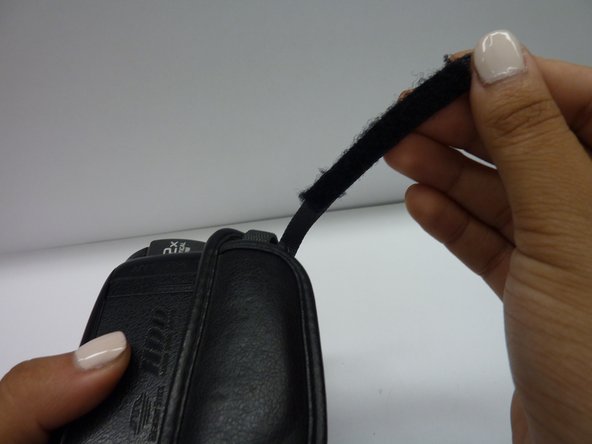
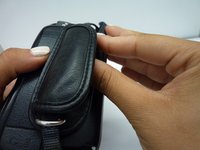
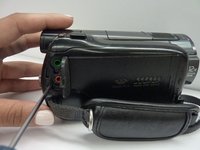
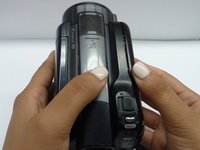
Start at the bottom of the camera, where the threaded tripod mount is. There you will find two screws securing a plastic panel, one next to the Sony logo and the other under the push tab.
-
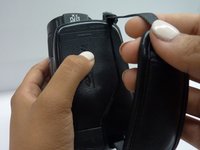
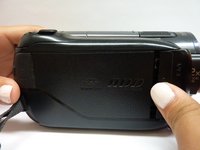
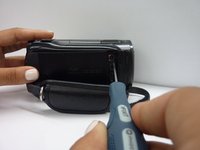
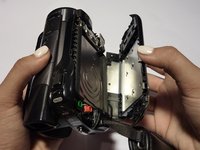
Remove the two 3mm Phillips #00 screws from this panel. Note that all screws mentioned in this assembly are 3mm Phillips #00 screws and thus only one tool is needed for this replacement.
-
-
-
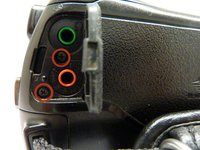
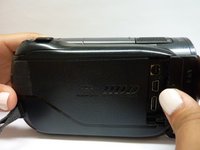
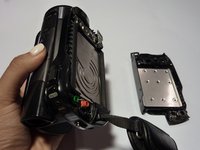
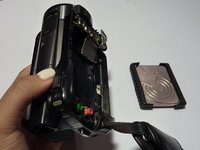
Pull the hard drive out from the compartment. You should know it by its silver raised sides and hexagon-patterned edges.
-
Insert the new hard drive in the same orientation as the one you just removed, i.e. manufacturer specs point inward and the silver outer casing faces the covering panel.
-


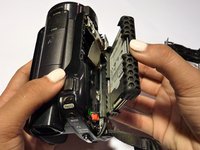
To reassemble your device, follow these instructions in reverse order. Be sure to test your camcorder after assembly to ensure the new disk drive is compatible and operational.
To reassemble your device, follow these instructions in reverse order. Be sure to test your camcorder after assembly to ensure the new disk drive is compatible and operational.
Cancel: I did not complete this guide.
4 other people completed this guide.
Team

CSU Fullerton, Team 2-5, Bruce Fall 2014 Member of CSU Fullerton, Team 2-5, Bruce Fall 2014
CSUF-BRUCE-F14S2G5
4 Members
2 Guides authored
2 Comments
My HD is fine so far but always wondered what I would do if it died. Thank You