
Sony NEX-5R Motherboard Replacement
Introduction
Go to step 1The removal of the motherboard involves removing a significant portion of the rear casing, the internal casing, and the removal of component connections. Care and safe handling is advised in this guide.
What you need


-
-
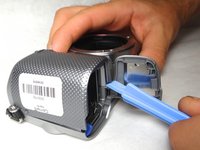
Open the battery pack door by moving the slider to "OPEN".
-
Remove the 3.25 mm silver screw inside the battery pack with a Phillips screwdriver.
-
-
-
Remove the three (3.5 mm) screws from the bottom of the camera with the Phillips screwdriver.
-
-
-
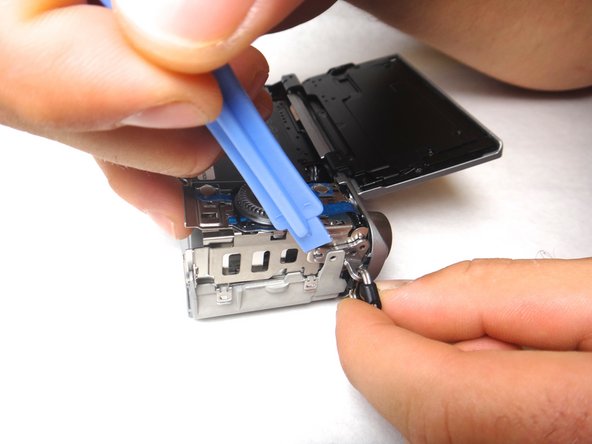
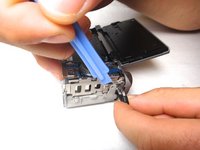
Remove the two 4mm screws from the interior of the battery pack, and one 3.5mm screw from beside it.
We already removed the screw next to battery lock. The one close to blue plastic lock.
How to repair this part of the interior pack if my blue thing is broken
-
-
-
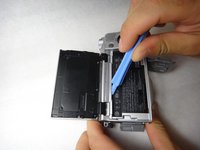
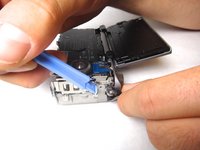
Using the spudger again, carefully pry from the top of the camera to remove the back frame.
-
The back frame is fragile, so use the spudger gently.
Pull the back pannel up starting at the bottom of the frame. There is a little hinge at inside the frame the top that will move up and make it much easier to remove the back panel (almost without effort)
The most difficult part of this disassembly is this plastic part. Very thin, flimsy and tend to easily break. Pay extra attention when prying this frame, especially the top part, between the screen hinges.
Update to my previous comment:
Remove the top case part where the shutter button, play button etc so that flimsy plastic frame can come out easily.
-
-
-
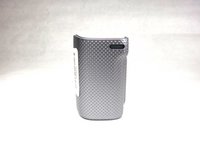
The back case should now be removed and look like this.
I guess not. battery stopper is on the body.
-
-
-
Remove the two copper 2.25mm phillips head screws from the bottom of the camera.
Those are not actual copper by the way. I am using a magnet plate and they stick to it as they are steel. So most probably copper colored or plated steel screws.
-
-
-
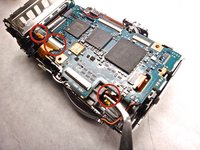
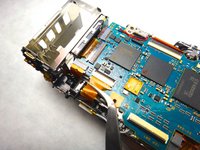
Remove the six copper 2.25mm phillips head screws from the top of the motherboard assembly on the camera
On which step we removed the tripod mount screw?
skipped the step where they removed top with the shutter
-
-
-
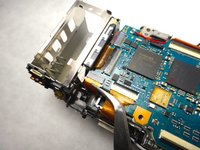
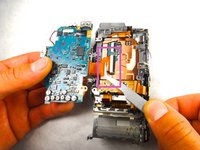
Lift the LCD screen straight up and off of the camera. The motherboard frame is attached and the assembly will easily separate from the camera.
-
-
-
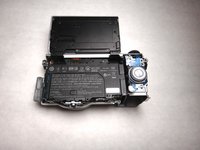
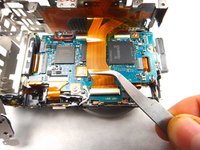
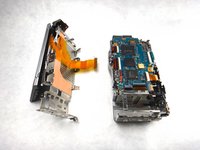
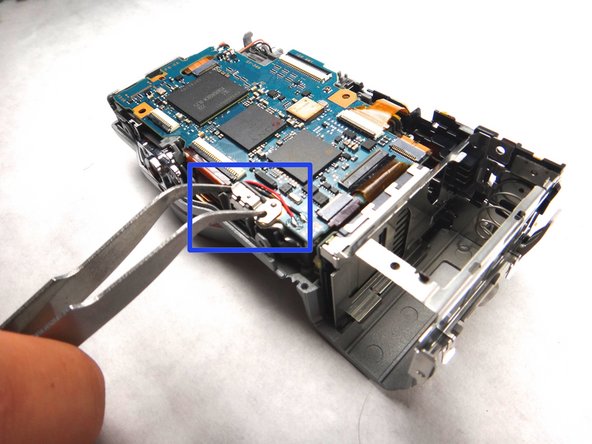
With all secondary leads removed, lift the motherboard away from the camera to expose the primary lead underneath. While holding the motherboard lightly in one hand, tightly pinch the primary lead near the housing with the tweezers. Pull the lead straight out from the housing to completely separate the motherboard from the camera.
-
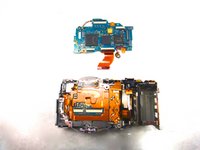
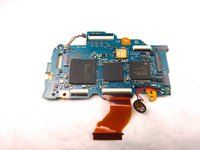
The removed motherboard and camera body should now appear as shown.
How to replace sensor and shutter?
It you are replacing motherboard, it is best to leave the two remaining ribbons underneath attached to camera body. Instead remove ribbons from motherboard since it will be discarded. Also, you will need to solder leads for cylindrical socket and shutter button onto new motherboard.
-


To reassemble your device, follow these instructions in reverse order.
To reassemble your device, follow these instructions in reverse order.
Cancel: I did not complete this guide.
6 other people completed this guide.
Team

Cal Poly, Team 8-9, Regan Spring 2014 Member of Cal Poly, Team 8-9, Regan Spring 2014
CPSU-REGAN-S14S8G9
4 Members
14 Guides authored
3 Comments
My sony nex c have a problem every time i ‘m opened it with a message of “camera error”. May i know what is the major problem of this?
One of the common failing part of this model
is the memory card board which is quite difficult to replace. This model requires a guide for that.