
Sony Vaio VGN-SR140E Hard Drive Replacement

Introduction
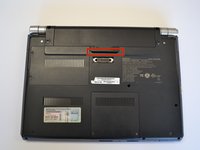
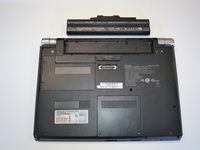
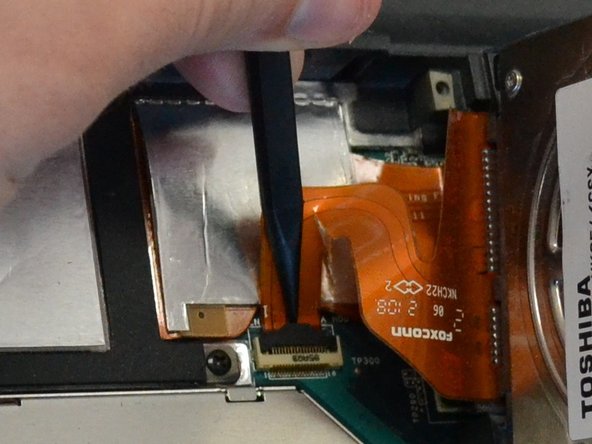
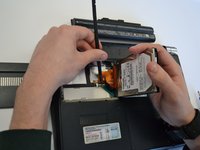
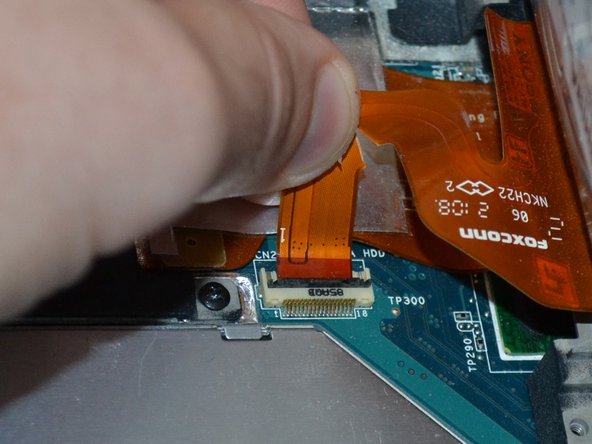
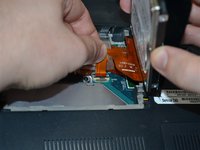
Go to step 1The battery will need to be removed before servicing or replacing anything else on the device. The hard drive can be taken out after removing two screws. Be careful when removing the hard drive as it is attached to the motherboard by a thin ribbon cable.
What you need


-
-
Using a Phillips #1 screw driver, loosen both screws holding the cover in place. These screws are secured to the cover with retaining clips.
-


To reassemble your device, follow these instructions in reverse order.
To reassemble your device, follow these instructions in reverse order.
Cancel: I did not complete this guide.
One other person completed this guide.

Team

Michigan Tech, Team 1-6, Lauer Spring 2015 Member of Michigan Tech, Team 1-6, Lauer Spring 2015
MTU-LAUER-S15S1G6
2 Members
10 Guides authored