Introduction
This dissasembly guide was made in the process of changing out a faulty fan unit. To access this fan the motherboard needs to be removed, as well as most other parts of the laptop. If you need to repair or replace the keyboard, this guide should get you most of the way there.
I had initially changed the fan out, but not put the thermal paste on the CPU correctly. This resulted in high fan speeds, as the laptop was compensating for the poor heat dispersion.
Before you start this project, I would suggest reading this whole guide through. Understanding what things look like on the inside will make it much easier to take the laptop apart.
What you need
-
Tool used on this step:Anti-Static Wrist Strap$7.95
-
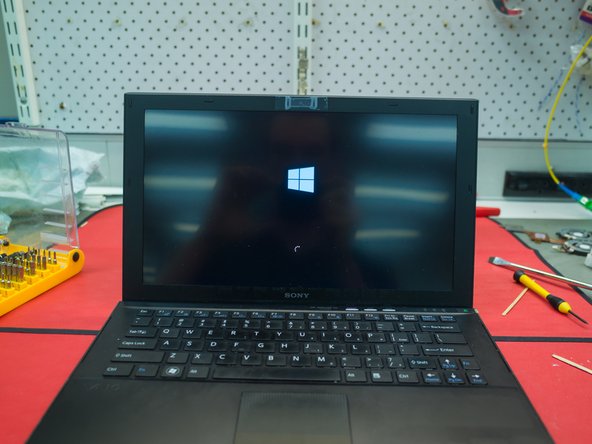
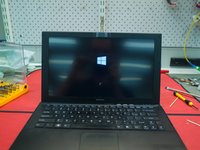
This laptop had been recently upgraded from Windows 7 to Windows 10. This process was fairly straightforward, and the laptop works perfectly now. A key element of this was finding and installing the various drivers to suit.
-
In particular, the Intel RAID driver needs to be downloaded from the Intel website, and also the fingerprint drivers need to be found and installed.
-
-
-
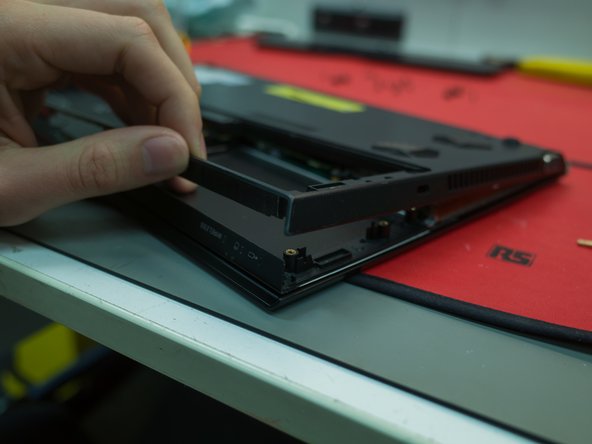
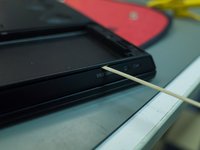
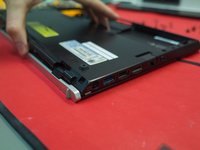
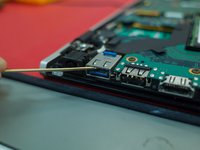
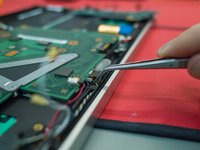
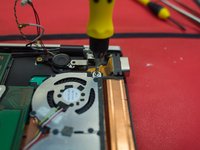
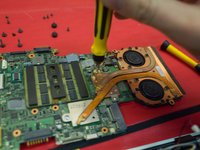
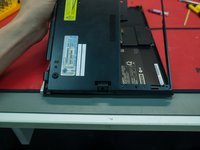
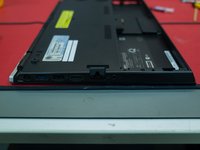
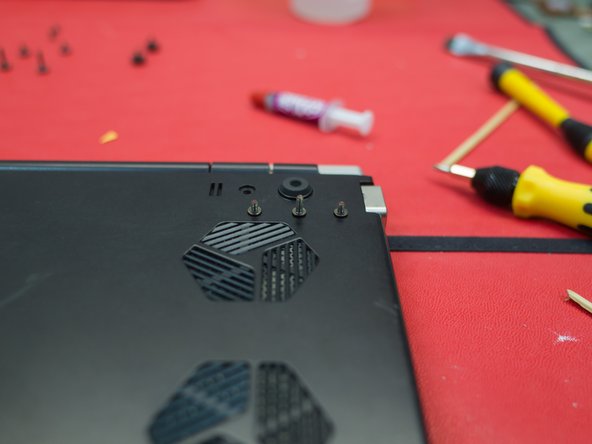
Pry the housing apart using something maliable (I used a bamboo stick)
-
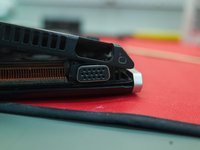
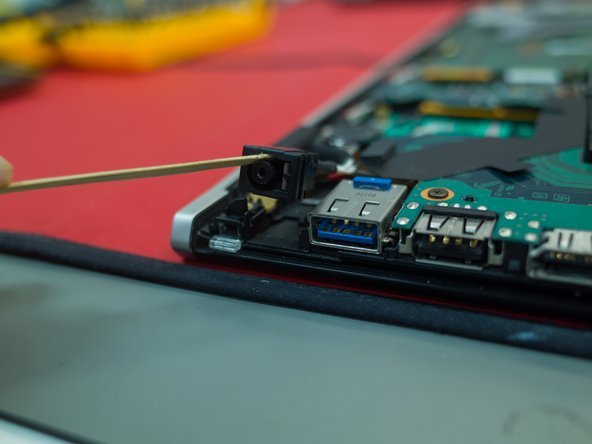
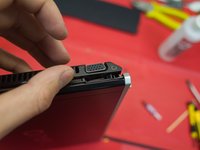
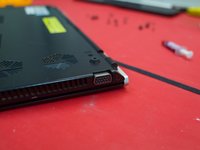
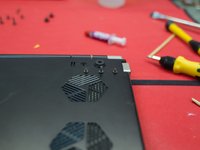
Start at the front edge on the side with the VGA port & fan hole
-
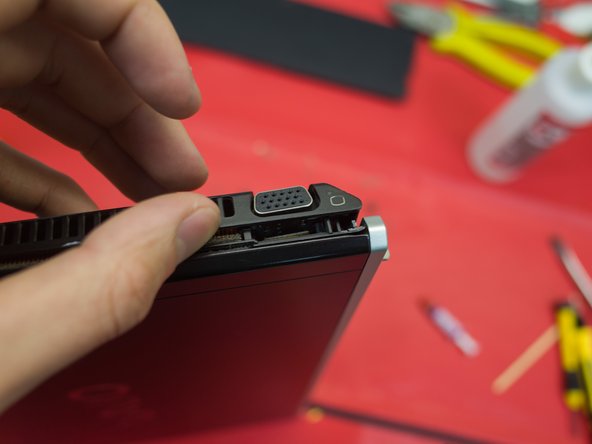
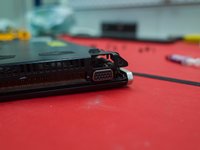
The VGA port is not fixed to the chassis, and can be lifted up to assist with removing the case
-
I have shown the VGA port in more detail later in this guide
-
-
-
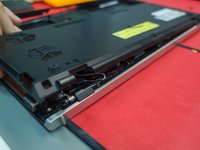
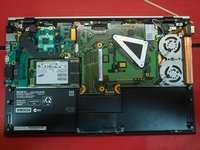
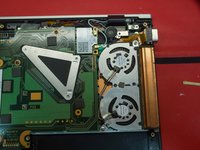
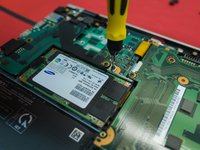
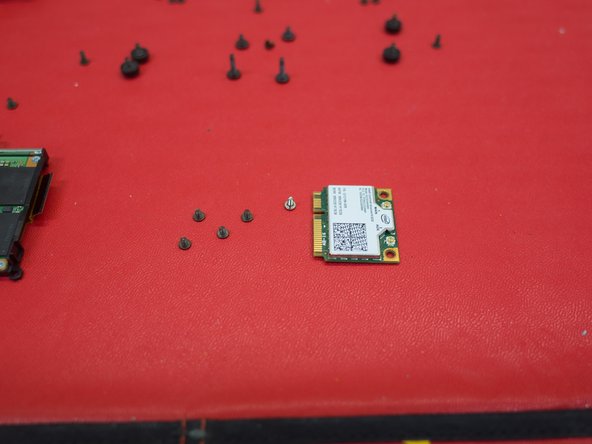
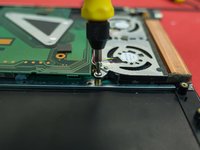
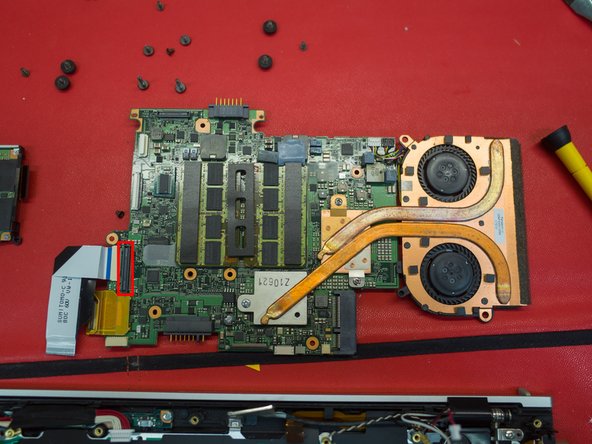
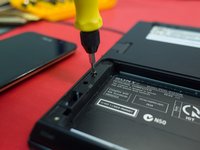
Note that screws are marked with an arrow. This is useful when reassembling the laptop, as some screws are not entirely obvious.
-
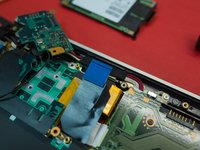
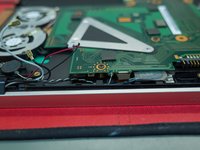
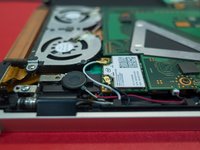
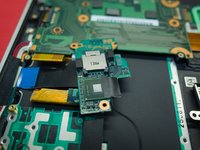
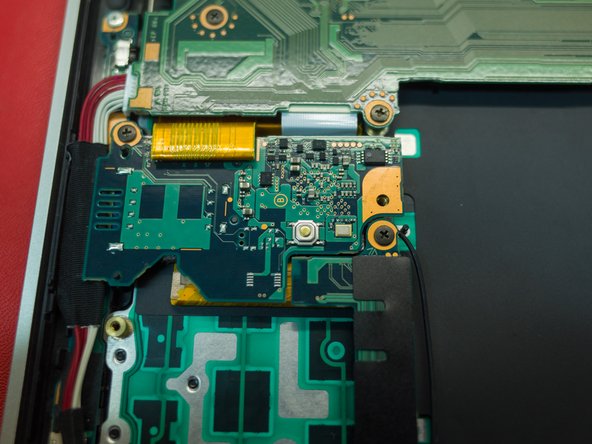
On the right is the fan & heatsink
-
The triangle bracket holds in the CPU (accessed from the under side of the motherboard)
-
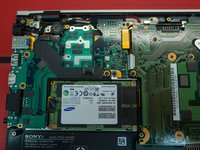
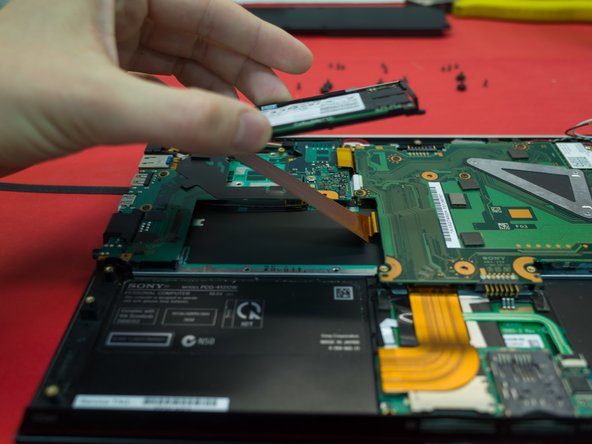
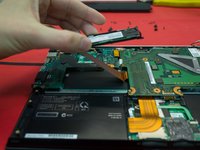
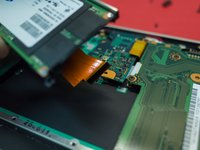
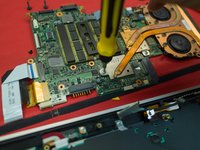
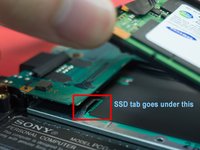
The SSD is to the left of the motherboard
-
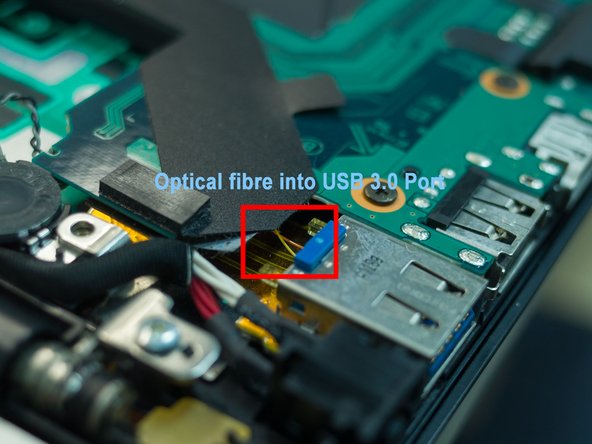
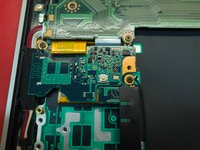
Above the SSD is the optical board. This handles the signal for the external dock (PMD), and is responsible for transfering data fast enough to power an external GPU.
-
-
-
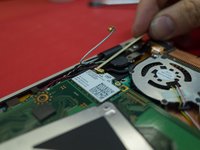
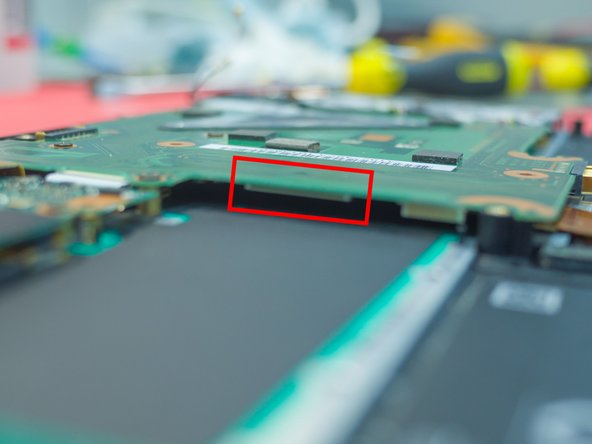
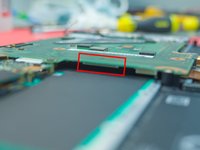
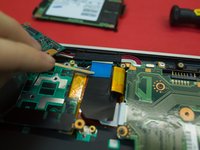
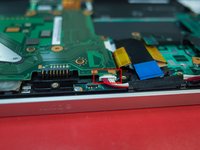
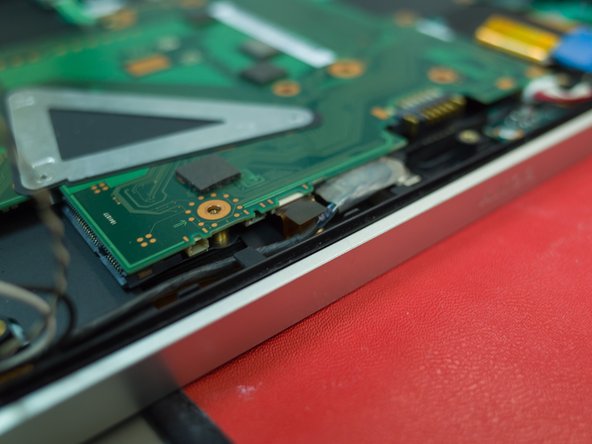
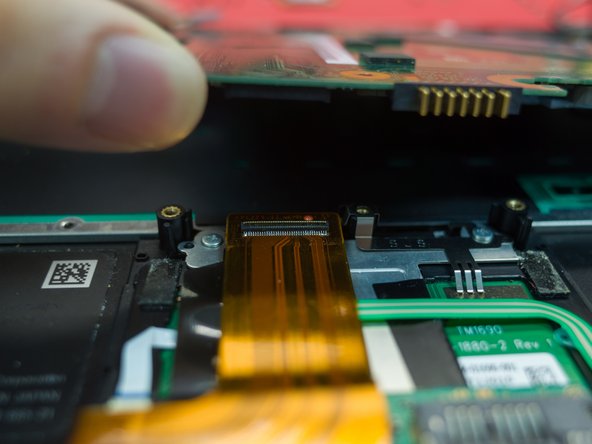
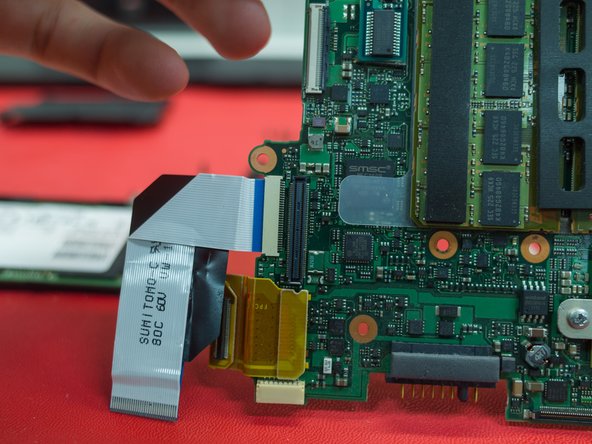
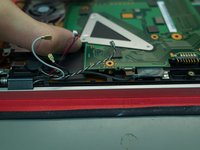
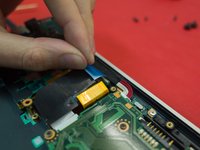
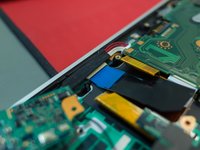
On the back edge there are 4 plugs going into the back of the motherboard.
-
I'm not 100% sure, but from the top of my head these are (left to right); speakers (red/black & black/white), VGA (ribbon), and main (flat plug type)
-
There is also a power connector plug on the far side (red/white)
-
-
-
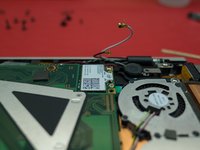
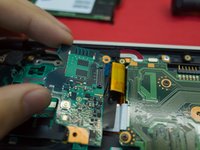
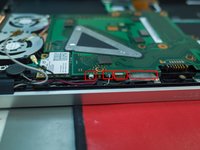
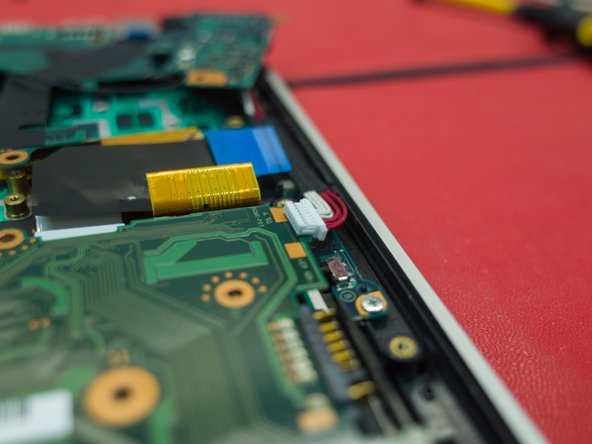
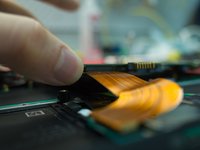
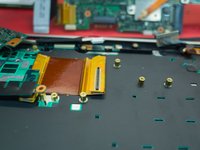
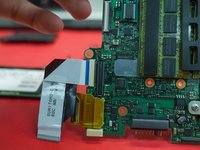
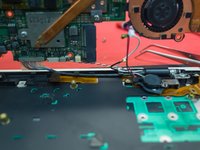
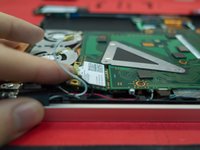
The red/white and black/white plugs are obvious to pull out
-
The VGA cable has a flat plastic tab - pull on this tab to remove/install
-
The red/white power cables are also obvious
-
To remove the main plug, push it straight down towards the keyboard. This is easier to do once the motherboard is free, so I would suggest leaving it in place for now.
-
-
-
-
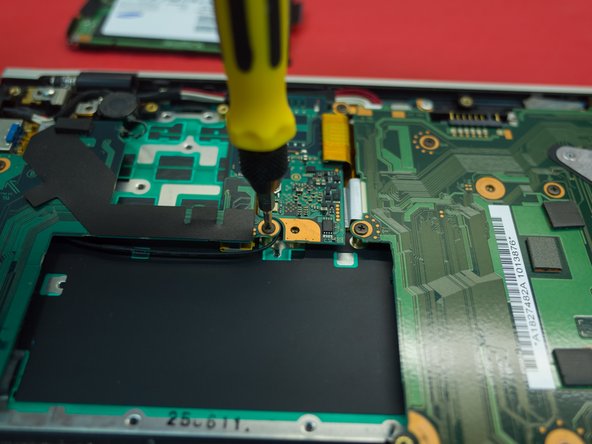
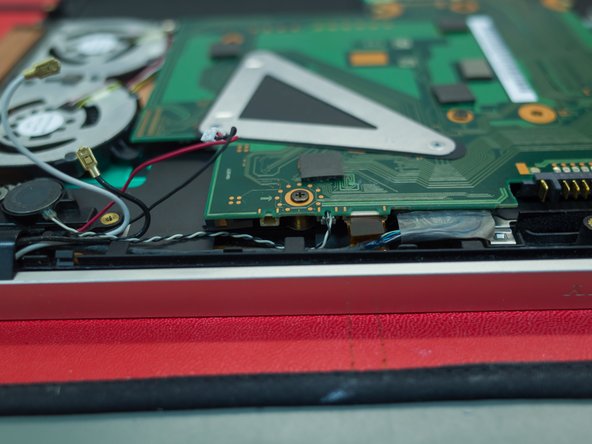
The heatsink and fan and connected directly to the motherboard by 3 screws. These screws are attached to the triangle bracket, and are accessible from the under side of the motherboard.
-
This means that the entire motherboard needs to be disconnected to remove the CPU, fan, and heatsink.
-


To reassemble your device, follow these instructions in reverse order.
To reassemble your device, follow these instructions in reverse order.
Cancel: I did not complete this guide.
8 other people completed this guide.
12 Comments
Sorry to be pain, can i detach and re-attach the main motherboard cable for the right hinge without taking the motherboard off? Also are the there any cables from the left hinge i need to be aware of?
The Z2 was put together quite differently - a lot less room inside than the Z1. The screen on the Z1 was clipped on around the outside. Fairly intuitive to remove it as long as you go slow and be cautious.
It's be a while since I wrote this, but from memory the Z2's display should detach via plugs near the hinge-end of the motherboard. I wouldn't expect that you'll need to take the motherboard out.
The silver strip at the bottom of the LCD also covers some cables related to the antenna (which goes around the outside edge of the display.
Just a thought - if you do take yours apart, take some pictures and make a guide on ifixit. The Z2 was really well built, and it is great to be able to keep them serviceable.
zacxzac -
I performed all the operations and laptop works but it does not see the battery now. Any guesses where I could made a mistake (may be disconnect smth).
Hi- did you get to the bottom of the no battery detection issue? Im getting the same after taking the laptop apart
MrTay2 -
Quick update- ive managed to fix it (Opened it back up). Seems like i put too much pressure when screwing back the motherboard. Just had to loosen some screws.Hope this helps if you are still having issues.
MrTay2 -
Thank you very much. Great guide!