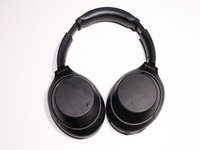
Sony WH-1000XM4 Swivel Replacement

What you need

  1. Sony WH-1000XM4 Swivel Replacement, Right side, ear muff: step 1, image 1 of 3 Sony WH-1000XM4 Swivel Replacement, Right side, ear muff: step 1, image 2 of 3 Sony WH-1000XM4 Swivel Replacement, Right side, ear muff: step 1, image 3 of 3
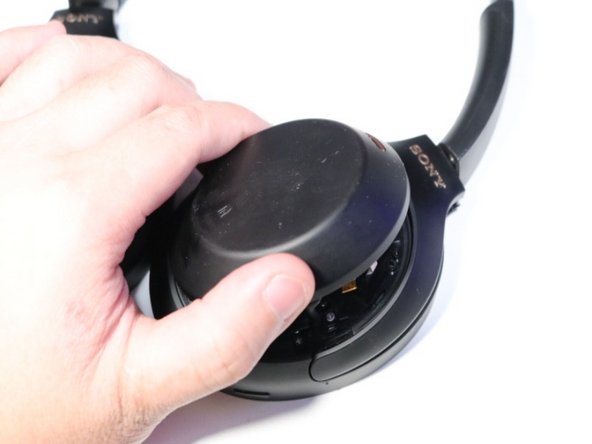
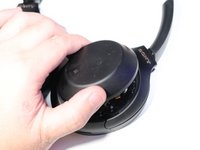
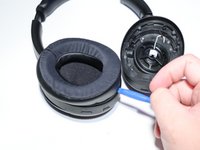
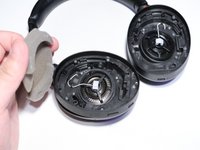
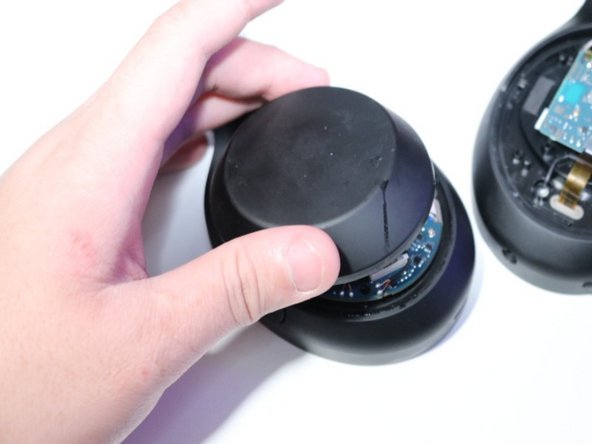
    • Using an opening tool, pry off the right ear muff and remove the underlying foam.

  2. Sony WH-1000XM4 Swivel Replacement, Right side, screws: step 2, image 1 of 1
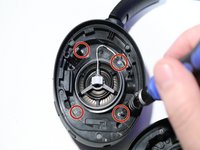
    • Remove the four silver screws on right side of the headphones using a Phillips #000 screwdriver.

  3. Sony WH-1000XM4 Swivel Replacement, Right side, cup cover: step 3, image 1 of 2 Sony WH-1000XM4 Swivel Replacement, Right side, cup cover: step 3, image 2 of 2
    • Flip the headphones.

    • Lift up and flip the right ear cup cover.

    • Don't try to completely remove the cover just yet—it's still attached with the touch cable.

  4. Sony WH-1000XM4 Swivel Replacement, Right side, touch ribbon cable: step 4, image 1 of 2 Sony WH-1000XM4 Swivel Replacement, Right side, touch ribbon cable: step 4, image 2 of 2
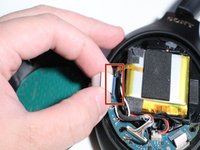
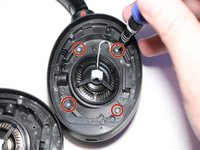
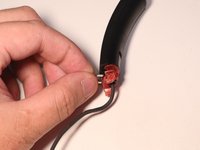
    • Detach the ribbon cable connecting the backplate to the right ear.

  5. Sony WH-1000XM4 Swivel Replacement, Right side, thermal sensor ribbon cable: step 5, image 1 of 2 Sony WH-1000XM4 Swivel Replacement, Right side, thermal sensor ribbon cable: step 5, image 2 of 2
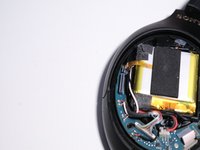
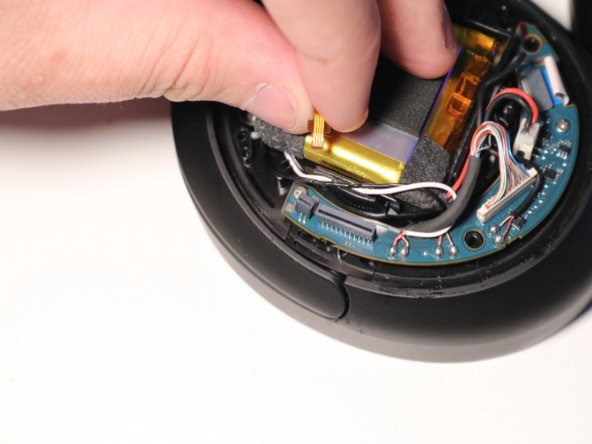
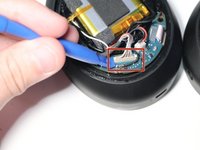
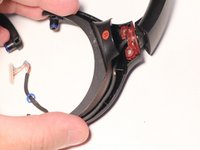
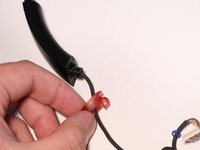
    • Detach the yellow thermal sensor ribbon cable from the motherboard.

  6. Sony WH-1000XM4 Swivel Replacement, Right side, white ribbon cable: step 6, image 1 of 2 Sony WH-1000XM4 Swivel Replacement, Right side, white ribbon cable: step 6, image 2 of 2
    • Disconnect the white ribbon cable.

  7. Sony WH-1000XM4 Swivel Replacement, Right side, data/pwr connector: step 7, image 1 of 2 Sony WH-1000XM4 Swivel Replacement, Right side, data/pwr connector: step 7, image 2 of 2
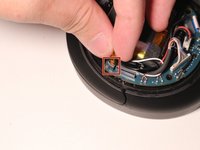
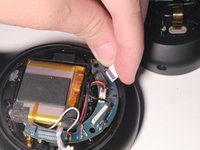
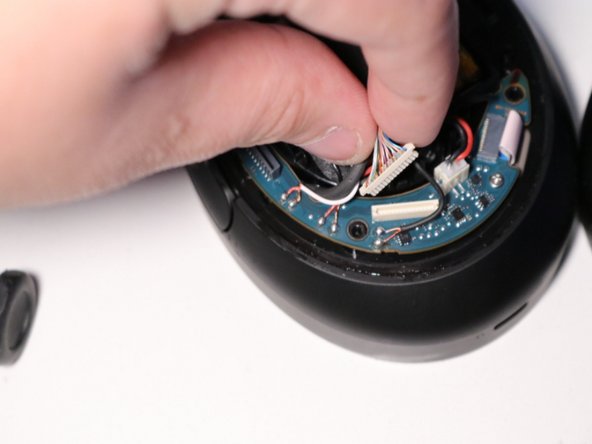
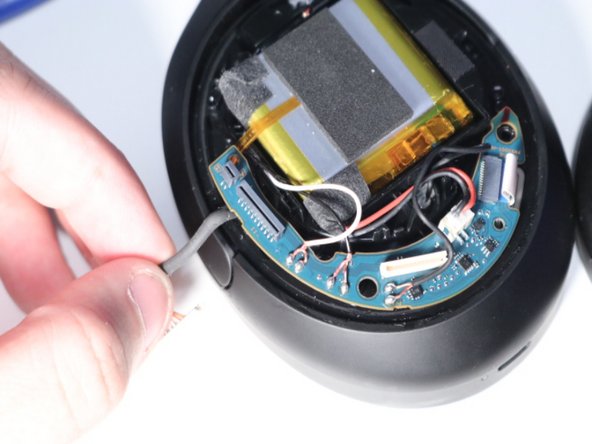
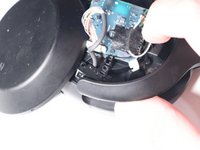
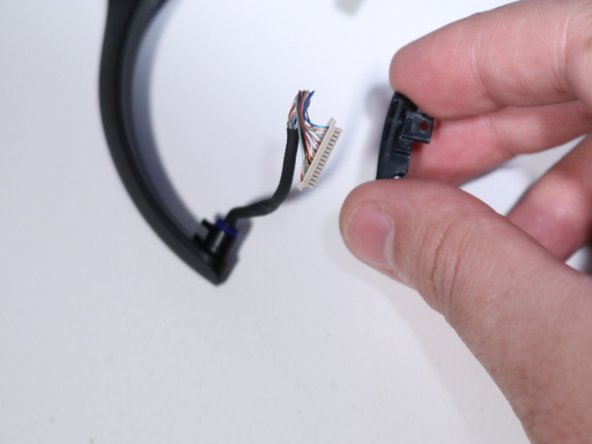
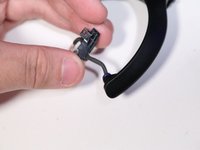
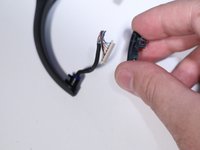
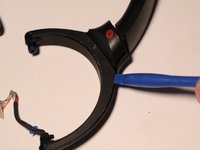
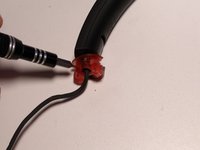
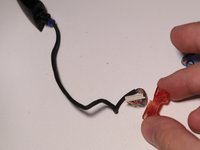
    • Detach the data/pwr connector from the motherboard using an opening tool.

  8. Sony WH-1000XM4 Swivel Replacement, Right side, motherboard screws: step 8, image 1 of 1
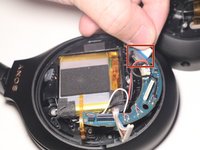
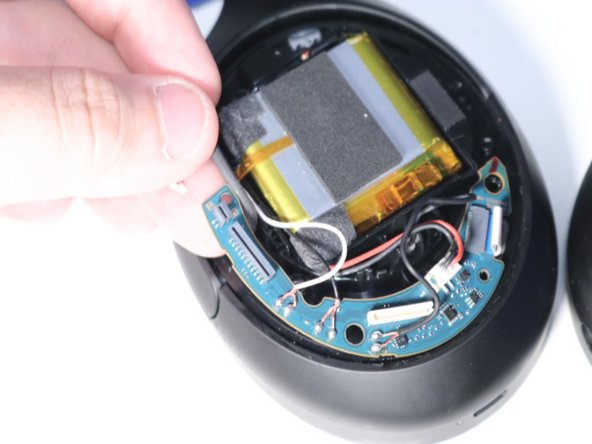
    • Remove the two screws from the motherboard using a Phillips #000 screwdriver.

  9. Sony WH-1000XM4 Swivel Replacement: step 9, image 1 of 3 Sony WH-1000XM4 Swivel Replacement: step 9, image 2 of 3 Sony WH-1000XM4 Swivel Replacement: step 9, image 3 of 3
    • Move the data/pwr cable from the inside of the board to the outside.

  10. Sony WH-1000XM4 Swivel Replacement: step 10, image 1 of 1
    • Remove the data/ pwr connector from board.

  11. Sony WH-1000XM4 Swivel Replacement, Right side, hinge screws: step 11, image 1 of 1
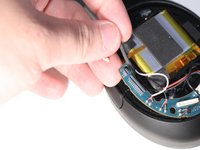
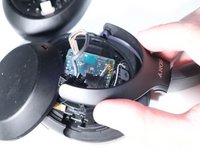
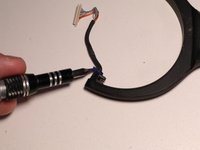
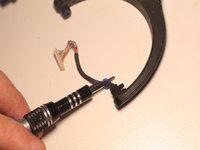
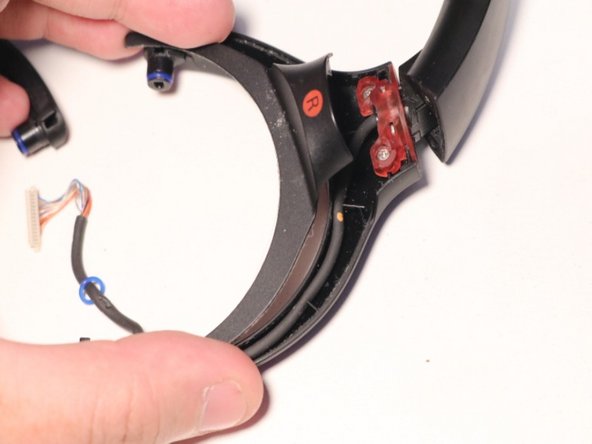
    • On the right ear, rotate the motherboard and remove the two screws from the hinge using a Phillips #000 screwdriver.

  12. Sony WH-1000XM4 Swivel Replacement, Right side, hinge removal: step 12, image 1 of 2 Sony WH-1000XM4 Swivel Replacement, Right side, hinge removal: step 12, image 2 of 2
    • On the right ear, lift the hinge and push it out.

  13. Sony WH-1000XM4 Swivel Replacement, Left side, ear muff: step 13, image 1 of 2 Sony WH-1000XM4 Swivel Replacement, Left side, ear muff: step 13, image 2 of 2
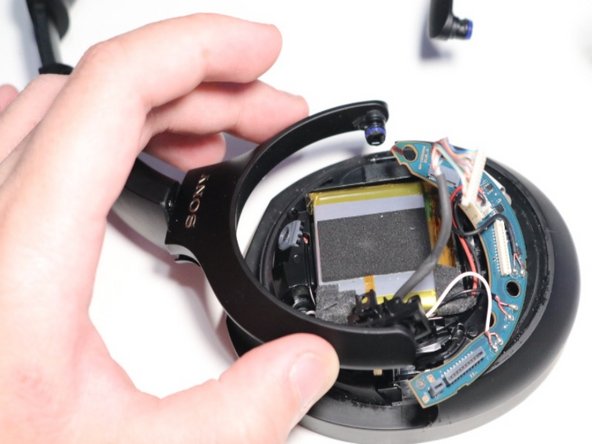
    • Using an opening tool, pry off the left ear muff and remove the underlying foam.

  14. Sony WH-1000XM4 Swivel Replacement, Left side, screws: step 14, image 1 of 2 Sony WH-1000XM4 Swivel Replacement, Left side, screws: step 14, image 2 of 2
    • Remove the four silver screws on left side of the headphones using a Phillips #000 screwdriver.

  15. Sony WH-1000XM4 Swivel Replacement, Left side, cup cover: step 15, image 1 of 2 Sony WH-1000XM4 Swivel Replacement, Left side, cup cover: step 15, image 2 of 2
    • Flip the headphones.

    • Lift up and flip the left ear cup cover.

  16. Sony WH-1000XM4 Swivel Replacement, Left side, NFC ribbon cable: step 16, image 1 of 2 Sony WH-1000XM4 Swivel Replacement, Left side, NFC ribbon cable: step 16, image 2 of 2
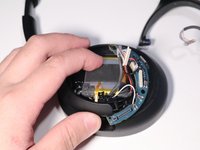
    • On the left ear, detach the ribbon cable attaching the nfc from the back panel to the motherboard.

  17. Sony WH-1000XM4 Swivel Replacement, Left side, hinge screws: step 17, image 1 of 1
    • On the left ear, remove the two screws from the hinge using a Phillips #000 screwdriver.

  18. Sony WH-1000XM4 Swivel Replacement, Left side, hinge removal: step 18, image 1 of 2 Sony WH-1000XM4 Swivel Replacement, Left side, hinge removal: step 18, image 2 of 2
    • On the left ear, lift the hinge and push it out.

  19. Sony WH-1000XM4 Swivel Replacement, Commons steps, hinge removal: step 19, image 1 of 2 Sony WH-1000XM4 Swivel Replacement, Commons steps, hinge removal: step 19, image 2 of 2
    • Remove the black hinge piece from the data/ pwr cable.

  20. Sony WH-1000XM4 Swivel Replacement: step 20, image 1 of 2 Sony WH-1000XM4 Swivel Replacement: step 20, image 2 of 2
    • Using a screwdriver, remove the rubber band.

  21. Sony WH-1000XM4 Swivel Replacement: step 21, image 1 of 2 Sony WH-1000XM4 Swivel Replacement: step 21, image 2 of 2
    • Use an opening tool to remove the cover.

  22. Sony WH-1000XM4 Swivel Replacement: step 22, image 1 of 1
    • Lift up the data/ pwr cable.

  23. Sony WH-1000XM4 Swivel Replacement: step 23, image 1 of 1
    • Remove the two screws from the swivel using a Phillips #000 screwdriver.

  24. Sony WH-1000XM4 Swivel Replacement: step 24, image 1 of 2 Sony WH-1000XM4 Swivel Replacement: step 24, image 2 of 2
    • Push out the metal bit from the swivel piece using a spudger.

    • Pull out the metal bit.

  25. Sony WH-1000XM4 Swivel Replacement: step 25, image 1 of 2 Sony WH-1000XM4 Swivel Replacement: step 25, image 2 of 2
    • Remove the old swivel.

Conclusion

To reassemble your device, follow these instructions in reverse order.

11 other people completed this guide.

Jian Mejia

Member since: 08/23/23

595 Reputation

1 Guide authored

Team

10 Comments

really helpful, thank you! my swivel snapped. I started from Step 18 and removed the cover halfway. re-inserted the swivel then locked the metal bit back. i don't have the replacement piece and it will snap again if twisted too far, but this works for now. thanks!!

jianne - Reply

Here are a few suggestions:

1) Do a google search for 'sony headphones wh1000xm4 replacement plastics'

2) SONY Replacement Parts Website (what they offer) I found at this site.

3) Joe's SONY WH-1000XM4 Repair Parts I found at this site.

- The individual part you needed is offered along with a replacement metal clip.⏎

4) Check eBay - Currently (2/9/24) I see the part you need along with the two piece that attaches from the swivel joint to the speaker for about $11.99 USD

sonnyhung - Reply

I hear a creaking sound on my left earcup and have tried everything to remove it (tape, lube, opening the sides up) but to no avail. Should I do this guide and check if the creaking is in the hinge part? Thanks.

EJ Vinuya (EJ) - Reply

ok, got it all off!.....how do i put on a replacement?

elizabeth “liz” Lopez - Reply

i got the headphone part off of encompass (sony's official part store)

elizabeth “liz” Lopez - Reply

Add Comment

View Statistics:

Past 24 Hours: 33

Past 7 Days: 195

Past 30 Days: 944

All Time: 11,981