
Free Shipping on Domestic Orders $75+

Sony WH-CH520 Microphone Replacement

What you need

  1. Sony WH-CH520 Microphone Replacement, Earpad Cushion: step 1, image 1 of 1
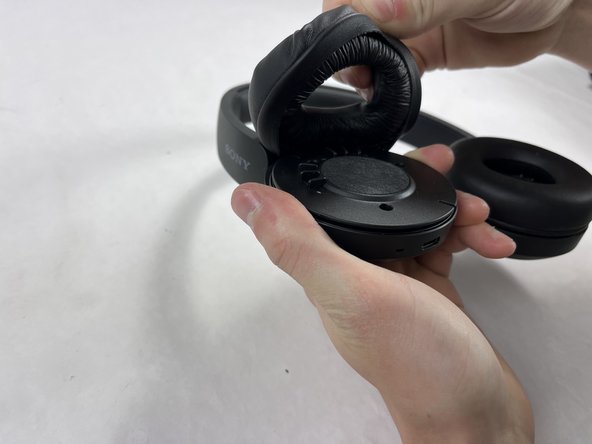
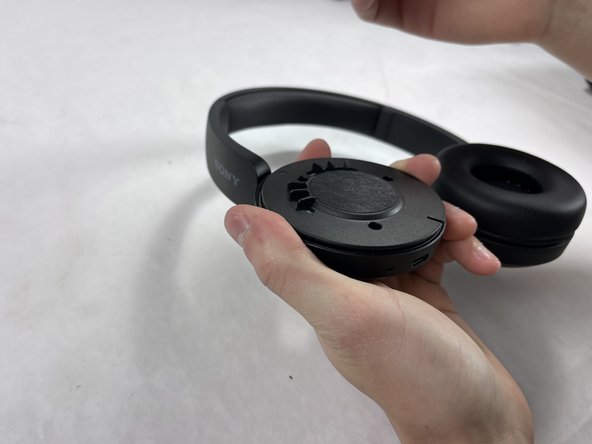
    • Hold the headphones in one hand, and with your other hand lightly pinch the earpad cushion.

  2. Sony WH-CH520 Microphone Replacement: step 2, image 1 of 3 Sony WH-CH520 Microphone Replacement: step 2, image 2 of 3 Sony WH-CH520 Microphone Replacement: step 2, image 3 of 3
    • Pull the pinched portion of the cushion up and towards yourself.

    • Pull part of the cushion off of the lip of the headphones.

    • Fully remove by pulling the earpad cushion down and away from yourself.

  3. Sony WH-CH520 Microphone Replacement, Microphone: step 3, image 1 of 2 Sony WH-CH520 Microphone Replacement, Microphone: step 3, image 2 of 2
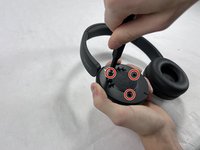
    • Remove the three 2.5 mm screws from the headphones using a JIS #00 screwdriver.

  4. Sony WH-CH520 Microphone Replacement: step 4, image 1 of 3 Sony WH-CH520 Microphone Replacement: step 4, image 2 of 3 Sony WH-CH520 Microphone Replacement: step 4, image 3 of 3
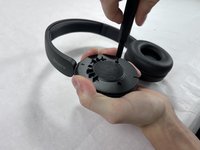
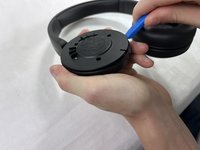
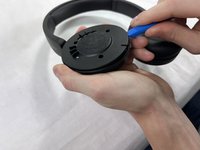
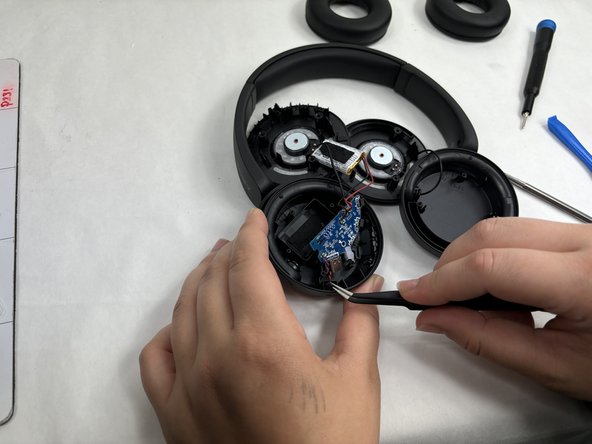
    • Place one end of an opening tool against the edge of the base with the hook-like side pushing up against the covering.

    • Carefully pull the tool down against the edge to lift the covering.

    • Move the tool to different spots around the base of the headphones to pry it up until the covering comes off.

  5. Sony WH-CH520 Microphone Replacement: step 5, image 1 of 1
    • There are two wires (one red and one black) connected to the B+ and the B- terminals on the motherboard.

    • Desolder the wire attached to the B- terminal first.

  6. Sony WH-CH520 Microphone Replacement: step 6, image 1 of 3 Sony WH-CH520 Microphone Replacement: step 6, image 2 of 3 Sony WH-CH520 Microphone Replacement: step 6, image 3 of 3
    • The wires will be attached to the M+ and M- terminals on the motherboard.

    • Desolder the wire attached to the M- terminal first.

    • Desolder the wires attached to the microphone from the motherboard.

    • Remove the microphone using tweezers.

Conclusion

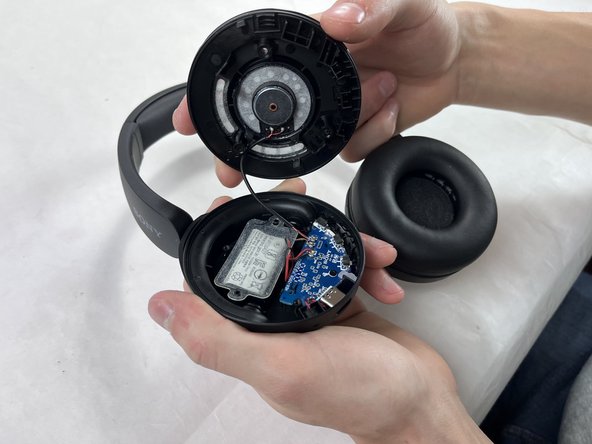
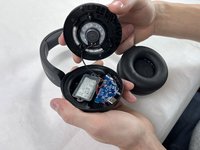
To reassemble your device, follow these instructions in reverse order.

Ben Markey

Member since: 10/18/24

109 Reputation

1 Guide authored

Team

UMass Dartmouth, Team 2-2, Konn Fall 2024 Member of UMass Dartmouth, Team 2-2, Konn Fall 2024

UMASSD-KONN-F24S2G2

4 Members

5 Guides authored

0 Guide Comments

Add Comment

View Statistics:

Past 24 Hours: 1

Past 7 Days: 10

Past 30 Days: 40

All Time: 376