
Sony Xperia Sola Headphone Jack Replacement
15 - 20 minutes
Moderate
Confusing Text
Archived Guide
This guide is retained solely for historical purposes. Use the updated version of the guide to perform your repair.
Introduction
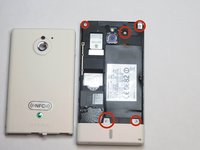
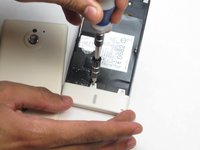
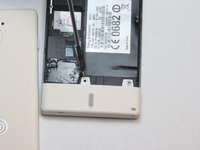
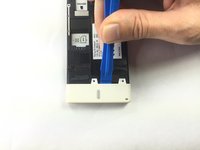
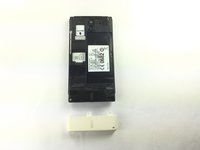
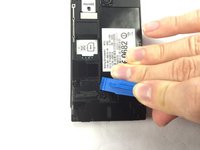
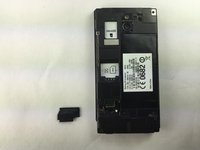
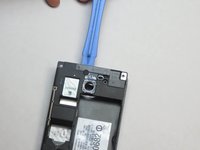
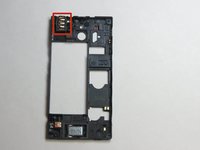
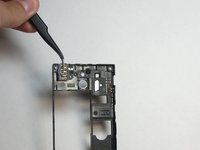
Go to step 1This guide will show you how to disassemble your phone to remove and replace the headphone jack.


Almost done!
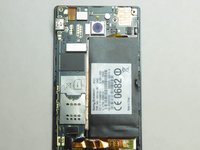
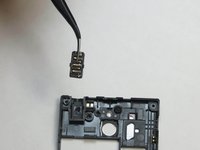
To reassemble your device, follow these instructions in reverse order.
Conclusion
To reassemble your device, follow these instructions in reverse order.
Cancel: I did not complete this guide.
3 other people completed this guide.
Team

USF Tampa, Team 1-1, Brown Fall 2014 Member of USF Tampa, Team 1-1, Brown Fall 2014
USFT-BROWN-F14S1G1
4 Members
5 Guides authored