
Sony Xperia XA Battery Replacement
Introduction
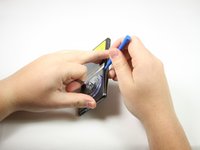
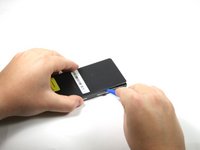
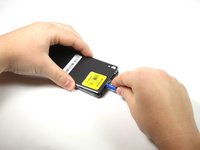
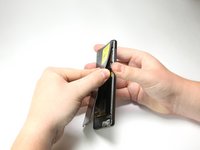
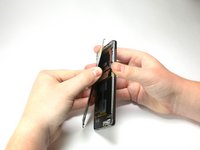
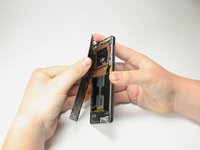
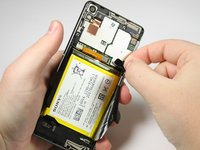
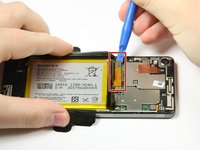
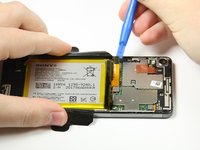
Go to step 1You will need to use a source of heat. You may need to buy adhesive for the reassembly. Make sure the phone is completely powered off before opening the device.
What you need


To reassemble your device, follow these instructions in reverse order.
To reassemble your device, follow these instructions in reverse order.
Cancel: I did not complete this guide.
11 other people completed this guide.
Team

Cal Poly, Team S17-G2, Livingston Spring 2018 Member of Cal Poly, Team S17-G2, Livingston Spring 2018
CPSU-LIVINGSTON-S18S17G2
4 Members
8 Guides authored
One Comment
Thanks for such a clear set of instructions. I used a hair drier rather than heat gun!