
Sony Xperia XA1 Rear Camera Replacement
Introduction
Go to step 1This guide demonstrates how to replace the rear camera in a Sony Xperia XA1.
You may need to use this repair guide if your camera does not work, if you are experiencing chronic issues with focus, or if your phone has been damaged so badly it needs a new camera. Keep in mind, sometimes only the camera lens cover has been damaged, and you will only need to replace that. Before proceeding to this replacement guide, be sure to check out the troubleshooting page to ensure the camera needs to be replaced.
This repair is common when it comes to the Xperia XA1. This repair does not require many tools and is relatively easy. The tools you will need are: a heat gun, the iFixit opening picks, a plastic spudger, and a #000 Phillips screwdriver.
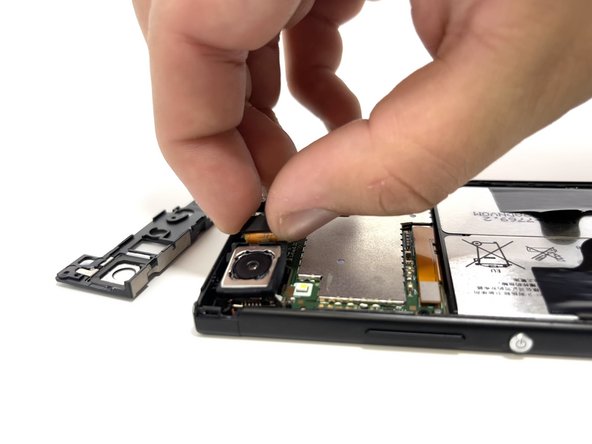
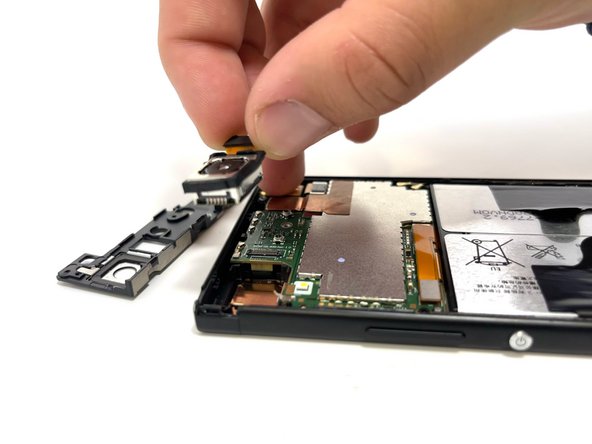
Be cautious when prying up the rear camera cover, it requires a bit of strength to remove.


-
-
Using a hair dryer, apply heat evenly around the edges of the back of the phone. This will loosen the adhesive and allow you to remove the back panel.
-
As you're heating up the phone, begin to pry open the back starting from the middle, and going to the corners.
-
-
-
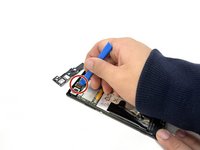
Use a Phillips #000 screwdriver to remove the three 3 mm screws near the top of the phone.
-
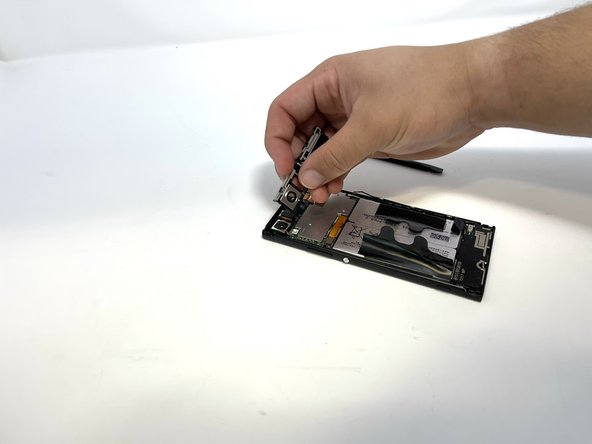
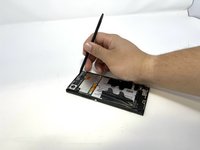
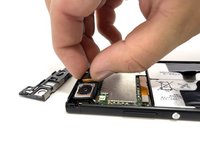
Use a spudger to gently pry the three tabs at the top of the phone.
-


To reassemble your device, follow these instructions in reverse order.
To reassemble your device, follow these instructions in reverse order.
Team

Utah Tech University, Team 1-4, McMurrin Spring 2023 Member of Utah Tech University, Team 1-4, McMurrin Spring 2023
UTAHTECH-MCMURRIN-S23S1G4
3 Members
7 Guides authored