
Sony Xperia Z3 LCD & Digitizer Replacement

Introduction
Go to step 1Use this guide to replace the LCD & Digitizer of your Sony Xperia Z3.
To reassemble the device, follow this guide in reverse order and apply new adhesive where needed.
What you need
Parts


Tools


Show more…
-
-
Heat the back cover of your Xperia Z3 to loosen the adhesive underneath.
-
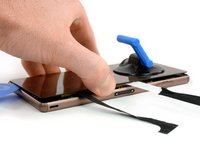
Lift up the back cover with a suction handle and put an opening pick in the gap.
-
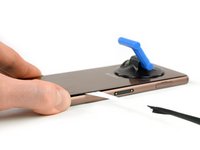
Move the pick carefully around the edges to loosen the adhesive on every side of the phone.
-
-
Tool used on this step:Tweezers$4.99
-
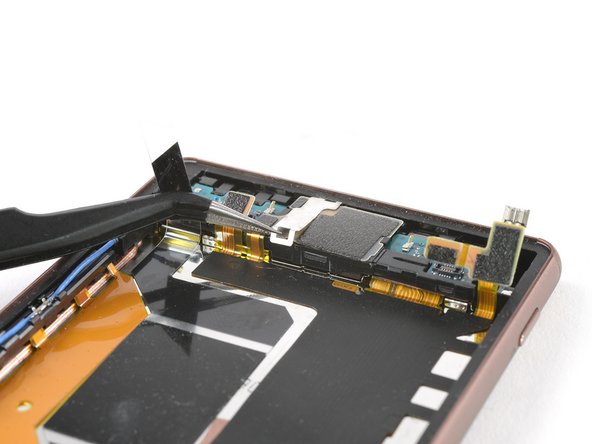
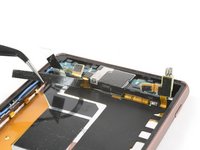
When the edges of the cover are free from adhesive, tilt it to allow access to the battery tabs.
-
Use tweezers to pull the two black adhesive strips out of the phone but don't pull just yet.
Careful during this bit. My old Z3 back cover couldn’t take it and split into lots of pieces (probably weakened over the years!). Just order a replacement for £3 off ebay before doing it ;-)
Merci pour ce tuto. Excellente procédure. Travaux réalisés en 20 minutes sans aucun problème. Attention: au remontage, il n'y a plus d'adhésif sur la batterie, la coque arrière peut éventuellement tomber. Je ne l'ai pas fait mais il faut peut-être mettre un petit double face sur la batterie.
-
-
-
Unplug the battery flex connector.
-
Use a tweezer to gently pull off the adhesive strip on the bottom part of the battery.
-
-
-
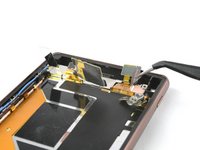
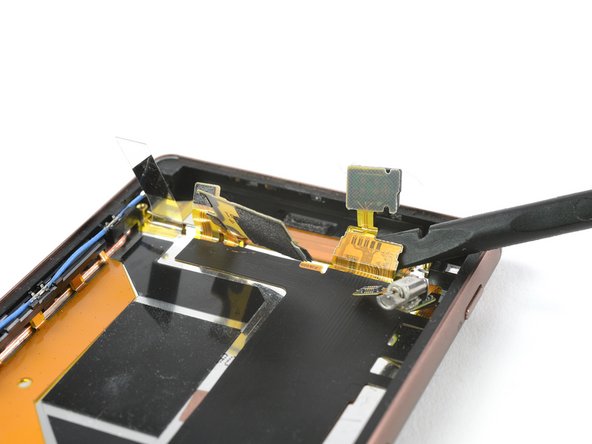
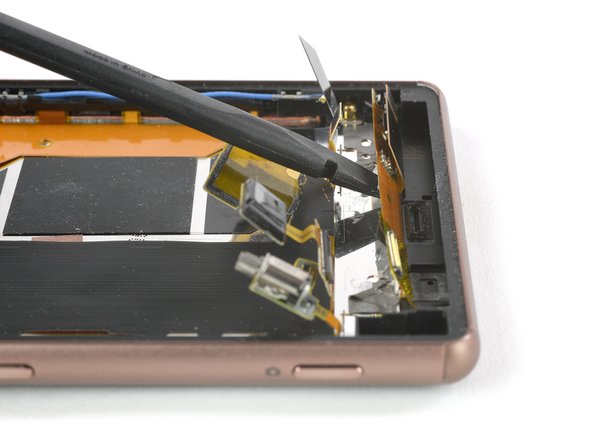
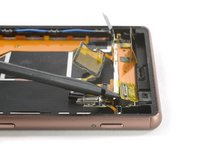
Use a spudger to gently slide beneath the display flex cable and lift it up.
-
-
-
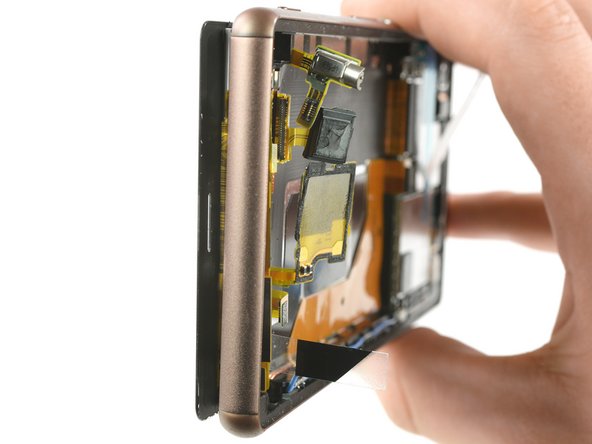
After loosening the adhesive in the lower area of your phone with an opening pick, insert an other opening pick approximately 1/16 of an inch and slide it along both sides of the phone to sparate the display from the frame.
-
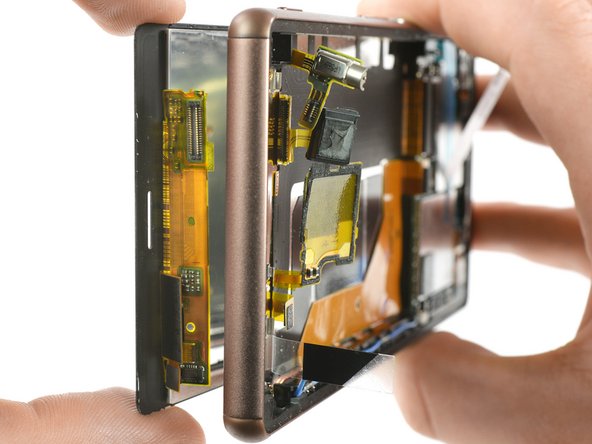
After loosening all the adhesive beneath the display twist the opening pick in the lower end of your phone a little bit to lift up the display.
-
-
-
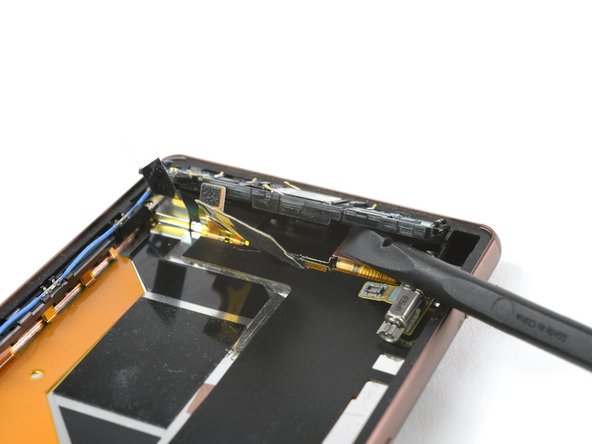
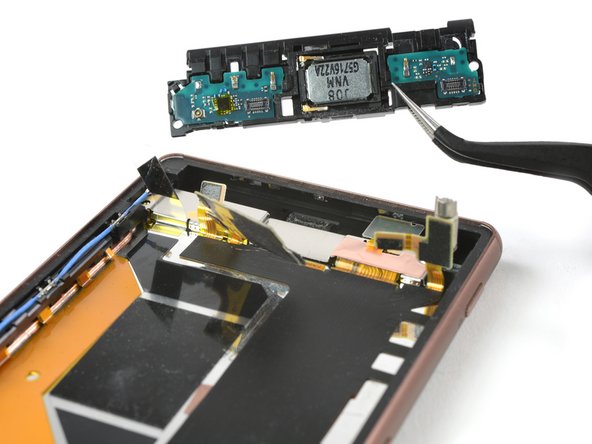
If you didn't manage to keep the earpiece in its place while removing the display you have to remove it now.
-
Use an iOpener to soften the glue, then use an opening pick to slide between the the earpiece and the display and carefully take off the earpiece speaker.
The picture is misleading. If you try to remove the speaker with tweezers just how the picture depicts it, you will most likely rip it in two peaces like I did. Warming it up is absolutely necessary, but then just use a pick to loosen the adhesive underneath the speaker and remove it afterwards. For reassembly you will then need some new adhesive sticker for the speaker, but those are pretty cheap.
-


To reassemble your device, follow these instructions in reverse order.
To reassemble your device, follow these instructions in reverse order.
Cancel: I did not complete this guide.
37 other people completed this guide.


7 Comments
What website is best to obtain a genuine screen and back from?
The back cover won’t fall off Josua but I would definitely recommend new adhesive!
But only for the phone to be waterproof? Because mine is definitely not waterproof anymore.. So I think this wouldn’t make any difference.
Josua -
In our case the back cover just held semi tight to the phone assembly without new adhesive. It could happen that the back cover falls off, when you pull the phone out of your pocket or you drop it. New adhesive also protects your phone from dust which can cause overheating.
Should adhesive also be used on the new front display? or will the old adhesive be enough by reheating it and letting it cool with the new display on the phone?
My Z3’s screen was “glitching,” as in the phone’s screen showed static noise from time to time. It was hard for me to do anything on the device, and the problem would be fixed for a really short amount of time by knocking on the phone (I know, that’s a very bad solution). Do you suppose that the cause of this weird “glitch” is an inconsistency of the LCD’s connector? Or can it be some other internal issue? How should I properly handle this problem?
How hot (how many C) should the iOpener be? I think it would be safer / more accurate to heat the iOpener in an oven with accurate temperature control.
Magnus Myklebost - Reply
Careful here. The back cover cracked in two places. Once when I exerted pressure with the suction handle, and in the corner when moving the pick around the edges- even though I was very gentle. The battery was adhered firmly to the back cover.
Joseph Doyle - Reply
I cracked the back cover instantly. Make sure to buy a spare one before opening!
raffaelecaroppo - Reply