Introduction
Use this guide to replace the screen assembly of the Sony Xperia Z3.
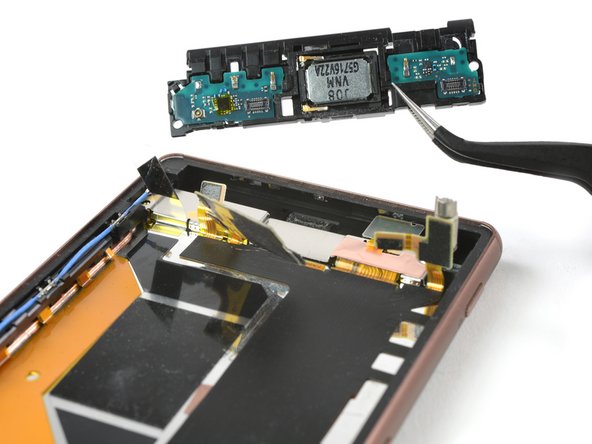
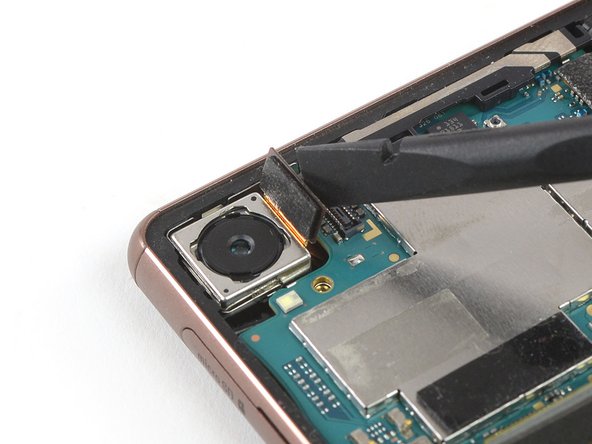
This guide shows how to replace the whole screen assembly of the Sony Xperia Z3 including the midframe. All components such as the vibration motor, the cameras, and the earpiece speaker need to be transferred to the replacement part during the repair process. In case you want to replace the LCD & Digitizer without the frame you need to follow this guide.
What you need
-
-
Heat the back cover of your Xperia Z3 to loosen the adhesive underneath.
-
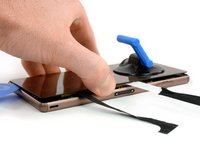
Lift up the back cover with a suction handle and put an opening pick in the gap.
-
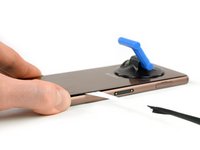
Move the pick carefully around the edges to loosen the adhesive on every side of the phone.
-
-
-
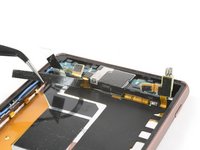
Unplug the battery flex connector.
-
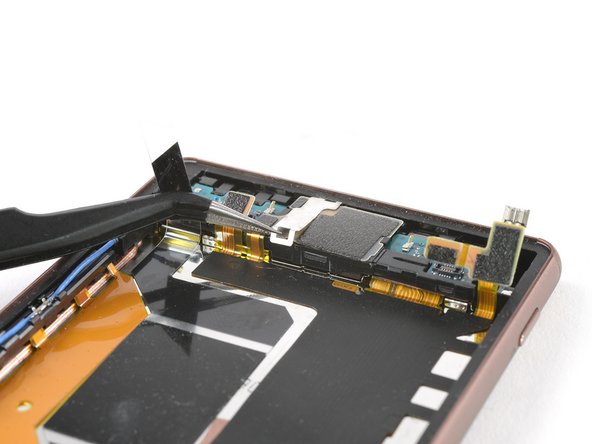
Use a tweezer to gently pull off the adhesive strip on the bottom part of the battery.
-
-
-
-
Apply a heated iOpener to the upper end of the screen to loosen the adhesive beneath the headphone jack. Apply the iOpener for at least two minutes.
-
-
-
Flip the phone over and apply a heated iOpener to the right side of the screen to loosen the adhesive beneath the main flex cable. Apply the iOpener for at least two minutes.
-
-
-
Apply a heated iOpener to the left side of the screen to loosen the adhesive beneath the magnetic charging cable. Apply the iOpener for at least two minutes.
-


To reassemble your device, follow these instructions in reverse order. Apply new adhesive where it’s necessary.
Repair didn’t go as planned? Try some basic troubleshooting, or ask our Answers Community for help.
To reassemble your device, follow these instructions in reverse order. Apply new adhesive where it’s necessary.
Repair didn’t go as planned? Try some basic troubleshooting, or ask our Answers Community for help.
Cancel: I did not complete this guide.
4 other people completed this guide.

