Introduction
The water level of the machine is detected by a sensor inside and a float with magnets in the water tank.
With this error, the machine thinks that there is not enough water in the tank, despite the water tank being inserted and filled, and this is indicated by the water tank indicator light (far left) flashing red. (see also video)
Due to the aging of the magnet, as well as vibration or temperature, the magnet in the water tank can lose its strength.
It is not possible to replace this magnet or the float without destroying the water tank or replacing it completely.
However, the solution to this is to optimize the position of the sensor inside the device.
What you need
Video Overview
-
-
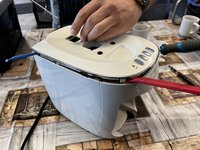
Remove the screw with Phillips screwdriver.
-
Pull the metal lever upwards to pull it off
-
-
-
Remove the water tank and the attachments (drip pans, etc.)
-
Remove all the water from the machine
-
Remove the screws on the back (behind the water tank) with the tensioner 2.0 bit or a screwdriver
-
Remove the screw in the lid with a Phillips screwdriver
-
-
-
Run a spudger around the lid to loosen the clips.
-
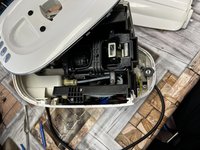
Carefully lift off the lid (cable control unit!)
-
-
-
-
remove the 2 screws with a Phillips screwdriver
-
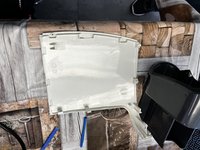
Remove the right side panel
-
-
-
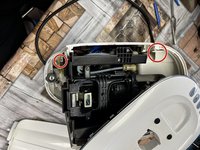
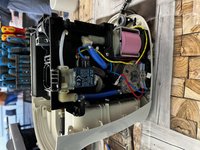
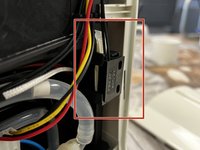
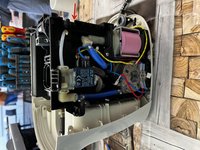
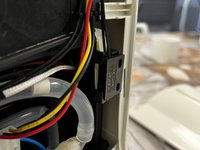
Sensor identification
-
Location: back of the device on the right side in a holder
-
-
-
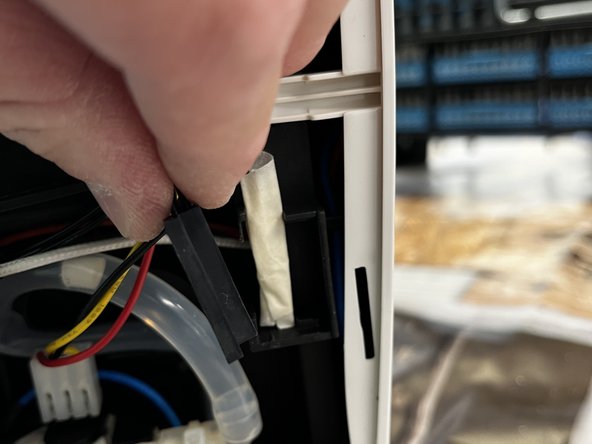
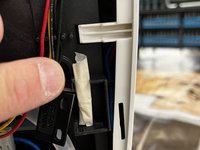
Remove the sensor from the holder
-
Roll up several centimeters of masking tape to the width of the sensor
-
Apply masking tape behind the sensor in the bracket
-
Install the sensor (sensor will sit 1-2 mm closer to plastic trim)
-
-
-
Fill the water tank
-
Install the water tank
-
Check for function
-
Empty the water tank halfway
-
Check for function
-
Empty water tank completely
-
Check for function
-


Work the steps in reverse order to reassemble your device.
Work the steps in reverse order to reassemble your device.
Cancel: I did not complete this guide.
4 other people completed this guide.
Special thanks to these translators:
100%


These translators are helping us fix the world! Want to contribute?
Start translating ›

Team

9 Comments
There is a one important missing step before runing a spudger around the lid to loosen the clips.
there is one additional screw under the red (Max )button , you need to remove the selecon lid cover unscrew this last one before trying to remove the Lid
In my case there wasn`t, as you see in the pictures in Step 4 and Step 6, which model did you try to open (exact Model-number) as identified on the device page Tchibo Cafissimo Mini Reparatur.
Can you provide pictures of the model identification and the missing Screw? Thanks!
hainzy -
Or did you mean this one Picture Step 2, top screw which is loosen in Step 2?
hainzy -
Ačiū už idėją. Man nepadėjo 1mm. Išpjoviau korpuse langą ir sensorius dabar lygiai su korpusu. Dabar veikia. Problema silpnas magnetas vandens bake.