
Teenage Engineering OP-Z Battery Replacement

Introduction
Go to step 1Use this guide to replace a worn-out or dead battery in your OP-Z.
What you need


-
-
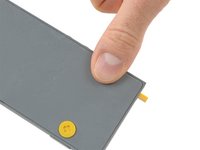
Unlock the four rubber feet by turning them 90° counterclockwise using your thumb or finger tip.
-
-
-
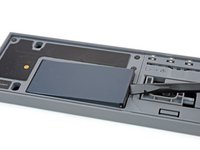
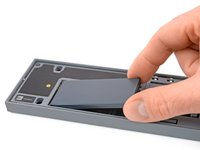
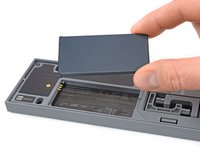
Use your fingernail or a spudger to lift the battery on the right side where the notch is.
-


To reassemble your device, follow these instructions in reverse order.
For optimal performance, calibrate your newly installed battery: Charge it to 100% and keep charging it for at least 2 more hours. Then use your device until it shuts off due to low battery. Finally, charge it uninterrupted to 100%.
Take your e-waste to an R2 or e-Stewards certified recycler.
Repair didn’t go as planned? Ask our Answers community for help.
Cancel: I did not complete this guide.
4 other people completed this guide.

Team

Tobias Isakeit - Repairability Engineer Member of Tobias Isakeit - Repairability Engineer
Business
1 Member
1,131 Guides authored