Introduction
This guide will require a new solar panel part, as well as some soldering. If you're not sure how to solder, see iFixit's soldering guide.
What you need
-
-
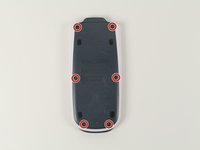
Using the #00 screwdriver, unscrew the six, 6mm Phillips screws.
-
Use the spudger to pry into the space between the blue back cover and the white body to take off the back cover.
-
-
-
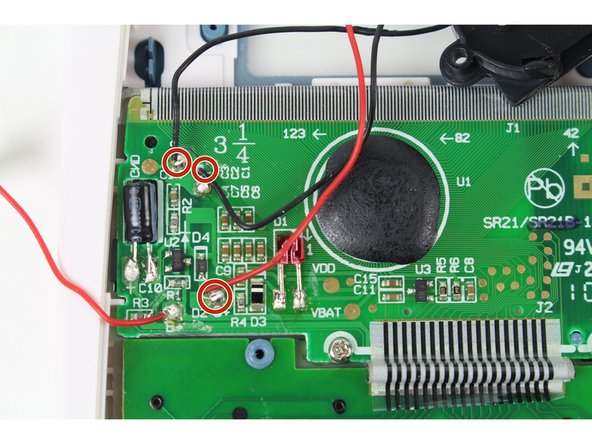
Using the #00 Phillips screwdriver unscrew the two, 3mm Phillips screws located near the top of the calculator.
-
Lift the metal plate from the battery and set it to the side.
-
-
-
Use the spudger to lift the battery up from the black holder.
Funktioniert beim 30X Pro Multiview gleich?
Is a spudger really necessary. I don't have it, just the phillips 00 screwdriver. Do I need to go out and buy one of these?
You can just use a fingernail to open it.
-
-
-
-
Put the new CR2032 battery in. Never insert a different type of battery!
-
Reverse the steps 2 and 1.
my TI-30XS battery was mounted directly onto the circuit board under a metal clip, the black battery holder doesn't exist at all. Anyway the battery is the still the same CR2032.
Different revisions of the board. I also had the version you described.
Pencil43 -
-
-
-
Use the #00 Phillips screwdriver to remove the one 3mm Phillips screw holding the solar panel in place.
-
-
-
Carefully pull the solar panel away from the calculator, as shown to the left.
-


To reassemble your device, follow these instructions in reverse order.
To reassemble your device, follow these instructions in reverse order.
Team

Cal Poly, Team 11-2, Forte Fall 2015 Member of Cal Poly, Team 11-2, Forte Fall 2015
CPSU-FORTE-F15S11G2
4 Members
9 Guides authored
I didn’t have a spudger but a flat 3/32” jeweler’s screwdriver worked just as well. Also, the battery slides out the side, nothing to undo. I slid it out using a jeweler’s screwdriver. (Don’t touch any electrical components or traces with the metal tip.) If you’re not sure the battery is good, turn the unit over and see if there is anything displaying, or run a test operation like 2 x 2 etc. to check before putting the back into place.
Therese S - Reply