
Toshiba Satellite A215 S4697 Optical Drive Replacement

Introduction
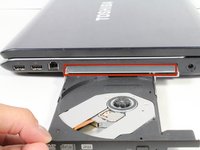
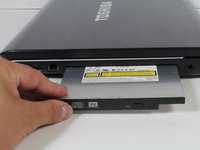
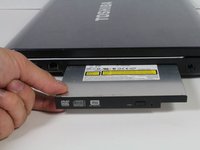
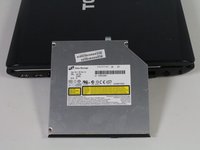
Go to step 1The optical drive contains both precise lasers and lenses and a powerful motor to read and write disk drives. And we know that precision and fast spinning doesn't go well with each other. But don't worry! If your optical drive is giving you trouble, you can easily replace it with a new one.
What you need
Tools


Show more…
-
-
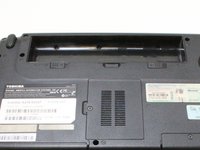
Close the laptop and turn it over so that the base is facing upwards and the spine is facing away from you.
-
Find the battery compartment.
-
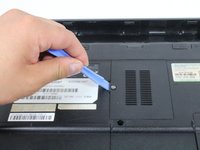
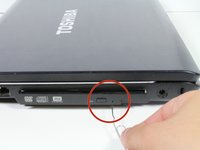
Slide the left slider which is just beneath the battery compartment into its leftmost position.
-
-
-
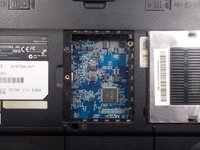
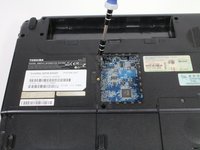
Turn computer over so that the battery compartment is facing up and is at the top.
-
Locate and unscrew one captive Phillips #1 screw located at the center.
-


To reassemble your device, follow these instructions in reverse order.
To reassemble your device, follow these instructions in reverse order.
Cancel: I did not complete this guide.
9 other people completed this guide.

Team

Cal Poly, Team 4-12, Maness Spring 2013 Member of Cal Poly, Team 4-12, Maness Spring 2013
CPSU-MANESS-S13S4G12
4 Members
18 Guides authored